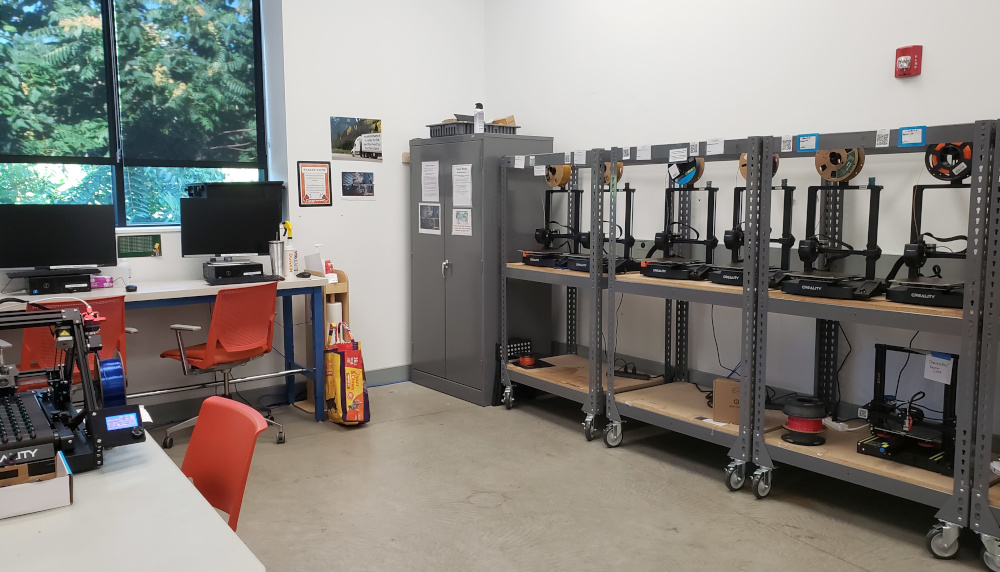
This page is intended to give an overview of the 3D Printing Lab here at Open Works. It is a helpful resource for beginners looking to expand their knowledge, and can also serve as a reminder for more experienced users.
¶ Introduction
3D Printing is an additive manufacturing process. This means that instead of removing material to create the final product, material is added. This makes possible to do things in a single piece that would be impossible with subtractive manufacturing. For example:
- creating a closed internal pocket in an object
- creating curves and inside corners with a variety of radii without tool/cutting bit changes
- objects with color changes integrated into the material itself
- and much more!
Most 3D printers work in very similar ways. At the most basic level, they bond a material together in layers using some thermal or chemical process. This has been implemented for materials ranging from sugar to concrete.
At Open Works, there are two types of 3D printers:
- FDM (Fused Deposition Modeling), the most well known type that heats a plastic filament to extrude it and fuse it to the previously printed layers.
- SLA (Stereolithography fabrication) commonly known as a 'resin printer' that uses a laser to cause a liquid resin to solidify.
¶ Community workshop culture
The shops here are a shared space, with a community of users at all different experience levels. Open Works strives to foster a welcoming environment where folks feel comfortable asking questions and learning. Community Technicians are also available to help and answer questions about any tools or processes you are unfamiliar with. It is always better to ask questions than use a tool in an unsafe way. Even experts sometimes need to be reminded of good habits!
¶ Shop Etiquette
- The 3D printing lab is a shared space, so please be mindful of others working.
- Pay attention to the area around and behind you before you begin work.
- Do not distract anyone using a machine.
Never run a 3D print without making a machine reservation!
¶ Cleanup
Everyone is expected to clean up after themselves during and after using any shops, labs, or classrooms. Use the brooms and other cleaning supplies provided to clean your work station as you go. Turn off machines and return tools to their storage location after each use. Community Technicians will ask you to begin cleaning up 30 minutes prior to closing. Please be mindful that we share this space with everyone and its all of our responsibilities to keep things neat and orderly.
¶ Shop Access
A membership or day pass is required to access the 3D Printing Lab.
The following Workshop is not required to access 3D printing, but it is available for makers looking for additional education.
- 3D Printing
- Covers the Ender-3 V2 and the Ender-3 V3 SE
- There is currently no classes or workshops covering the following machines:
- The CR30 3DPrintMill and the LD-002H 3D Resin Printer
Please see a Community Technician if you would like to use the CR-30 or the LD-002H.
¶ 3D Printing Lab Hours
Before your visit, please ensure the lab is open for use. There are no reservations required to use the tools and machines in the shop, however, the shop is closed for general use when there are classes and special events booked in the space.
The shop's weekly class schedule and other closures will be posted on the shop door and communicated via email. Please plan accordingly.
Community Technicians will ask you to begin cleaning up 30 minutes prior to closing so please allot extra time in your schedule if you plan to work in the shop until closing.
¶ Machines
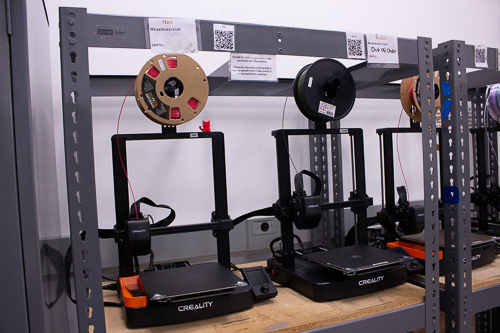
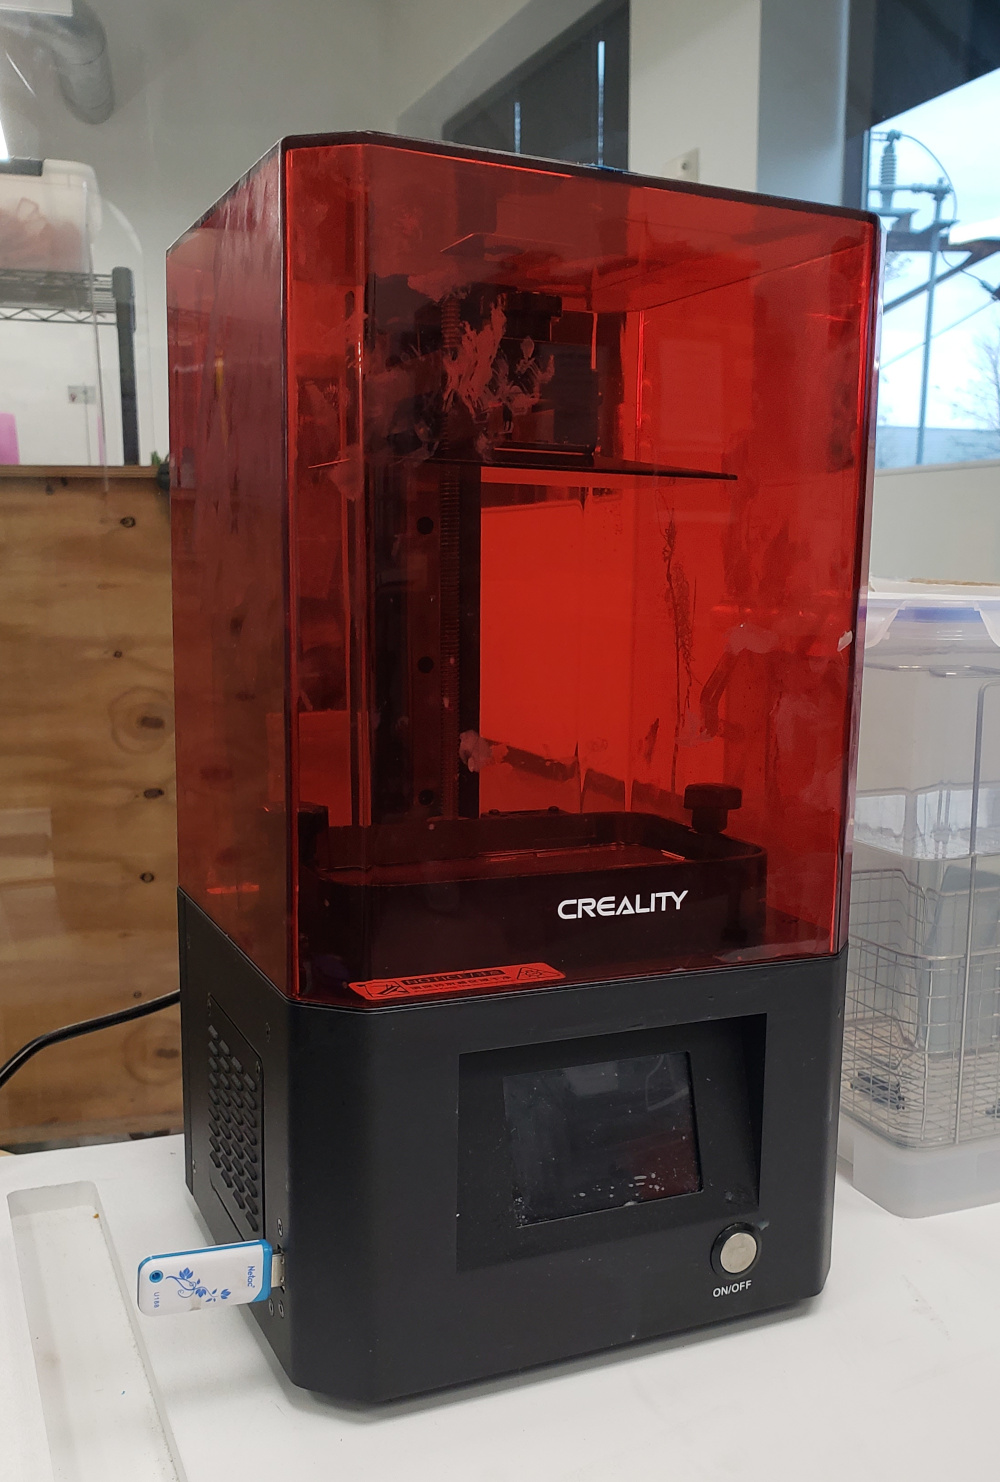
| Printer | Bambu A1 | Creality Ender-3 | Creality LD-002h | Creality CR-30 |
|---|---|---|---|---|
| Photo | 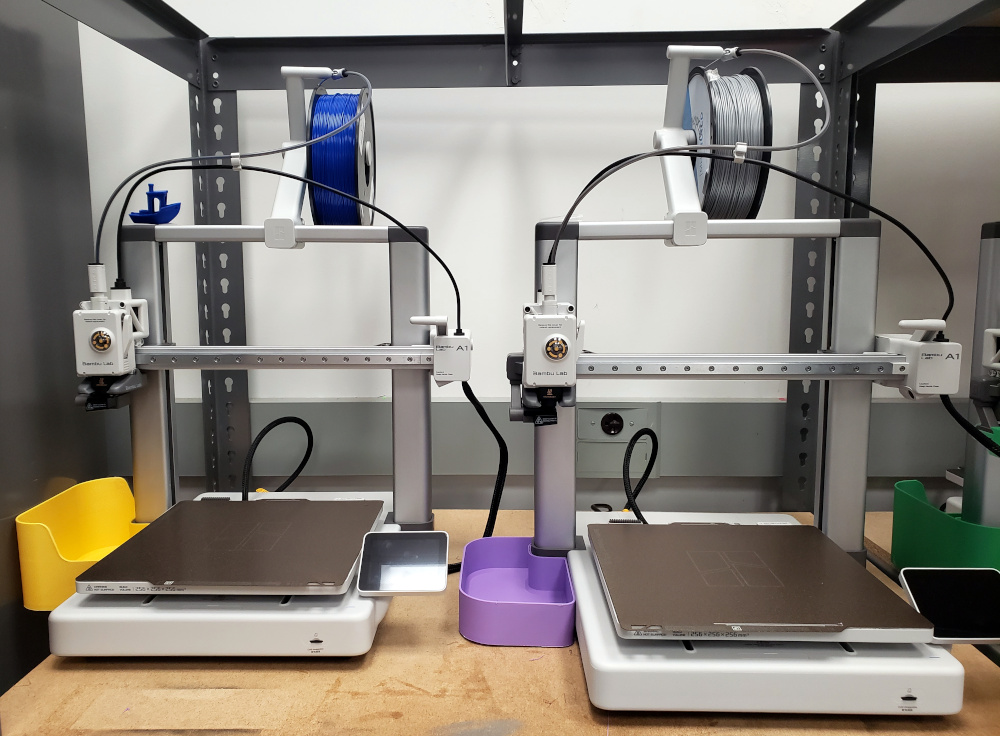 |
 |
 |
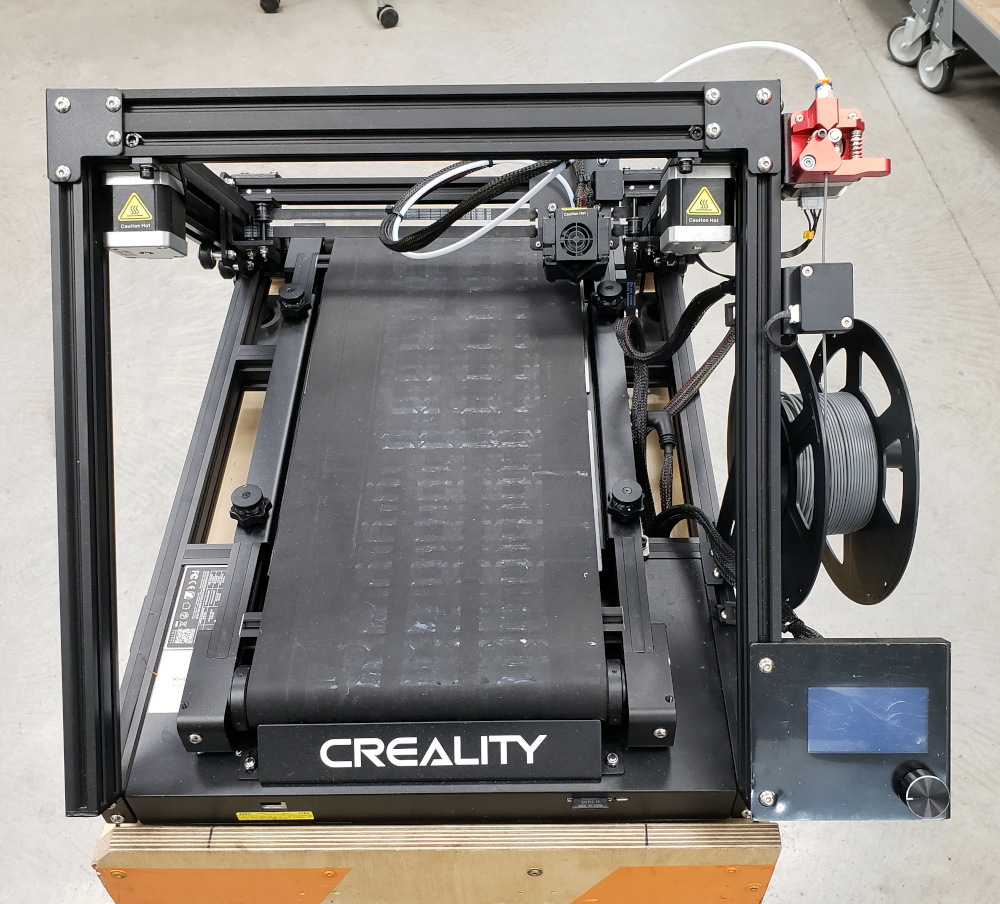 |
| Machine Page | Bambu A1 | Creality Ender-3 V3 SE | Creality LD-002H (3D Resin Printer) | Creality CR30 PrintMill |
| Print Area Volume | 10" x 10" x 10" | 8" x 8" x 9" | 3" x 5" x 6" | ∞ x 7" x 6" |
| Bed Leveling | Automatic | Semi-automatic | Manual | Semi-automatic |
| Slicer | Orca | Orca, Cura | Lychee | CrealityBelt |
| Filament | PLA, PETG | PLA only | Resin only | PLA only |
| Availability | Available | Available | Ask to use | Ask to use |
¶ Machine Reservations
You can make machine reservations in the following ways:
Click to expand
- In person at the front desk.
- Reserve a machine any time through our Mind Body Portal.
- Call the front desk during business hours at (410) 862-0424.
- Email us at frontdesk@openworksbmore.com. Please include your name, the machine you'd like to reserve, and the date(s) and times of the reservation(s).
Open Works recommends slicing your file before making a machine reservation. The slicer will provide a time estimate which you may use to accurately book your reservation.
Due to limited space, completed prints will be removed from the bed and held at the front desk.
¶ Safety
¶ Proper Attire and Protective Gear
• As in all of the shops, sturdy, close-toed shoes must be worn at all times for traction and stability.
• A respirator is strongly recommended when working with resin.
• Gloves are required when handling uncured and unwashed resin.
- The nozzle and bed of the 3D printers get
hot! Do not touch the nozzle or the bed while they are
hot!
¶ Fire Safety
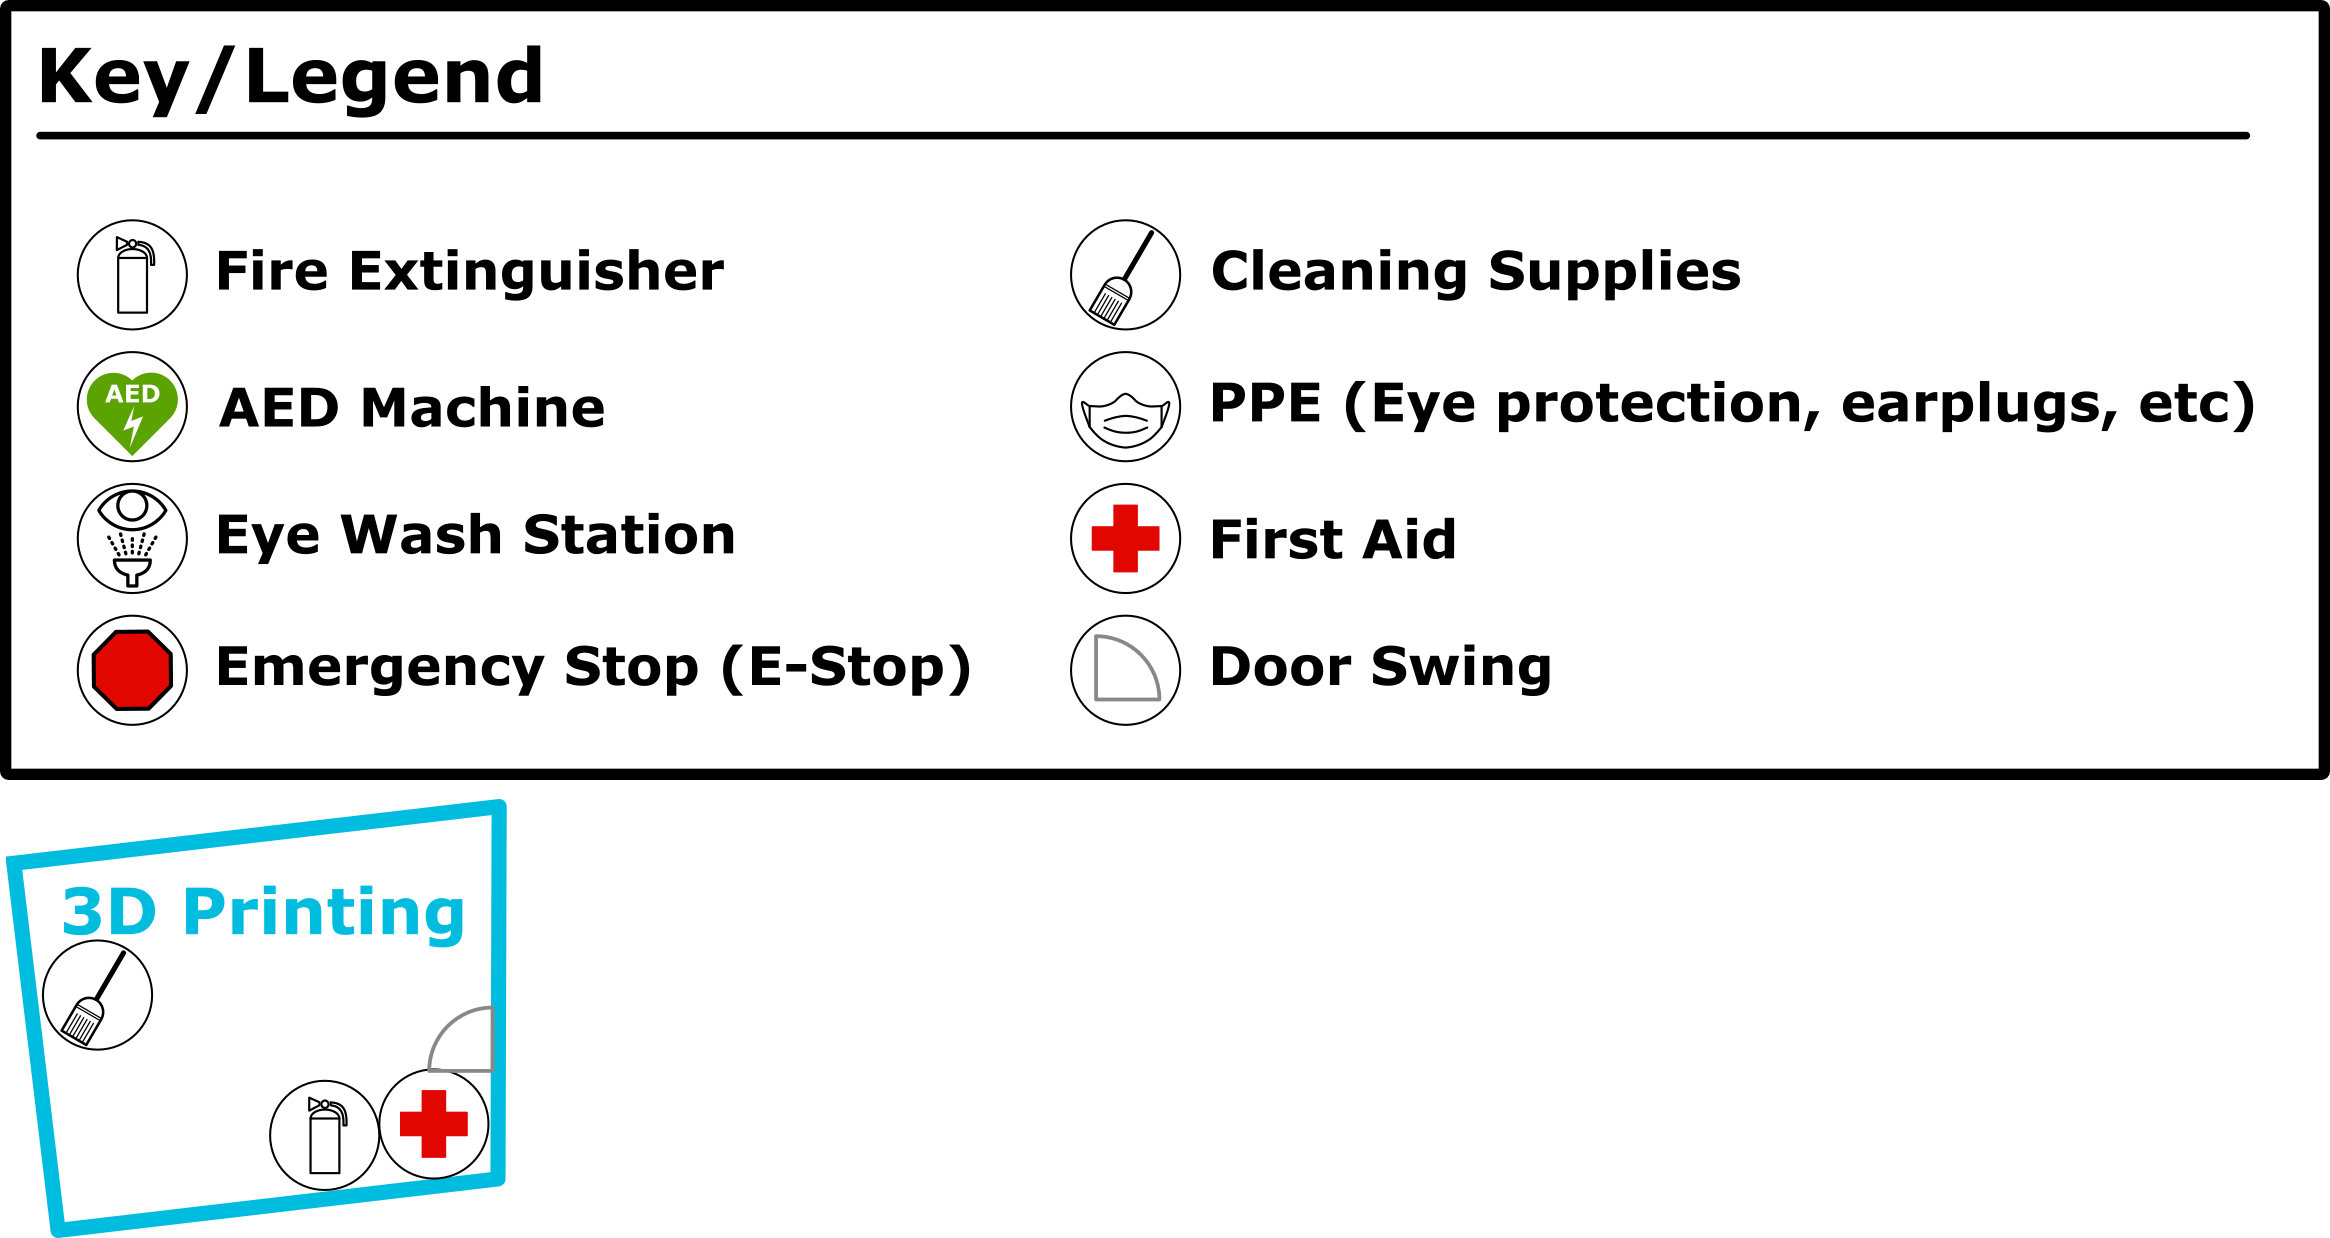
Click to expand map of the emergency equipment in the 3D Printing Lab.
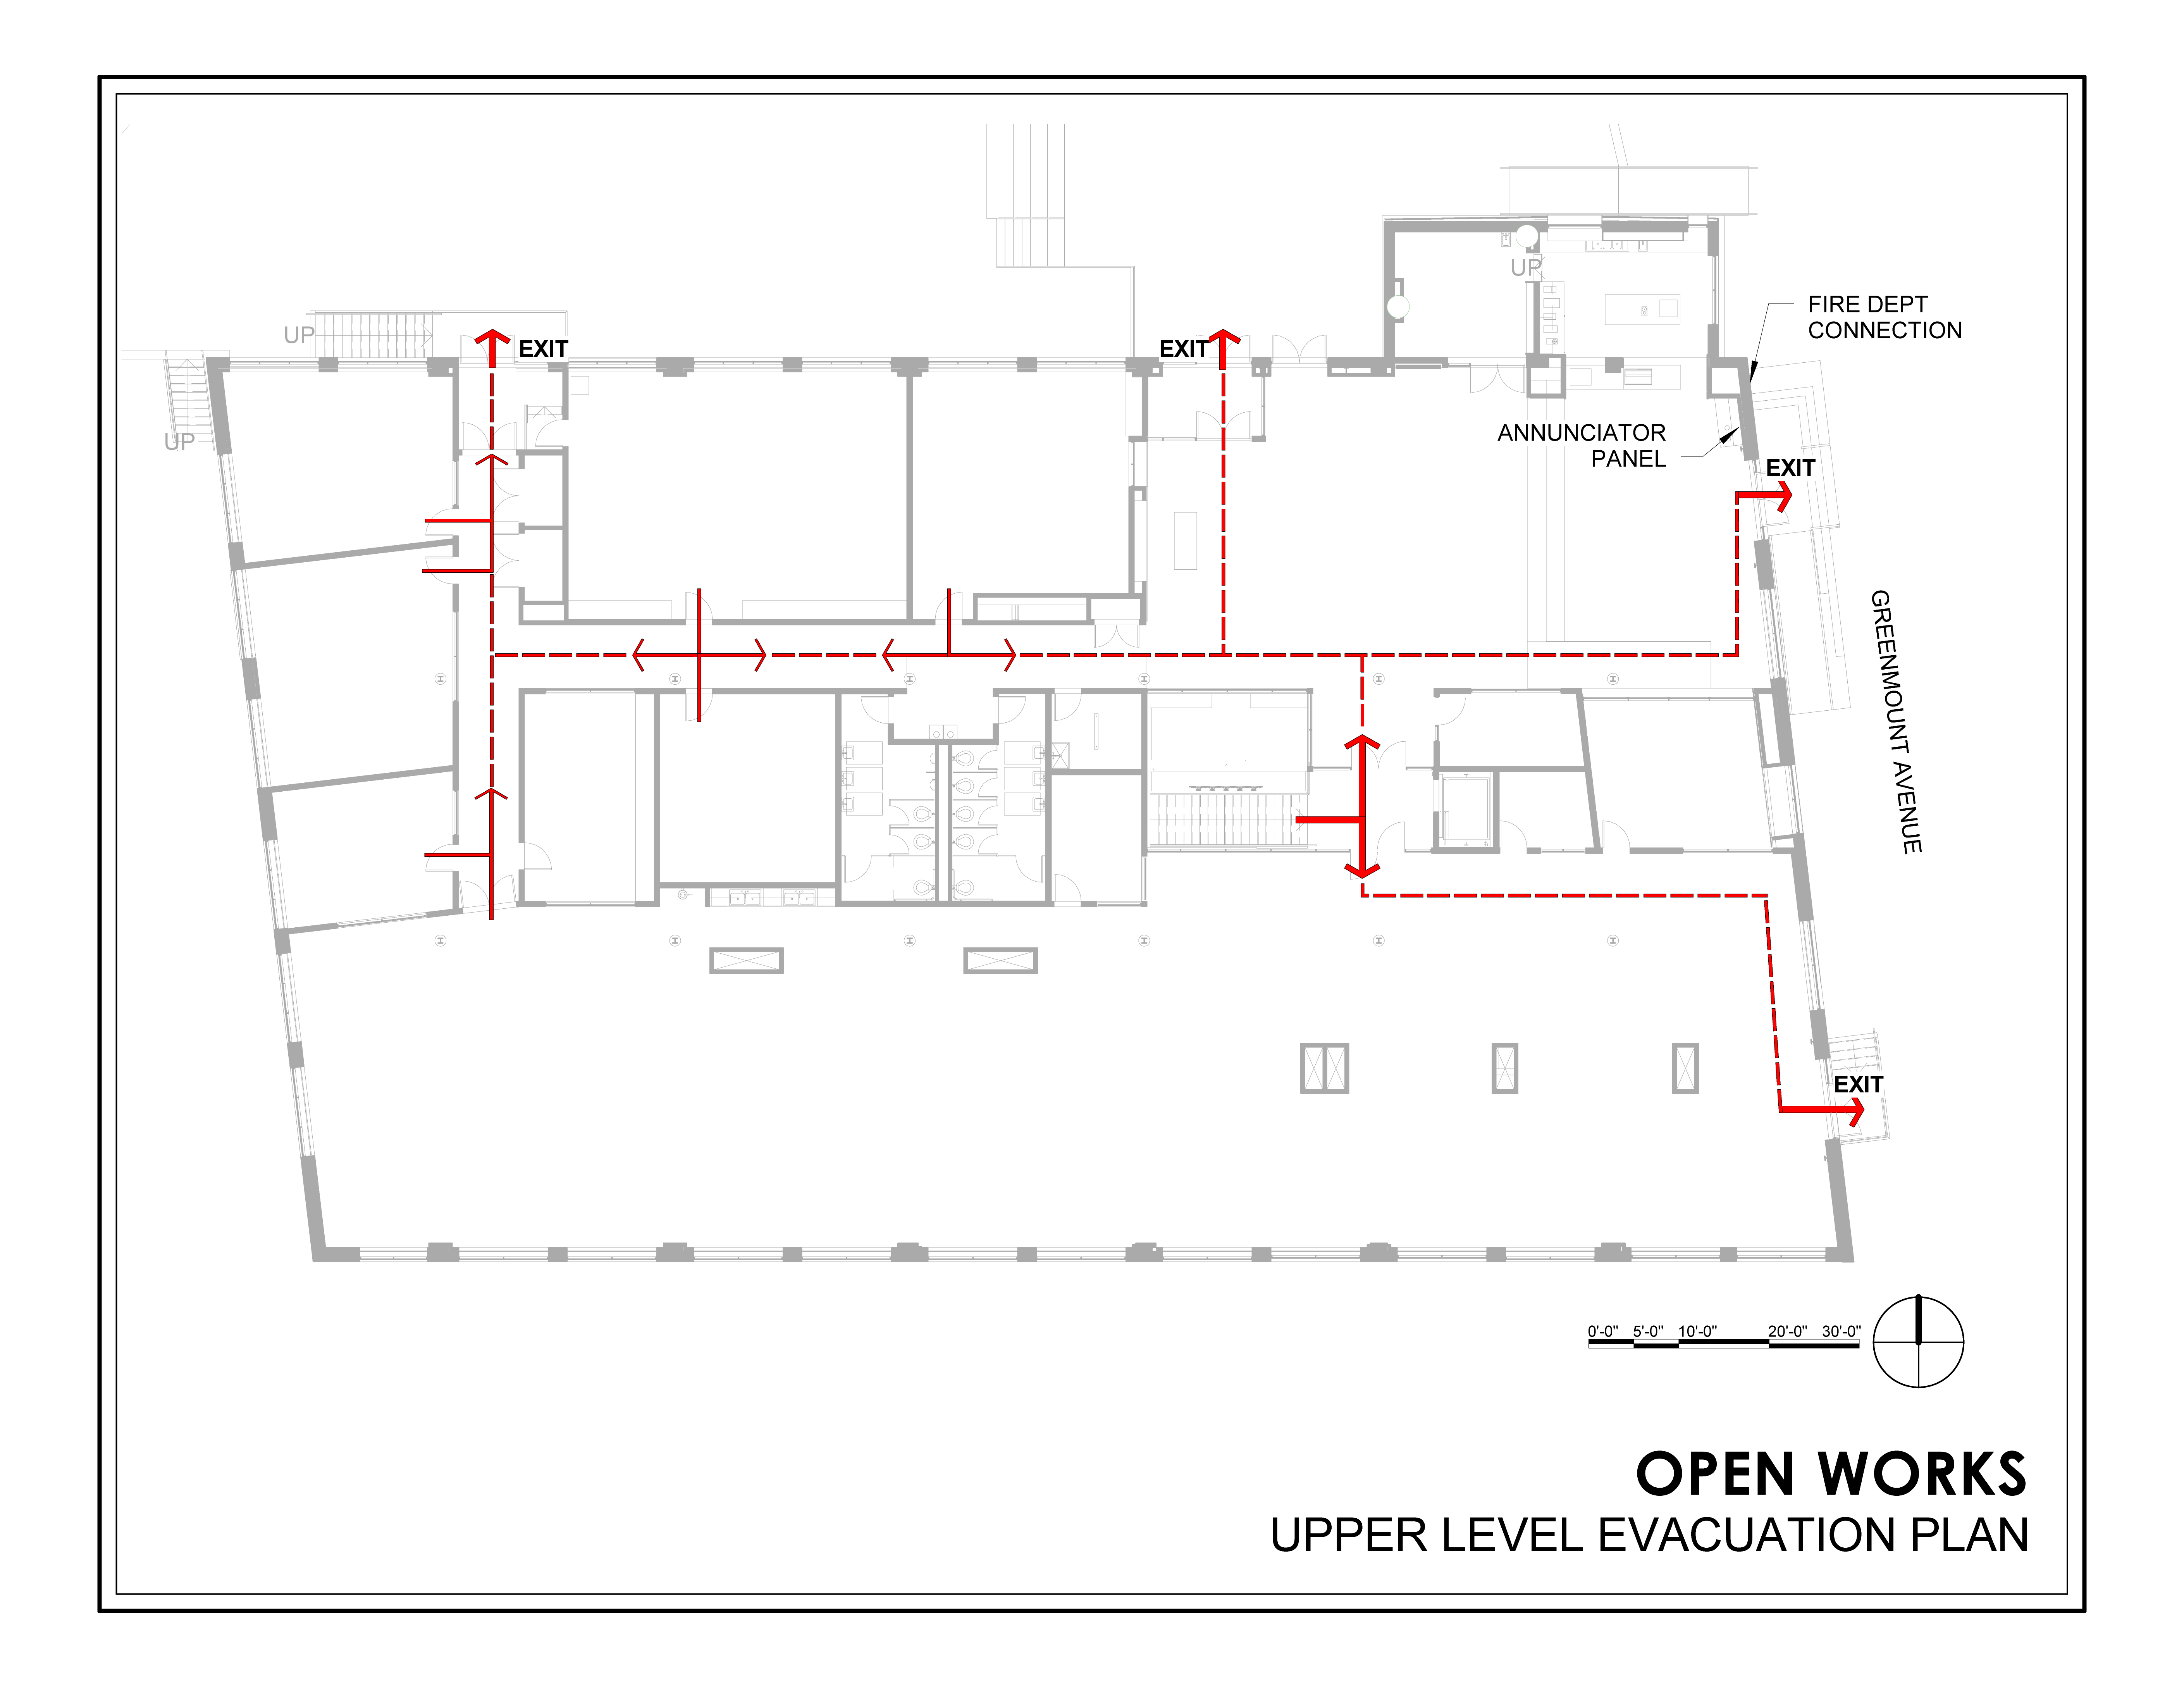
Click to expand map of the evacuation plan.
¶ Other Hazards
The nozzle and bed of the 3D printers get
hot! Do not touch the nozzle or the bed while they are
hot!
See Emergency Procedures page for more detailed emergency protocols.
¶ Guides
The following steps have been generalized for all printers. Specific instructions have been linked where appropriate.
¶ Preparing the Model
3D models can be obtained pre-made online for free or paid. You can also make your own models by using a 3D scanner to scan an existing object or by creating the model in a CAD program or artistic modeling software.
Things to think about when making the model
- are there overhangs or cavities in the model that will need support?
- is the surface area of the model in contact with the build plate sufficient to keep it stable during the print?
- is the direction of the layers relative to the model aesthetically pleasing?
- should the model be printed in pieces because of its size or because it has moving parts?
- the size of the model?
¶ Slicing the Model
Slicing is the process of turning a 3D model into instructions (typically g-code) that a 3D printer can understand. Because each model of printer is unique, most printers have a slicer program that goes with them. However there are some slicers that support multiple printers.
The slicer typically lets you perform basic modifications to the model such as scaling, mirroring, and rotating. The slicer is typically where support material for overhangs and cavities is added. The slicer also lets you set which printer you'll be using, the print material (for example: PETG, PLA), the speeds at which it should print, and other parameters.
Once all of those choices have been made, then the model can be exported to the printer (or to a memory card and carried to the printer).
¶ Recommended Slicers
Be sure to select the right printer in the slicer software.
| Printer | Bambu A1 | Ender-3 V3 | LD-002H Resin Printer | CR-30 PrintMill |
|---|---|---|---|---|
| Slicer | Bambu Studio | Bambu Studio, Cura | Lychee | CrealityBelt |
¶ Materials
PLA filament may be available for purchase. Ask at the Front Desk for current rates and availability.
If a filament is not listed you can assume the material is not allowed.
¶ Acceptable Materials:
PLA (All FDM Printers)
PETG (Bambu Printers Only)
¶ Use with Caution and Proper Technique:
¶ Forbidden Materials:
ABS
Nylon
TPU
¶ Preparing the Printer
There are two key parts of a printer to inspect here. The build plate and the extruder/filament.
Some printers can do all of their pre-print checks and calibrations by themselves, but others need you to do it for them. Either way, it is good to inspect the printer before using it in order to make sure it is ready to go and that there isn't anything wrong with it.
¶ Build Plate
- is the build plate clean and flat?
- is the build plate level relative to the extruder nozzle?
- is the build plate temperature set and working?
¶ Extruder and filament
- is there enough filament for the model to print completely? The slicer can estimate how much material the model will use.
- is the extruder nozzle clean and not jammed?
¶ Printing the Model
The first layer of any print is the most important. It determines how well the print will stick to the build plate, and a print with bad first layer adhesion will likely fail (come completely unstuck and turn into spaghetti) or have quality problems later.
¶ Post Processing
Some materials require post processing. Models printed on SLA printers may need curing and washing to solidify the print and remove any left over resin in order to make it safe to handle.
Other post processing can include removing support materials, sanding, and painting.
At Open Works, you must also take your print to the front desk to be weighed and paid for.
¶ Project Storage
Due to limited space, completed prints will be removed from the bed and held at the front desk.
¶ Storage Rental
Microstudio Residents can store projects in their assigned locker, or purchase additional space in the Member Storage area downstairs.
¶ Reference Guides and General Assistance
Open Works strives to foster a welcoming environment where folks feel comfortable asking questions and learning.
Apart from this Wiki, manuals and other reference materials are on or near each machine in the shops. You can also look up each machine page in this wiki for general guides and reference information.
¶ Community Technicians
Community Technicians are available to help and answer questions about any tools or processes you are unfamiliar with. It is always better to ask questions than use a tool in an unsafe way. Even experts sometimes need to be reminded of good habits!
If any tool or machine needs attention, please alert a Community Technician as soon as possible.