¶ Introduction
Instructions to print using the direct to garment printer.
¶ Skills/Class Required
A membership or day pass is required to access Digital Textiles. The following Shop Safety Class is required to access the direct to garment printer and dye sublimation printer:
¶ Machine Reservations
You can make machine reservations in the following ways:
Click to expand
- In person at the front desk.
- Reserve a machine any time through our Mind Body Portal.
- Call the front desk during business hours at (410) 862-0424.
- Email us at frontdesk@openworksbmore.com. Please include your name, the machine you'd like to reserve, and the date(s) and times of the reservation(s).
¶ Before You Begin
Personal Protective Equipment (PPE):
• Sturdy, close-toed shoes must be worn at all times in all shops.
For more information on shop safety visit Digital Textiles under "Safety."
¶ Time to complete
- Variable.
¶ Tools Required
¶ Materials Required
- Printer paper
¶ Turn On and Setup the Direct to Garment Printer SOP:
¶ Previous Steps:
¶ Step-by-Step Guide:
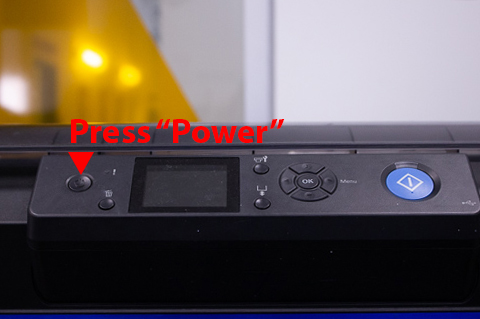
- Turn on the computer and the DTG machine.
-
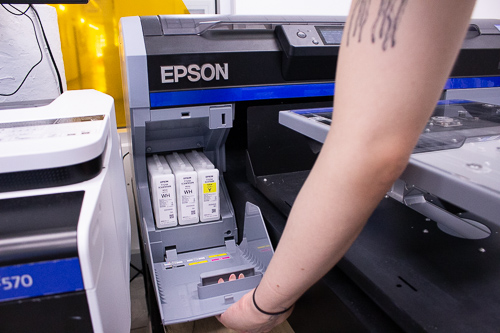
The machine may ask you to shake the white ink. You can access the white ink by opening the left compartment.
-
Pull out the white inks.
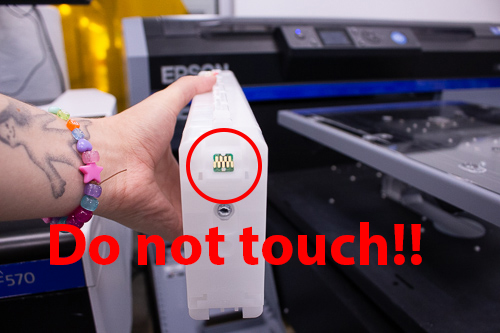
DO NOT TOUCH THE MICROCHIP ON THE BACK OF THE INK!
-
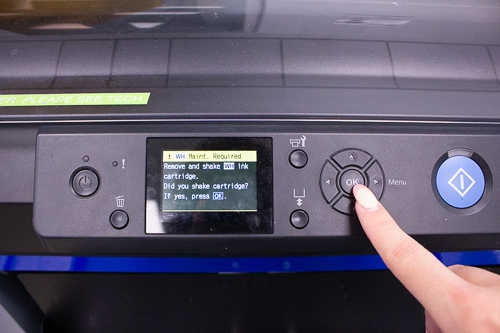
Slowly shift the container back and forth on each side for 10 seconds.
-
Repeat with other white ink.
-
After shaking both white inks press "OK."
-
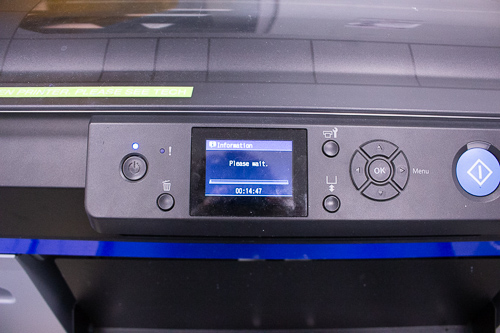
It’ll take about 15-20 minutes for the machine to reset. You can use this time to pretreat or heat press your substrate.
-
(Recommended) Perform a Nozzle Check before printing to ensure print quality.
-
Press the maintenance button on the machine.
-
Select “Nozzle check”.
-
Make sure the platen is set to P and the platen is clean and clear.
-
You may print the nozzle check directly onto the platen, or you can tape a piece of paper onto the center of the platen. Press start.
-
Examine the barcode.
¶ Perform a Head Cleaning SOP:
¶ Step-by-Step Guide:
- Press the "Maintenance" button on the control panel.
-
Select "Head Cleaning" and press the right arrow button to select it.
-
Select the up and down arrow keys to chose "Selected Nozzles" or "All Nozzles."
-
Use the up and down arrow keys to select the print heads you would like to clean. Click "OK" to confirm your selections.
-
You can now chose the level of cleaning to perform: light, medium, or heavy. Typically a light or medium cleaning will suffice.
-
The printer will automatically clean the selected print heads to clear any clogs.
-
After a head cleaning you will want to repeat steps 8-13 from the "Turn On and Setup the Direct to Garment Printer SOP."
-
If several light or medium cleanings do not produce a clear barcode then you may perform a heavy cleaning.
You have successfully performed a head cleaning!