¶ Introduction
Instructions to prepare a design for printing on the Epson SC F2100 in Epson Garment Creator.
¶ Skills/Class Required
A membership or day pass is required to access Digital Textiles. The following Shop Safety Class is required to access the direct to garment printer and dye sublimation printer:
¶ Machine Reservations
You can make machine reservations in the following ways:
Click to expand
- In person at the front desk.
- Reserve a machine any time through our Mind Body Portal.
- Call the front desk during business hours at (410) 862-0424.
- Email us at frontdesk@openworksbmore.com. Please include your name, the machine you'd like to reserve, and the date(s) and times of the reservation(s).
¶ Before You Begin
Personal Protective Equipment (PPE):
• Sturdy, close-toed shoes must be worn at all times in all shops.
For more information on shop safety visit Digital Textiles under "Safety."
¶ Time to complete
- Variable.
¶ Tools Required
- Epson SC F2100
- Garment creator software
- PC workstation
¶ Materials Required
- T-shirt for printing
¶ Prepare a Design in Garment Creator SOP:
¶ Previous Steps:
¶ Step-by-Step Guide:
-
Right click on the Garment Creator icon to launch the program.

-
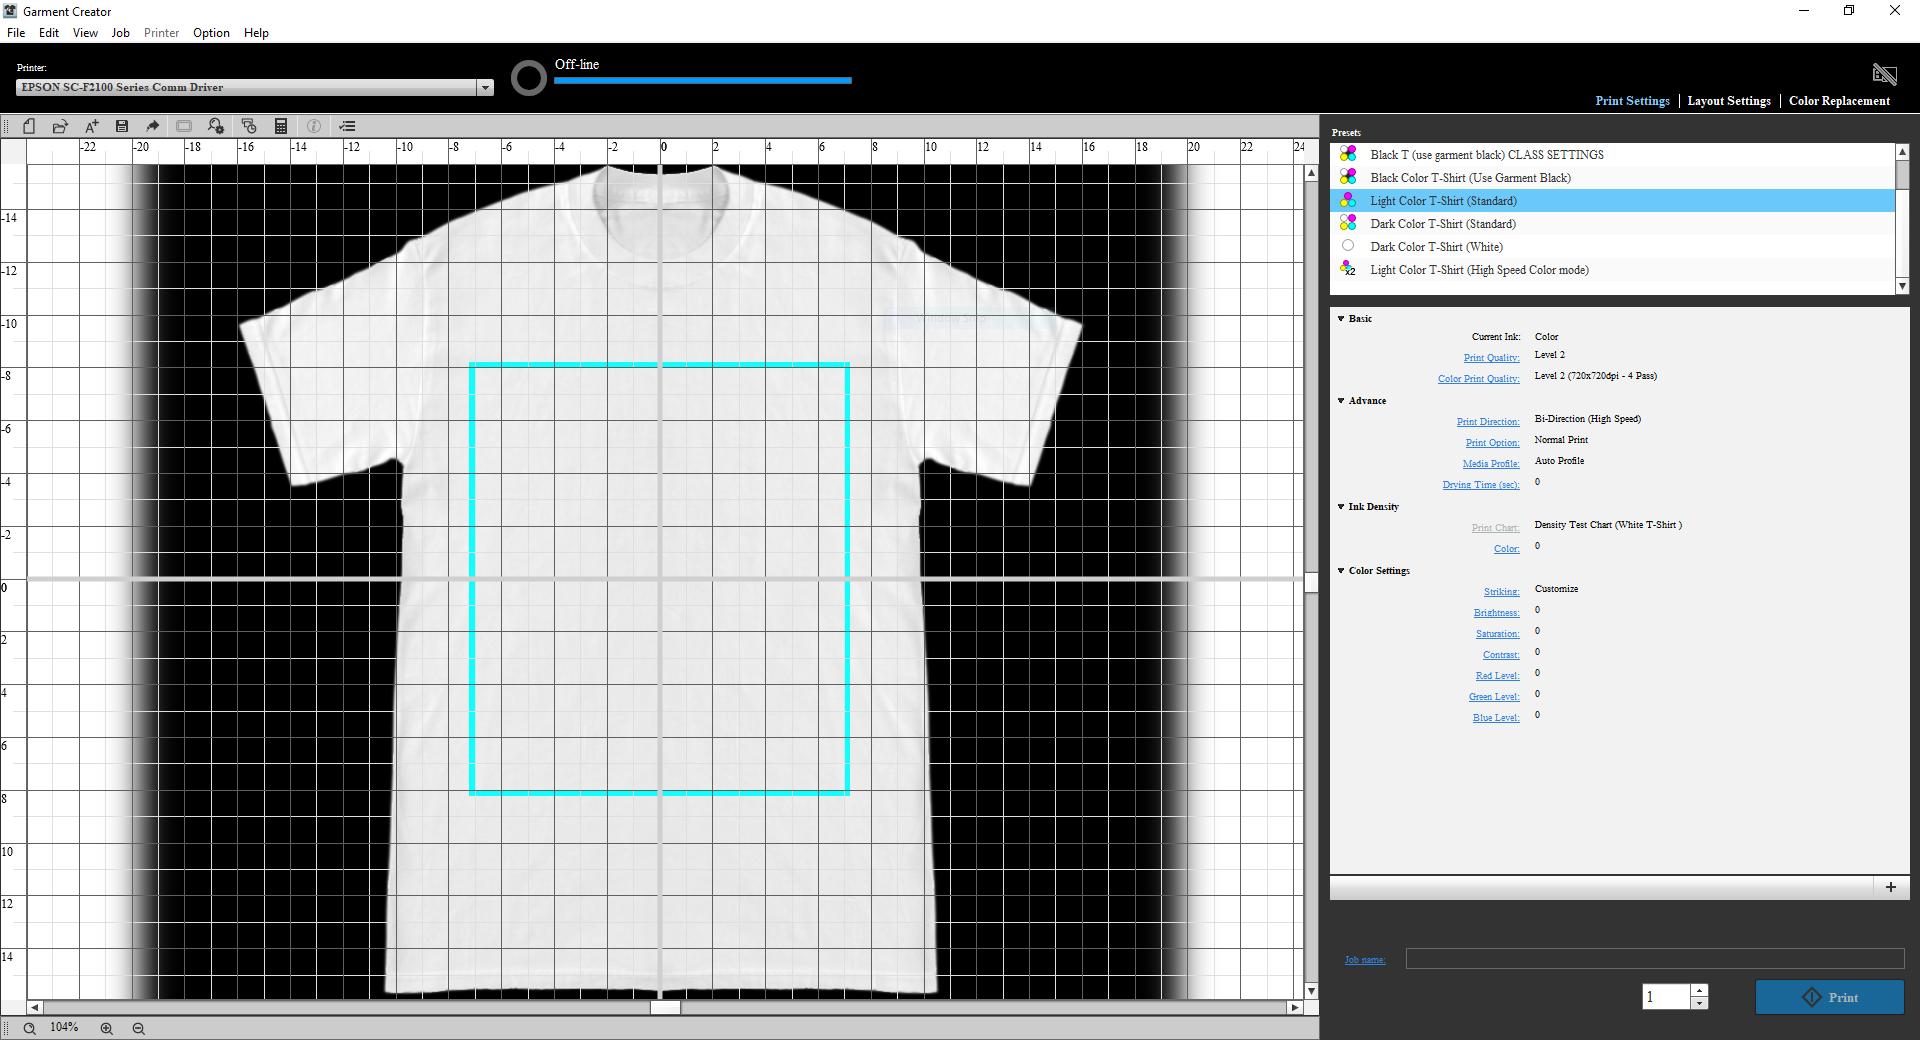
The Garment Creator workstation will open up.
-
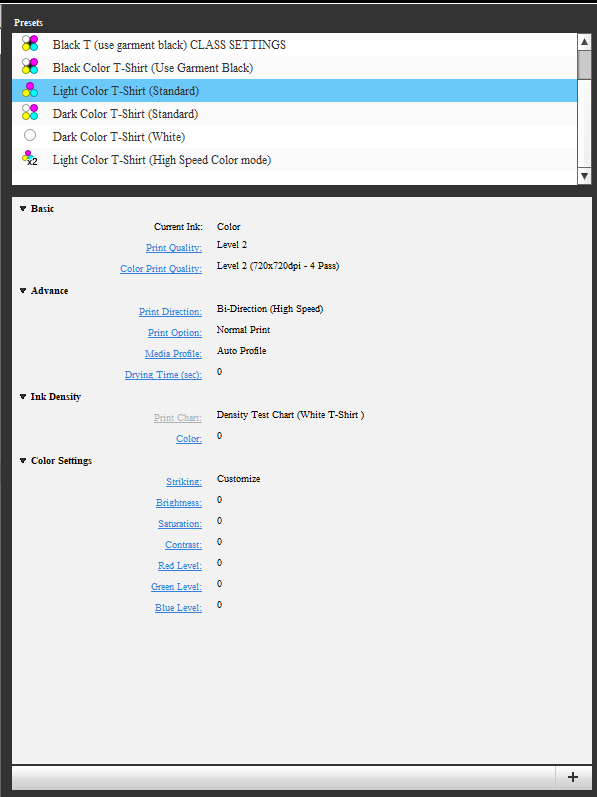
On the right side of the window is the presets tab. You can scroll up and down within this tab to select a preset, or you can create a new preset with custom settings.
-
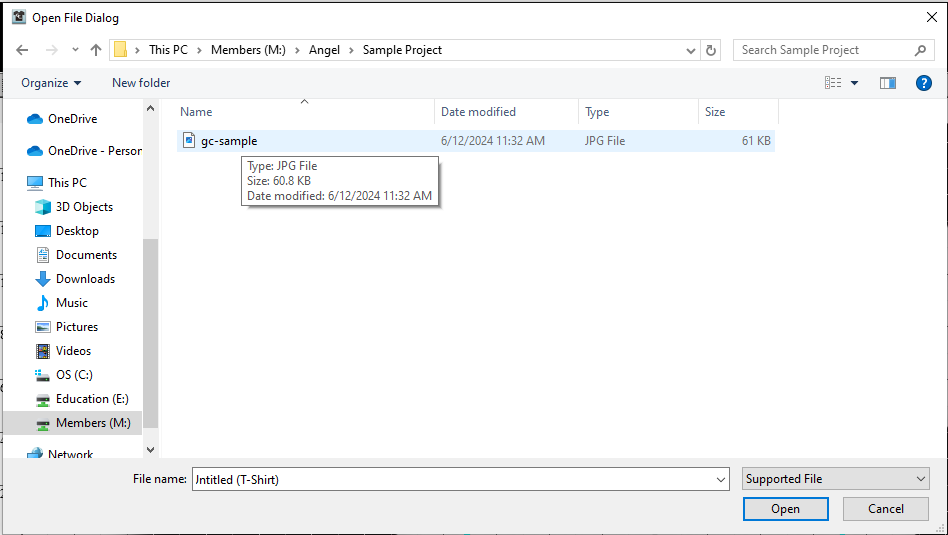
Next, you will want to open your design. Click on "File" and select "Open." You can print any raster image.

-
Navigate to your image file, click on the file and select "Open."
-
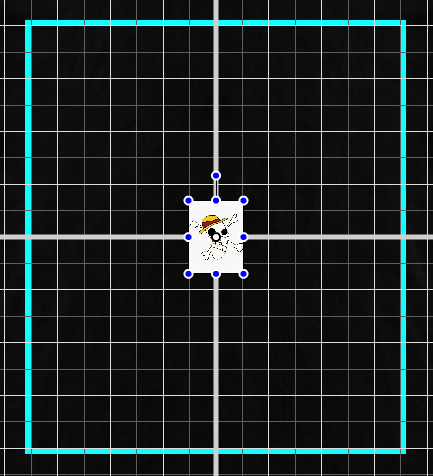
The program will open your image and place it within the center of the garment. Using the anchors at each corner you can resize the image.
-
The sample image has a white border. You can print the white border, or you can navigate to the "Color Replacement" tab and select "Transparent."
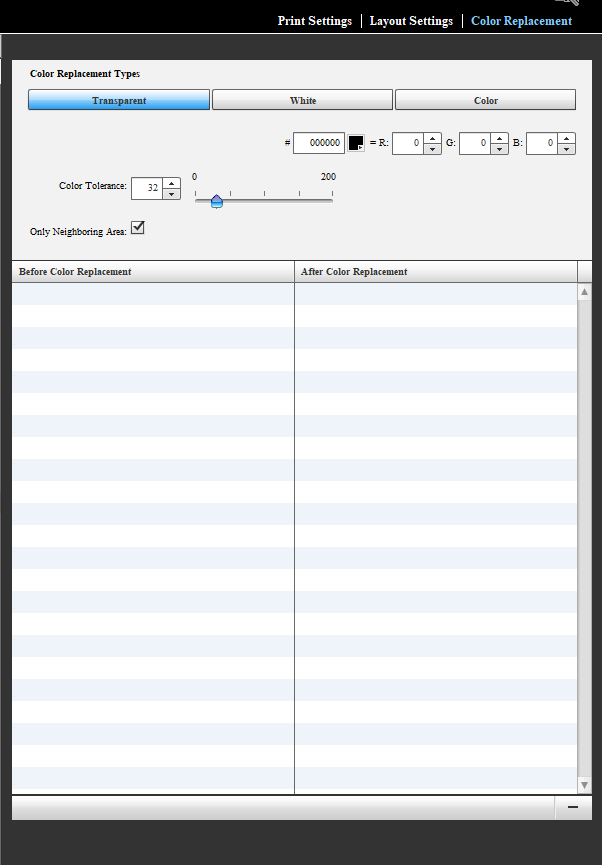
-
Click on the white border and the program will automatically remove any pixels with the same color profile in the surrounding area.

-
Within the "Layout Settings" tab you can rotate, flip, and scale your design. While in this tab you can also chose the size of your platen.
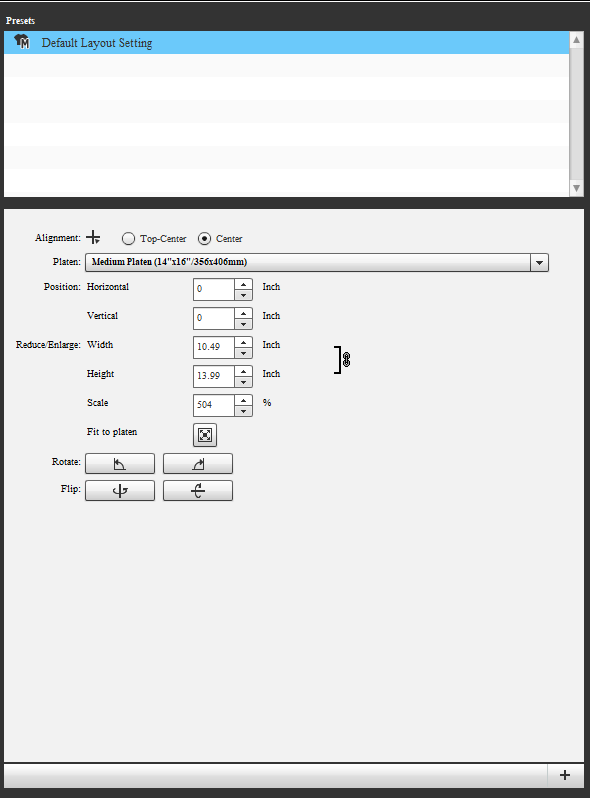
-
Make sure the Epson SC F2100 is powered on before you continue.
-
Follow the Print a Design on the Epson SC F2100 SOP to finish.
You have successfullu prepared a design for printing in Garment Creator!