¶ HSS Gouges
- Set the jig up for the angle and the gouge. Refer to the engravings on the handles of the tool and the image below to help ID the tool. The table of angles is for reference- most of our tools have drifted away from the 'ideals'.
1.1 The tool handle goes in the cradle.
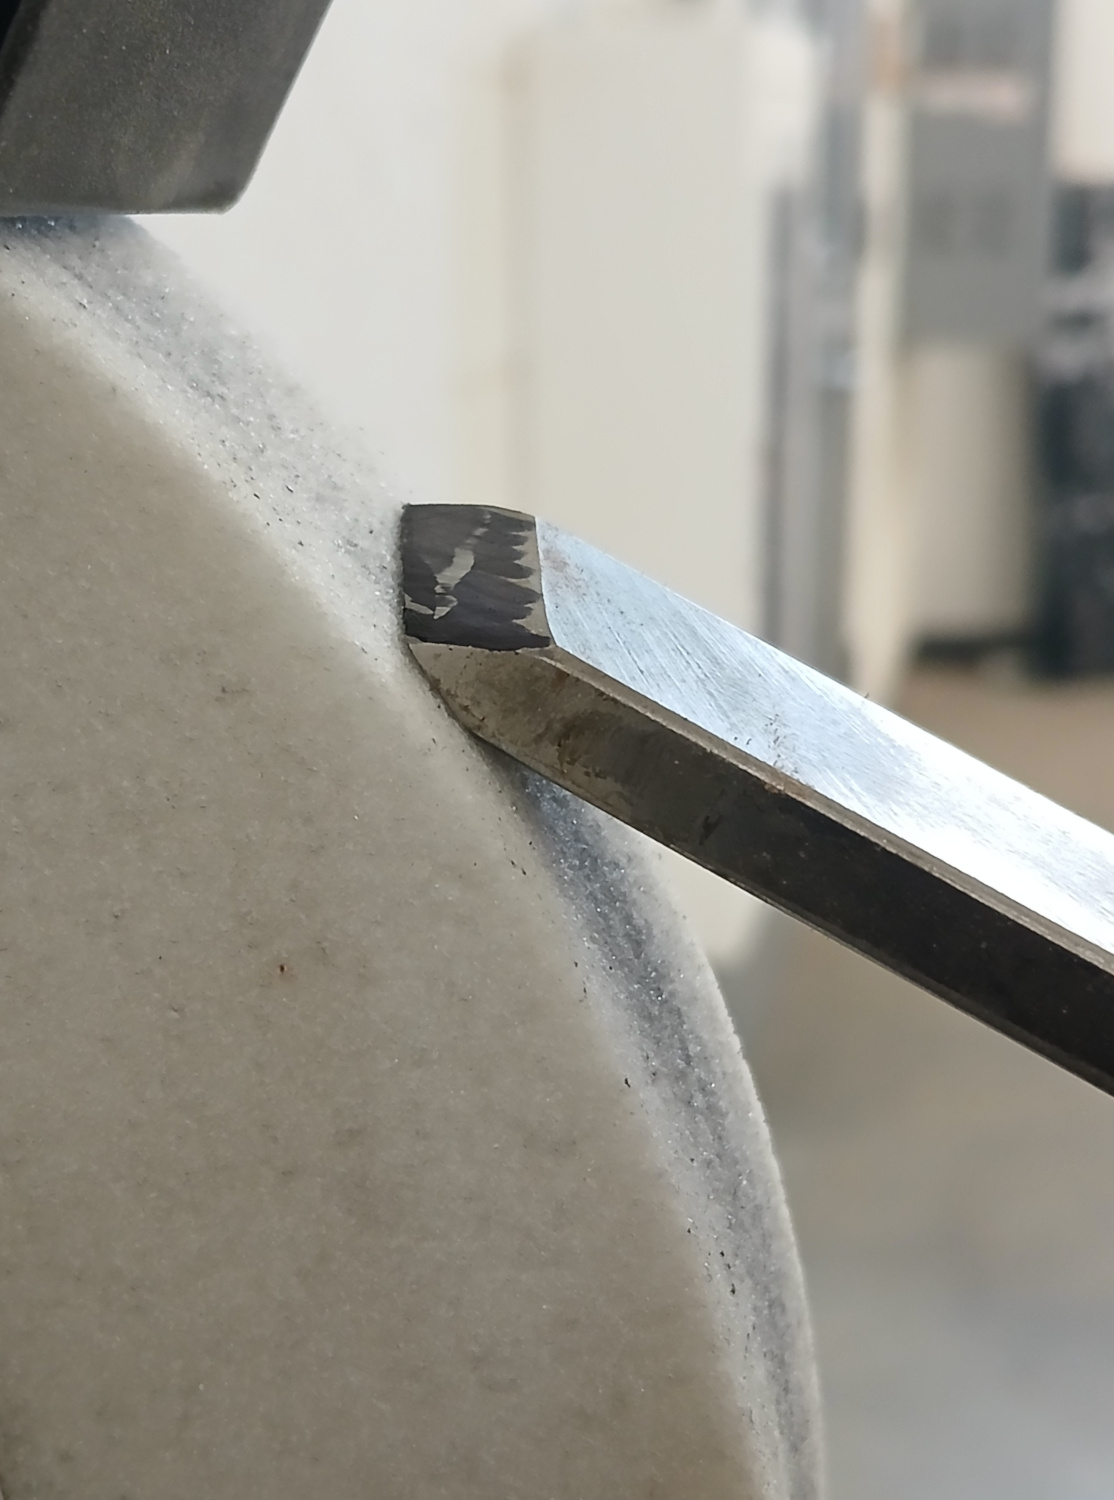
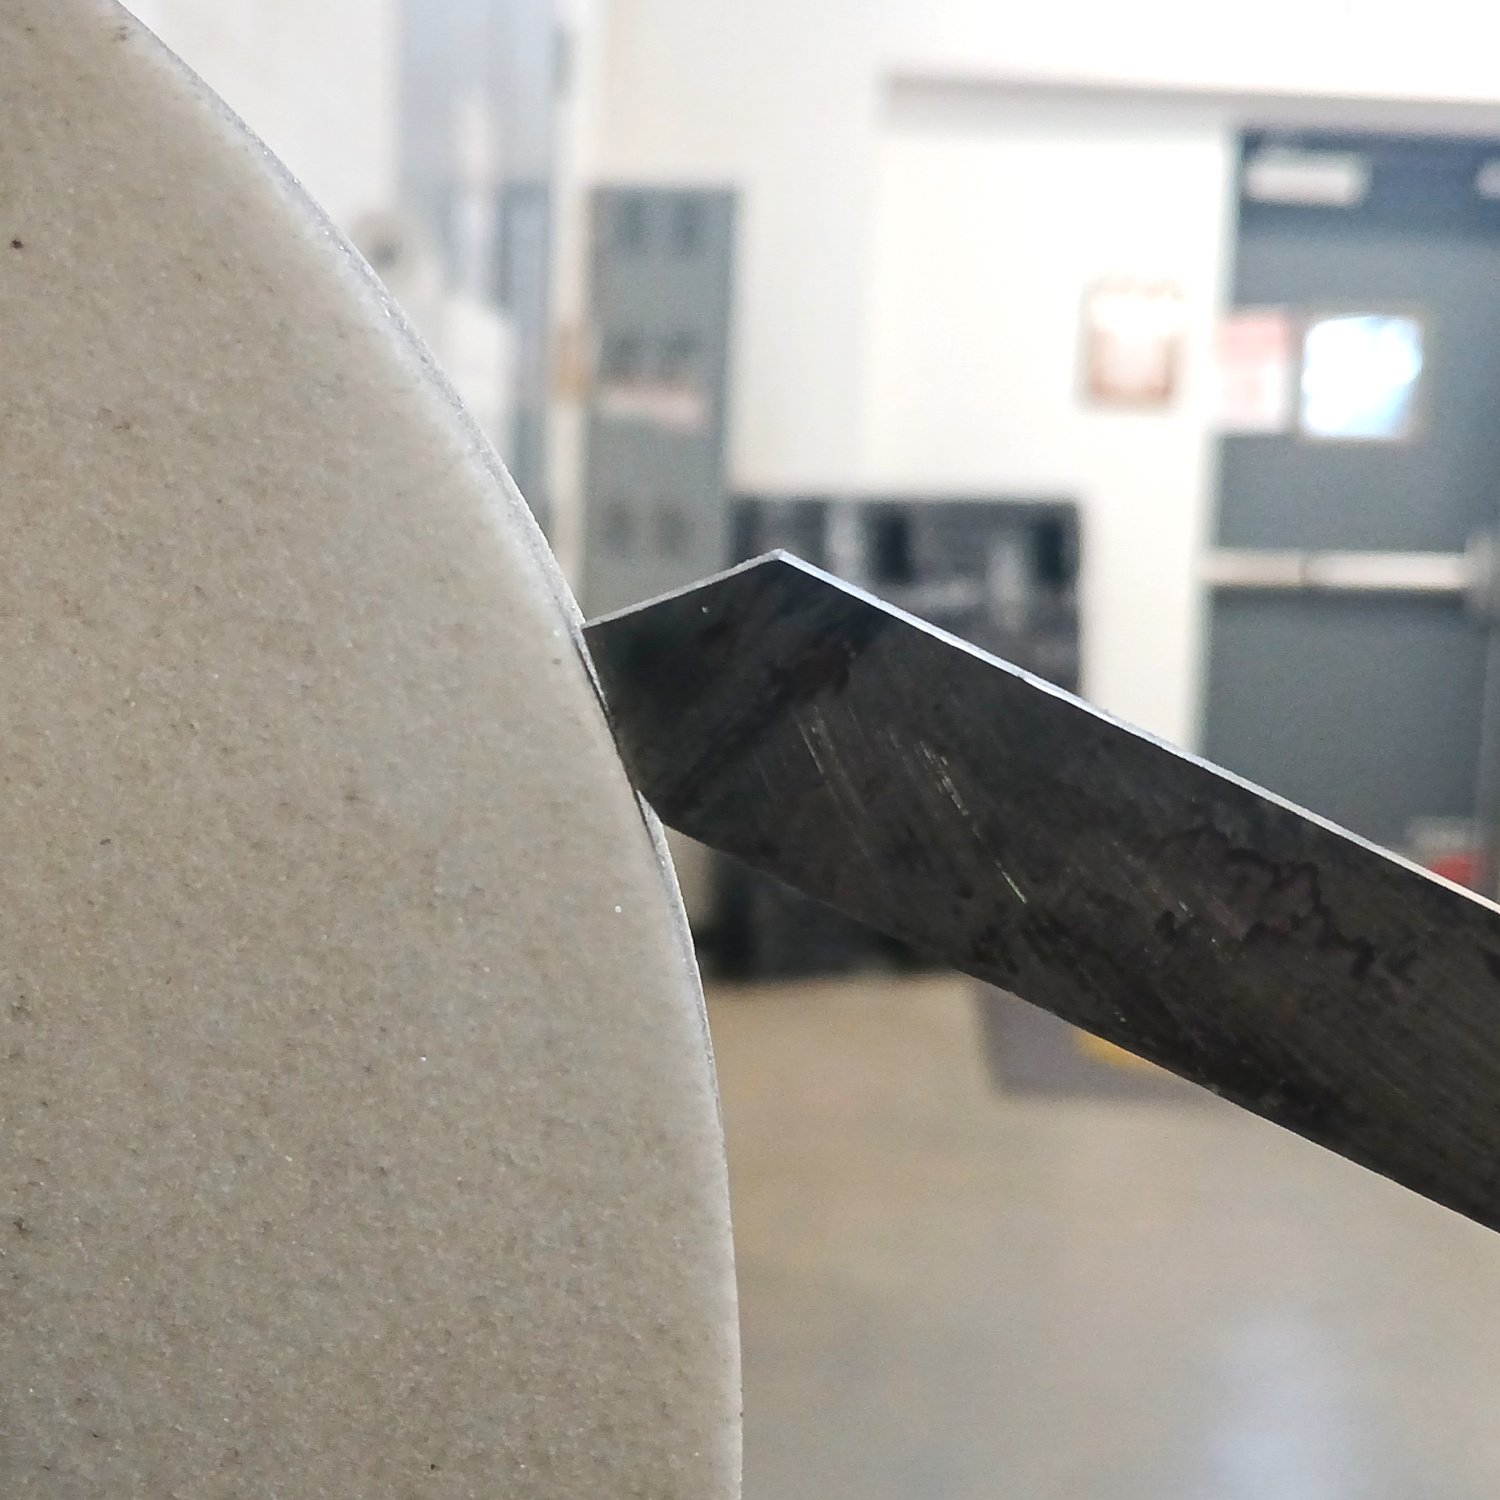
1.2 The bevel goes against the wheel. The bevel should be close to flat against the wheel.
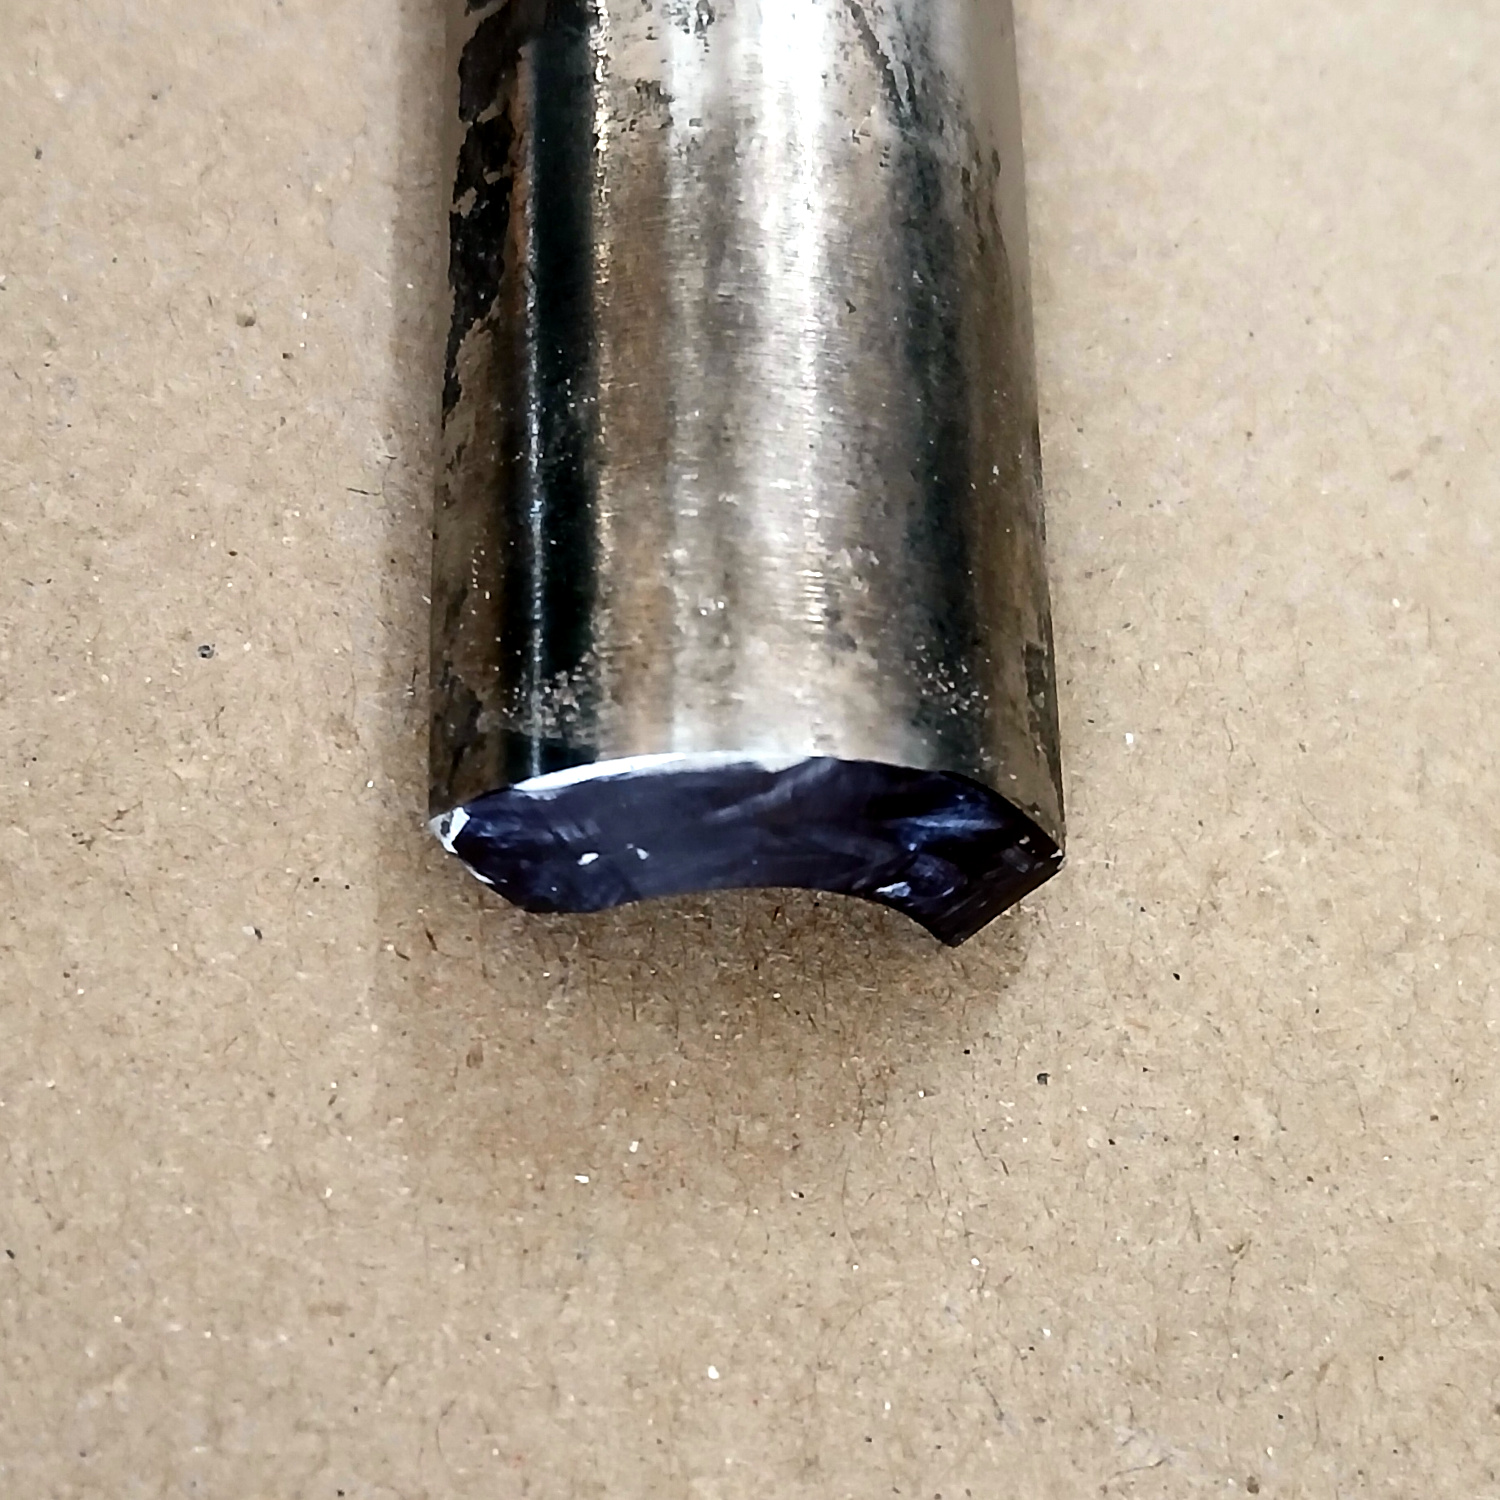
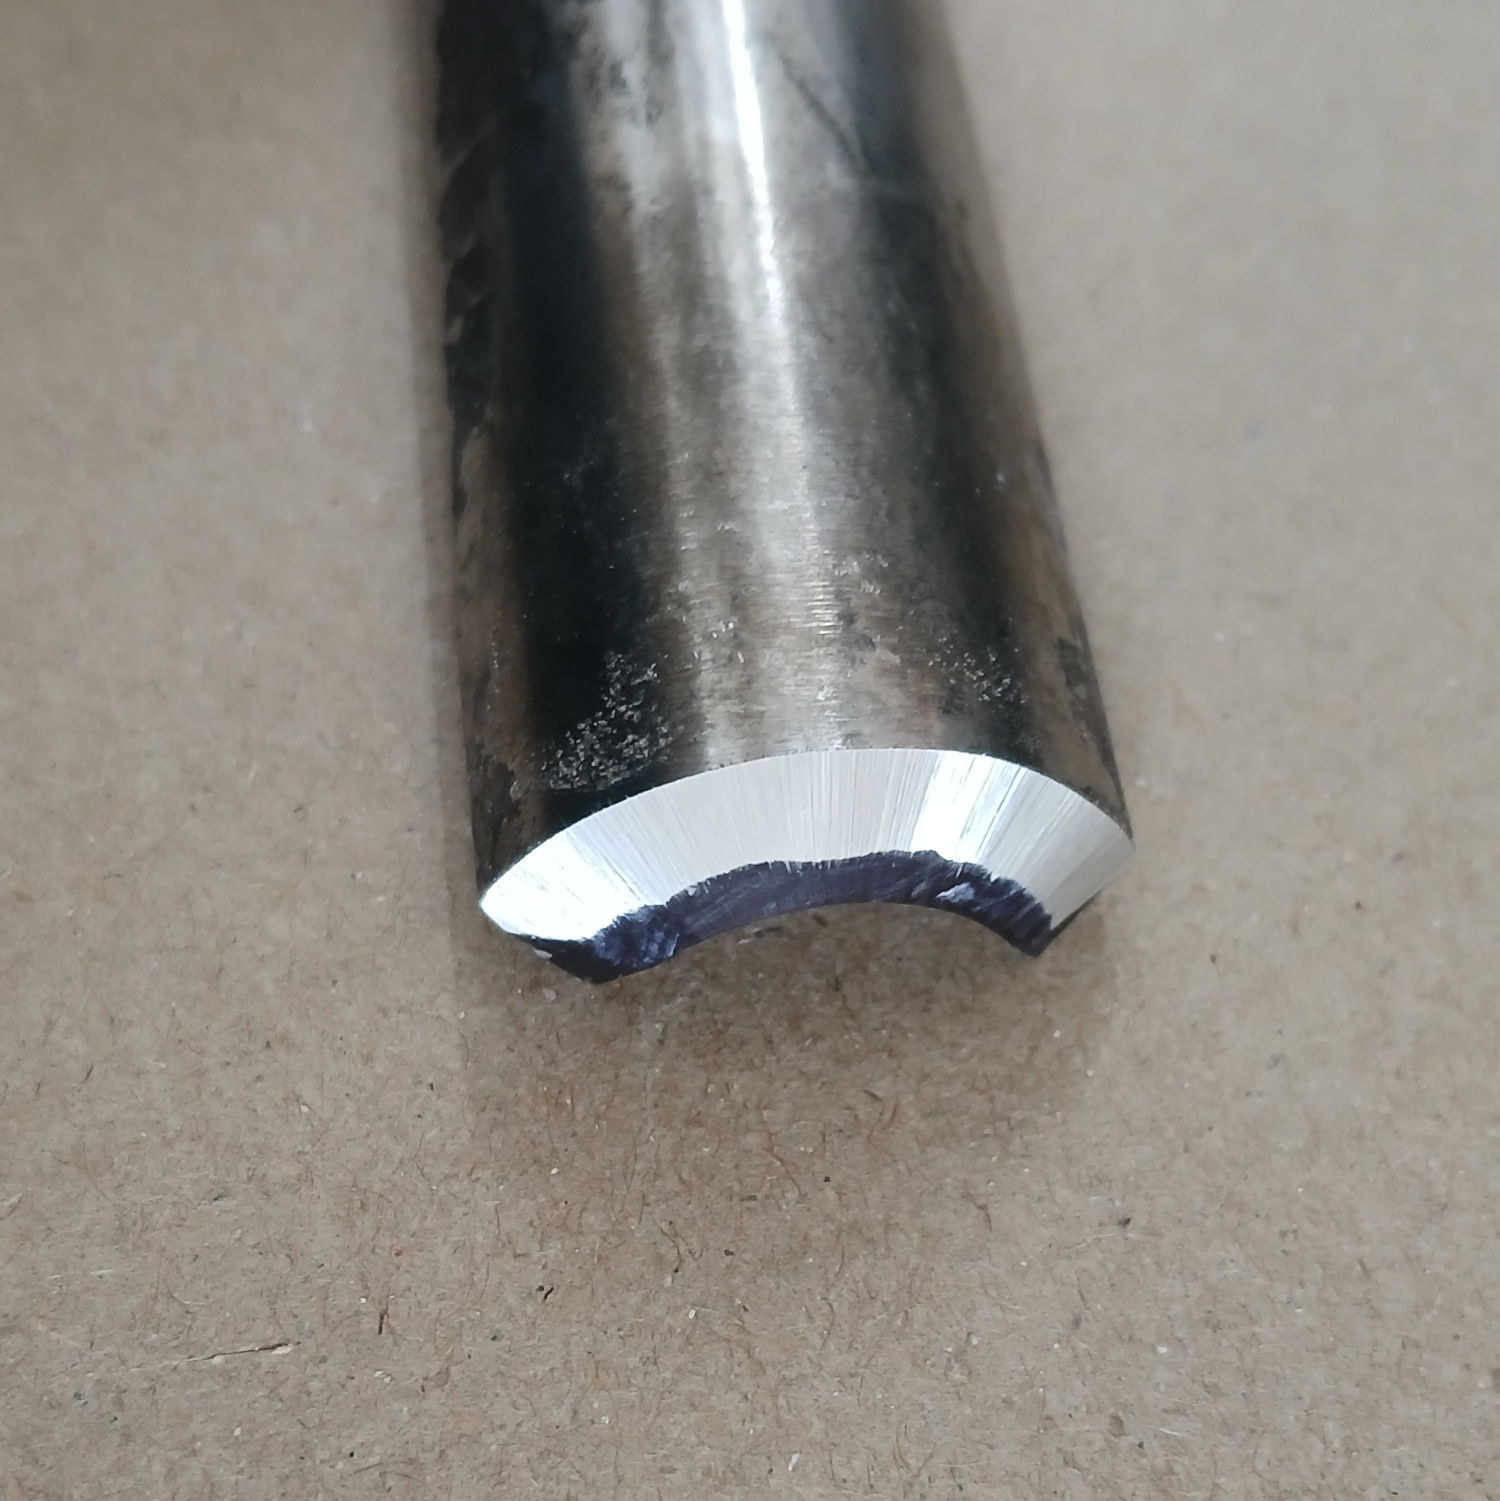
1.3 Yeah, we do this by eye. Err on the side of the heel being in contact with the wheel rather than the cutting edge being in contact with the wheel. - Apply marker to the bevel/area to be ground. This will clearly show where you have ground the bevel. Left image: marker applied. Right image: marker partially ground away, indicating that the heel has been ground but not the cutting edge.
- Turn the grinding wheel on.
- Set the butt of the tool in the rest, then touch the tool to the grinding wheel.
- If the tool is rounded, rotate the tool in the rest so that the spot being ground is always in the center of the width of the wheel. Rotate from one side to the other, a full 180 degrees from side to side. Flat tools lay in place.
- Using light pressure and working quickly means that the tool should not heat up enough to need cooling. Let the weight of the tool do the work.
- Check that all of the marker along the cutting edge has been removed. Prioritize the center of the tool over the wings- because the shape of these tools has drifted over time, the wings may not grind the same way as the centers and the centers are what is used for cutting.

¶ Roughing Gouge, Spindle gouges, and other rounded/cupped tools
These tools should never have points and the sides should never be forward of the center.
The roughing gouge has a very vertical bevel on it because it needs to take a lot of force.
Spindle gouges have a shallower bevel because they need to get into tighter spaces and make shallower cuts.
¶ Skew positioning
The skew should maintain a straight edge. Do not adjust the tool rest when flipping sides: both sides of the tool should be identical.

¶ Parting Tool positioning
The point of the tool should be in the center when looking at it from the side. The point should be 90 degrees. Because of the size of the tool, the edges will become concave- this is okay. When moving to the finer grit wheel, set the rest so that it grinds the point rather than the center of the edge and the concavity will correct itself. Do not adjust the tool rest when flipping sides: both sides of the tool should be identical.
¶ Scrapers
Scrapers have a very vertical bevel because they need to take a lot of force. The cutting edges of the scrapers should be smooth and without grooves or notches.
¶ Tips
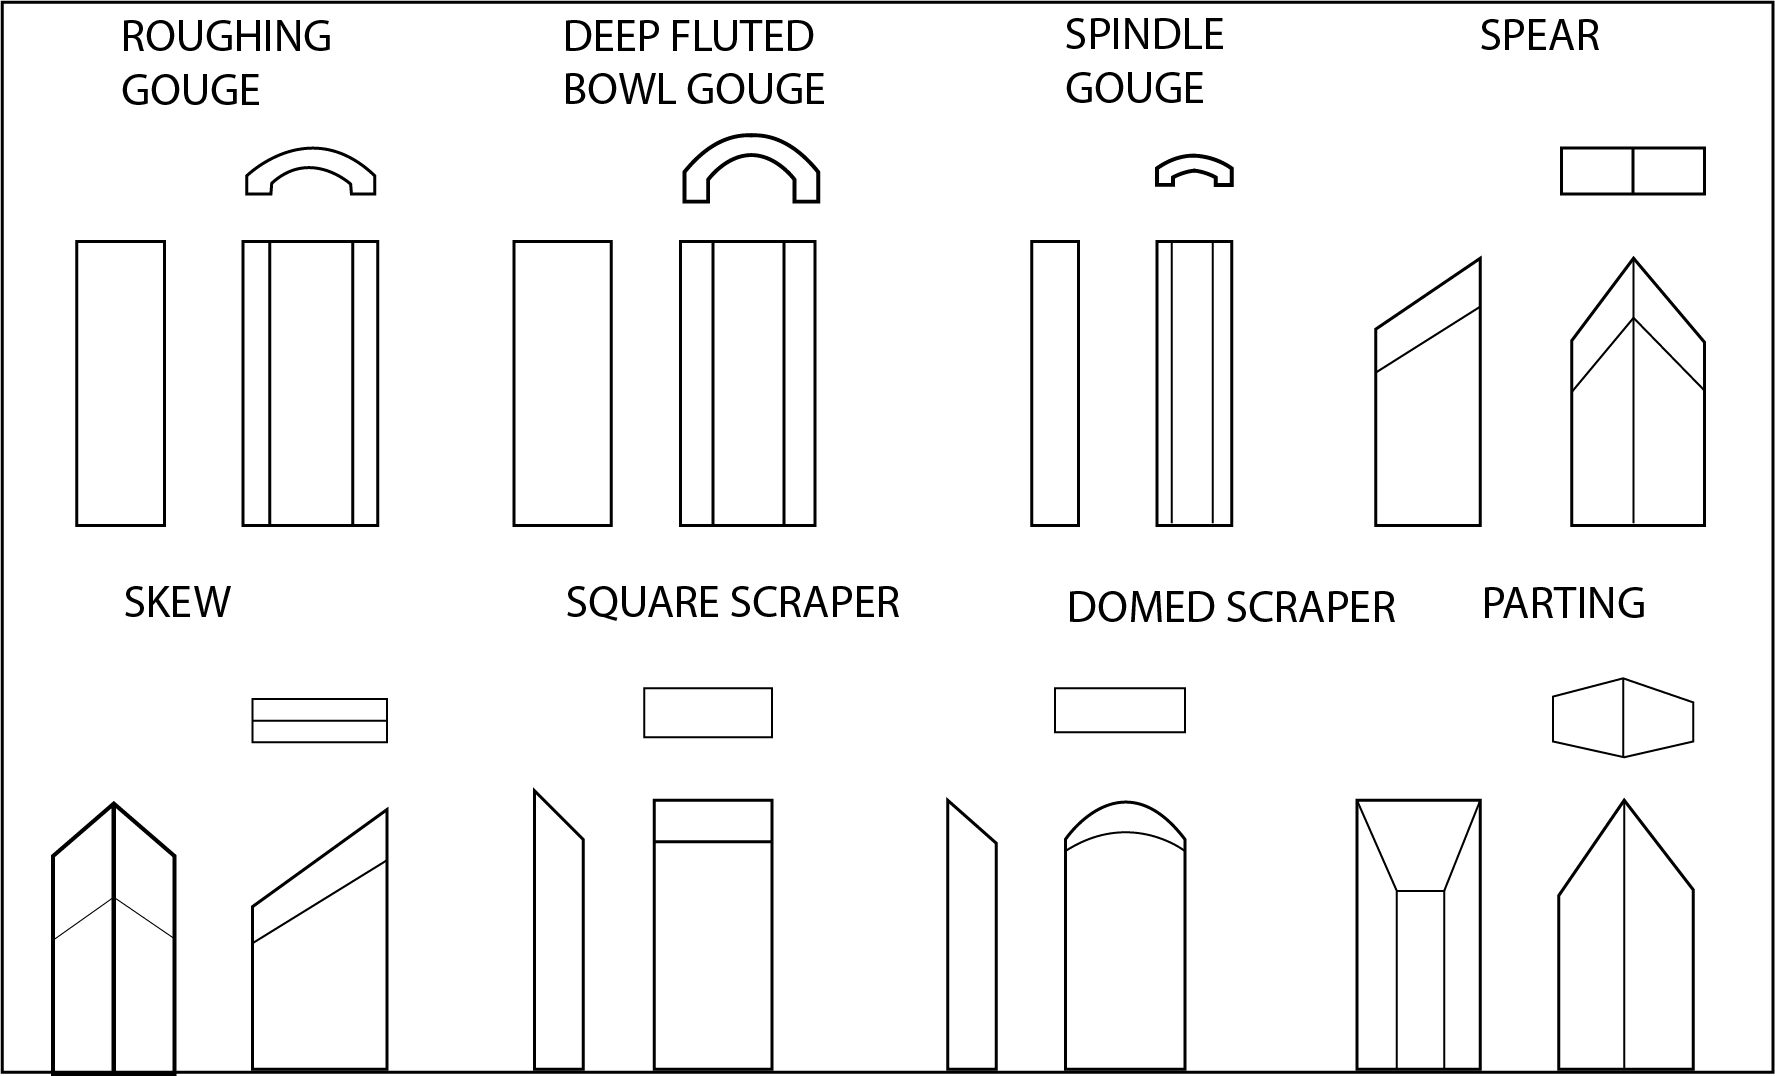
- Roughing Gouge: Used for rapidly cutting raw wood into round stock.
- Deep Fluted Bowl Gouge: Used for turning bowls and plates.
- Spindle Gouge: Used for turning beads, coves and other details.
- Spear: Fine scraping and delicate operations, such as the forming of beads, parallel grooves and shallow vees, etc
- Skew: Used to make vees, beads, etc.
- Square Scraper: Used for diameter scraping and featureless scraping, etc.
- Large Domed Scraper: Used to reduce ridges on the interior of bowls, round edges of bowls, etc.
- Parting Tool: Used to cut directly into the material, or to make a cut off. Also used for scraping and to set diameters.
| Tool | Angle |
|---|---|
| Roughing Gouge | 70 to 80 degrees |
| Bowl Gouge | 40 to 60 degrees |
| Skew | 25 to 30 degrees |
| Scraper | 70 to 80 degrees |
| Parting Tool | 45 degrees |
Grind chart from page 75 of the Tormek manual
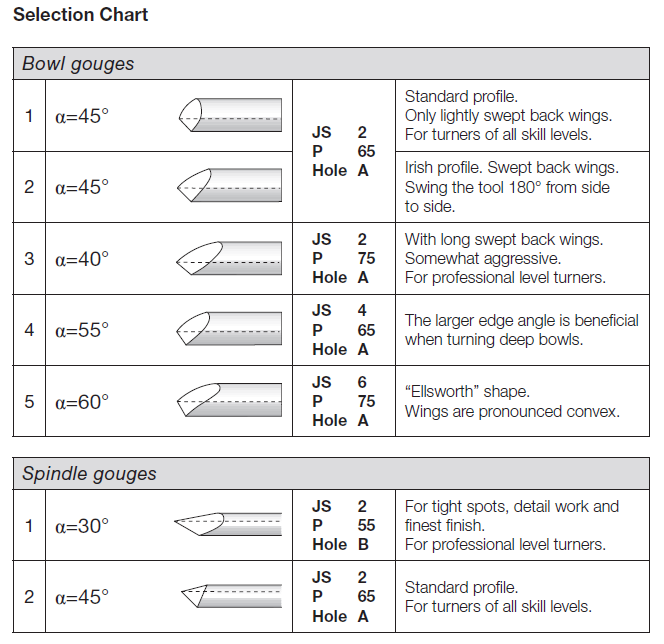
with additional commentary from this forum post.
If you read round page 75 it explains the different jig settings and the effect they have on the bevel. The primary reason for extending the wings ie moving in the direction of an Ellsworth grind is to hog off more stock when roughing out bowls. The primary reason to change the angle of the bevel is to help get round the transition of wall to bottom on the inside of a fairly deep sided bowl. Other reasons include the reverse of the wings for sheer scraping and of course simply grinding off the points of the wings to help avoid catches.
¶ Carbide Gouges
¶ Rotate tips as the edge in use becomes dull
- Dig the dust and tar out of the hole in the hex screw with a pin/small pick
- Use a hex key to loosen the screw
- Rotate the tip.
- Tighten the screw with the hex key.
¶ Replace tip when all edges have been used
- Dig the dust and tar out of the hole in the hex screw with a pin/small pick
- Use a hex key to remove the screw. Don't lose it!
- Remove the tip. Replace with a new one.
- Reinstall the screw with the hex key.
¶ Sharpening carbide tips
You can do it (even if you don't want to or need to because carbide tips are cheap). With a tip removed from the tool:
- Prepare whetstone according to the whetstone's needs. This may be water or oil.
- Place it broad side down on a whetstone.
- Scrub it in circles across the stone until it feels better/you get bored.