¶ Description
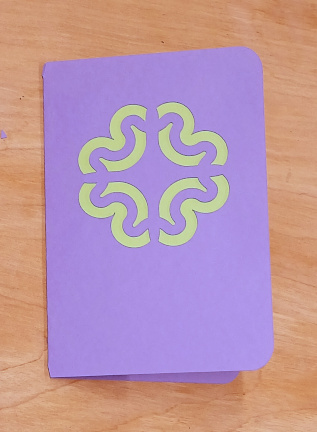
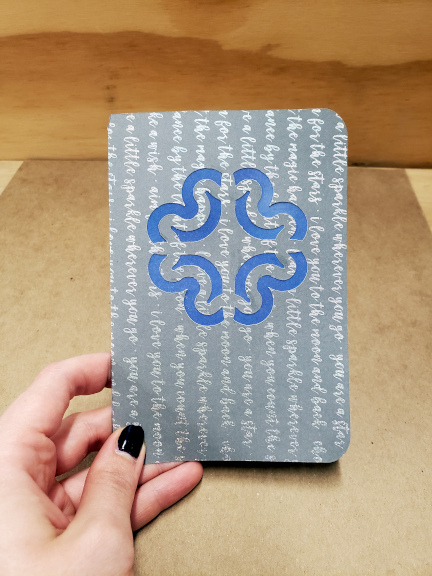
In this project, you’ll use contrasting colors of cardstock to make a card. One piece of cardstock will be folded to form the outside of the card and have a design cut out of it. The cut out design will reveal the color of the other cardstock, which will be cut to cover the design and pasted to the inside of the folded card.
¶ Materials and Tools
- Cardstock in contrasting colors (two colors)
- LightGrip® Machine Mat (Blue)
- Fine Point Blade
- Adhesive for Paper, such as gluestick
- Spatula or other straight edged tool like a credit card
- Ruler
¶ Prior Knowledge
Going into this project, you’re expected to know how to add objects to the canvas and manipulate them using the basic tools provided. If you need more help with those steps or want a refresher, review Project 1 or check out the Quick Guides.
¶ Prepare the Design
You will make two designs. One will cut out the card and the decorative design on the front of the card and the other will cut out the liner piece. We will start with the outline of the card and the decorative design before moving on to the inner piece.
Note: this project assumes that you are making a rectangular card with a design that does not go all the way to the edge. If you want to use a different shape for the card and/or have a design that goes all the way to the edge, go right ahead! But the following instructions may feel somewhat incomplete in those cases.
Open Cricut Design Space® by clicking the icon on the desktop. After it opens, click on the New Project button and choose “Blank Canvas”. This will bring you to the canvas on which you will create your design.
![]()
¶ First, create the outline of the card.
Use the Shapes menu in the left sidebar to select a shape. Click the shape once to add it to the canvas.
Tip: If you don’t want that shape, use any of the following methods to get rid of it: Undo button in the top menu, Ctrl+z on the keyboard, left click on the shape to get to the menu and use the Delete option, or press Delete on the keyboard.
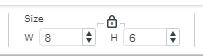
Now, change the size of the shape you’ve added. Use the Size tools in the upper toolbar to set the size of the shape. The lock symbol means that the ratio of the width to the height will remain the same when one value is changed. For example, a square will remain a square but you’ll never be able to make it a rectangle. To change width independently of height, click the lock symbol. Press Enter on the keyboard to set the value you typed in.
Tip: It may help to imagine a simple card laid open and flat- how wide and tall is that shape?
To make the card easier to fold during the assembly process, you may wish to put small notches in the centers of the top and bottom edges in order to provide a guide when you fold the card later.
Use the Shapes menu to add a triangle to the canvas. Then change the size of the triangle to make it very narrow. This triangle will be used to make the notches in future steps.
Duplicate the triangle using any of the following methods:
- Ctrl+d on the keyboard
- left click on the shape and use the menu to use the Duplicate option
- use Ctrl+c and then Ctrl+v to copy and paste it.
Rotate the copy 180 degrees. Use the Rotate tool in the upper toolbar to set the rotation of the shape. Press Enter on the keyboard to set the value you typed in.
Use the Align tools in the upper toolbar to position the triangles at the upper and lower centers of the card with their points just inside the outline.
- Position the triangles about where you want them to go. This does not have to be precise.
- Select the outline that you created earlier along with both triangles.
- In the Align menu, use the Distribute Vertically tool. This will move the outline to be centered between the triangles.
- In the Align menu, use the Center Horizontally tool. This will center the triangles on the outline.
Tip: to select the outline and triangles, use any of the following methods:
- Click-and-drag on the canvas to draw a box around all three shapes
- Click a shape on the canvas. Then holding down the shift key, click the other shapes on the canvas.
- Click a layer in the layer sidebar. Then, holding down the shift key, click the other layers.
- Ctrl+a on the keyboard
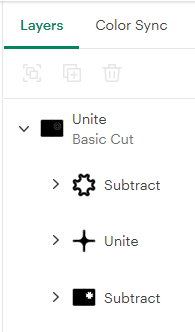
Now you will turn those triangles into notches. Use the Subtract tool, found in the Combine menu at the bottom of the Layers sidebar, to remove the triangles from the card to create the notches.
The order of the layers is important. All of the layers above the last layer will be subtracted from the last layer. In this example, the layers with the triangles will need to be above the layer with the rectangle before you do the subtraction.
Tip: think of it as “subtract this (or these) from that” where ‘that’ is the layer at the bottom of the stack and ‘this/these’ is everything above it.
¶ Decorative Design for the Front of the Card
By mimicking the process above, you will now create the design for the cutout. Add more shapes to the canvas and explore the tools in the Combine menu as you create the decoration. Remember that the last step will be to subtract the design from the card!
Tip: To make all of the different shapes easier to see, you may want to change the colors. Change the color by clicking the box next to the Operation type box. The colors also tell the machine that the shapes are different materials that will be cut separately.
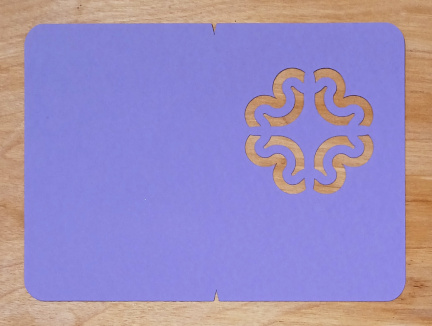
Tip: the card needs to be all one piece (and one color) when you’re done. For example,
Tip: the design will need to be subtracted from what will become the front of the card, which for most designs will be on the right side. If you choose to make your design on the left side, you’ll need to mirror any text.
¶ Lastly, the Inner Piece
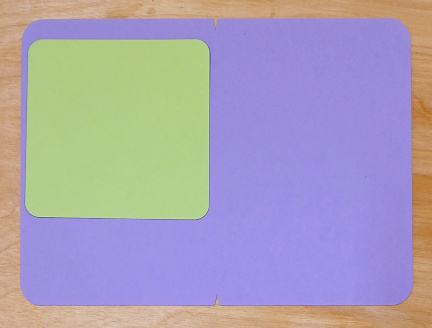
The liner piece will be a simple rectangle or square that is somewhat larger than the design on the front. Tell the machine that the liner is a different color so that it knows to put it on a second mat when laying out the mats. For example:
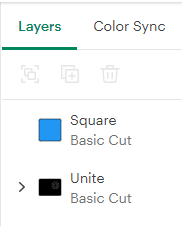
Make sure that the Operation type for all pieces is “Basic Cut”.
¶ Cut the design
When you’re ready, click Make. A new window will open.
Design Space will ask you what sort of mat you’re using, and then what size. Once you’ve told it what mat you’re using, click confirm. A new window will open.
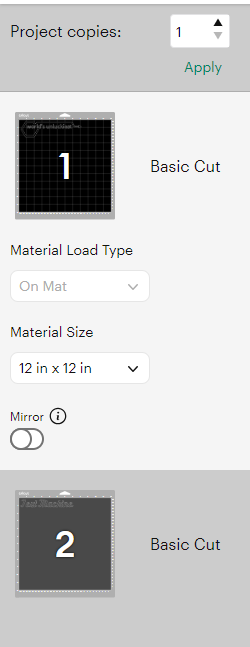
Design Space will show you how your design is laid out on the mat. Here you can click on your design and move it around. Because there are two different materials, there are two mats to lay out. Click on the second mat and lay it out too.
Tip: if the parts of your design have moved around in relation to each other during mat set up, go back to the design and use the Attach tool. This will keep them in the same positions relative to each other when Cricut Design Space puts the design on the mat.
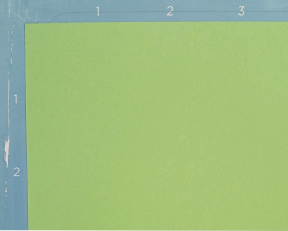
If you haven’t already, put the cardstock for the design shown on mat 1 onto the mat. Remember to use the blue/Light Grip mat. The other mats are stickier and can tear the cardstock apart. If you have two mats, prepare them both. Otherwise, you’ll remove the first design and place new material on the mat for the second design.
Tip: refer to the Quick Guides for more information on putting material on mats and loading a mat into the machine.
Click Continue. A new window will open, helping you connect to the machine.
A new window will open, letting you select what materials you’re using. Then it will prompt you to load tools and the first mat. Then press the blinking button!
The machine will cut out the first design. Then it will prompt you to unload the first mat, remove the material from the mat, and prepare the mat for the second design. Once you have loaded the second mat, press the C button and the machine will continue.
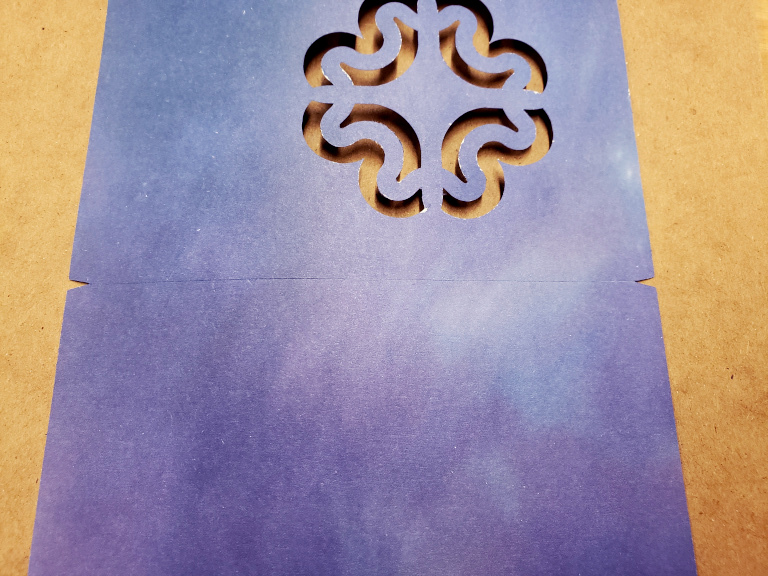
After the machine is done cutting the designs, there are a few steps left.
¶ Weeding
Weeding paper is slightly different than weeding vinyl. Typically the pieces just fall right out of the design and have to be individually removed from the mat. If they don’t fall right out, there were fibers that were not cut all the way through and simply pulling the pieces free may make the edges look soft and fuzzy so it’s important to carefully cut those fibers with a craft knife or scissors instead of tearing them.
¶ Assembly
¶ Folding the Card
The notches in the edge of the card can help guide you as you fold it by indicating the centers of the edges as well as providing a guide for creating a score if you want to go the extra step. A score is an indentation pressed into a material. To score the card:
- Lay the card on a flat hard surface.
- Align a ruler along the two notches.
- Using the ruler as a guide, use the edge of a spatula tool to apply pressure to create a score line.
- Fold along the line between the notches.
- Smooth the fold with the side of a pen or a bone folder to neatly crease the card.
¶ Putting the pieces together
- Fold the card along the score line.
- Apply craft glue to the INSIDE of the card on the side with the cut-out designs. Use a fine point applicator or a light touch for small areas.
- Place the liner piece so that all the cut-out areas are covered. Apply even pressure over the entire surface for around a minute or until the pieces are stuck to each other and don’t move.
Tip: put scrap paper underneath the card so as to keep the work area neat and prevent glue from getting everywhere.
¶ Before you go
The Cricut is a shared tool in a shared space. It is important to clean up in order to keep the space and tools functioning their best and to make sure everyone gets the best results possible.
- Remove everything from the Cricut, including scrap pieces. Clean up the mats.
- Put mats, tools, and usable scraps away in their designated locations.
- Clean up your workspace on the table. Wipe up any spills.