¶ Description
In this project you will download a multi-part assembly, print each part, and assemble it.
¶ Materials and Tools
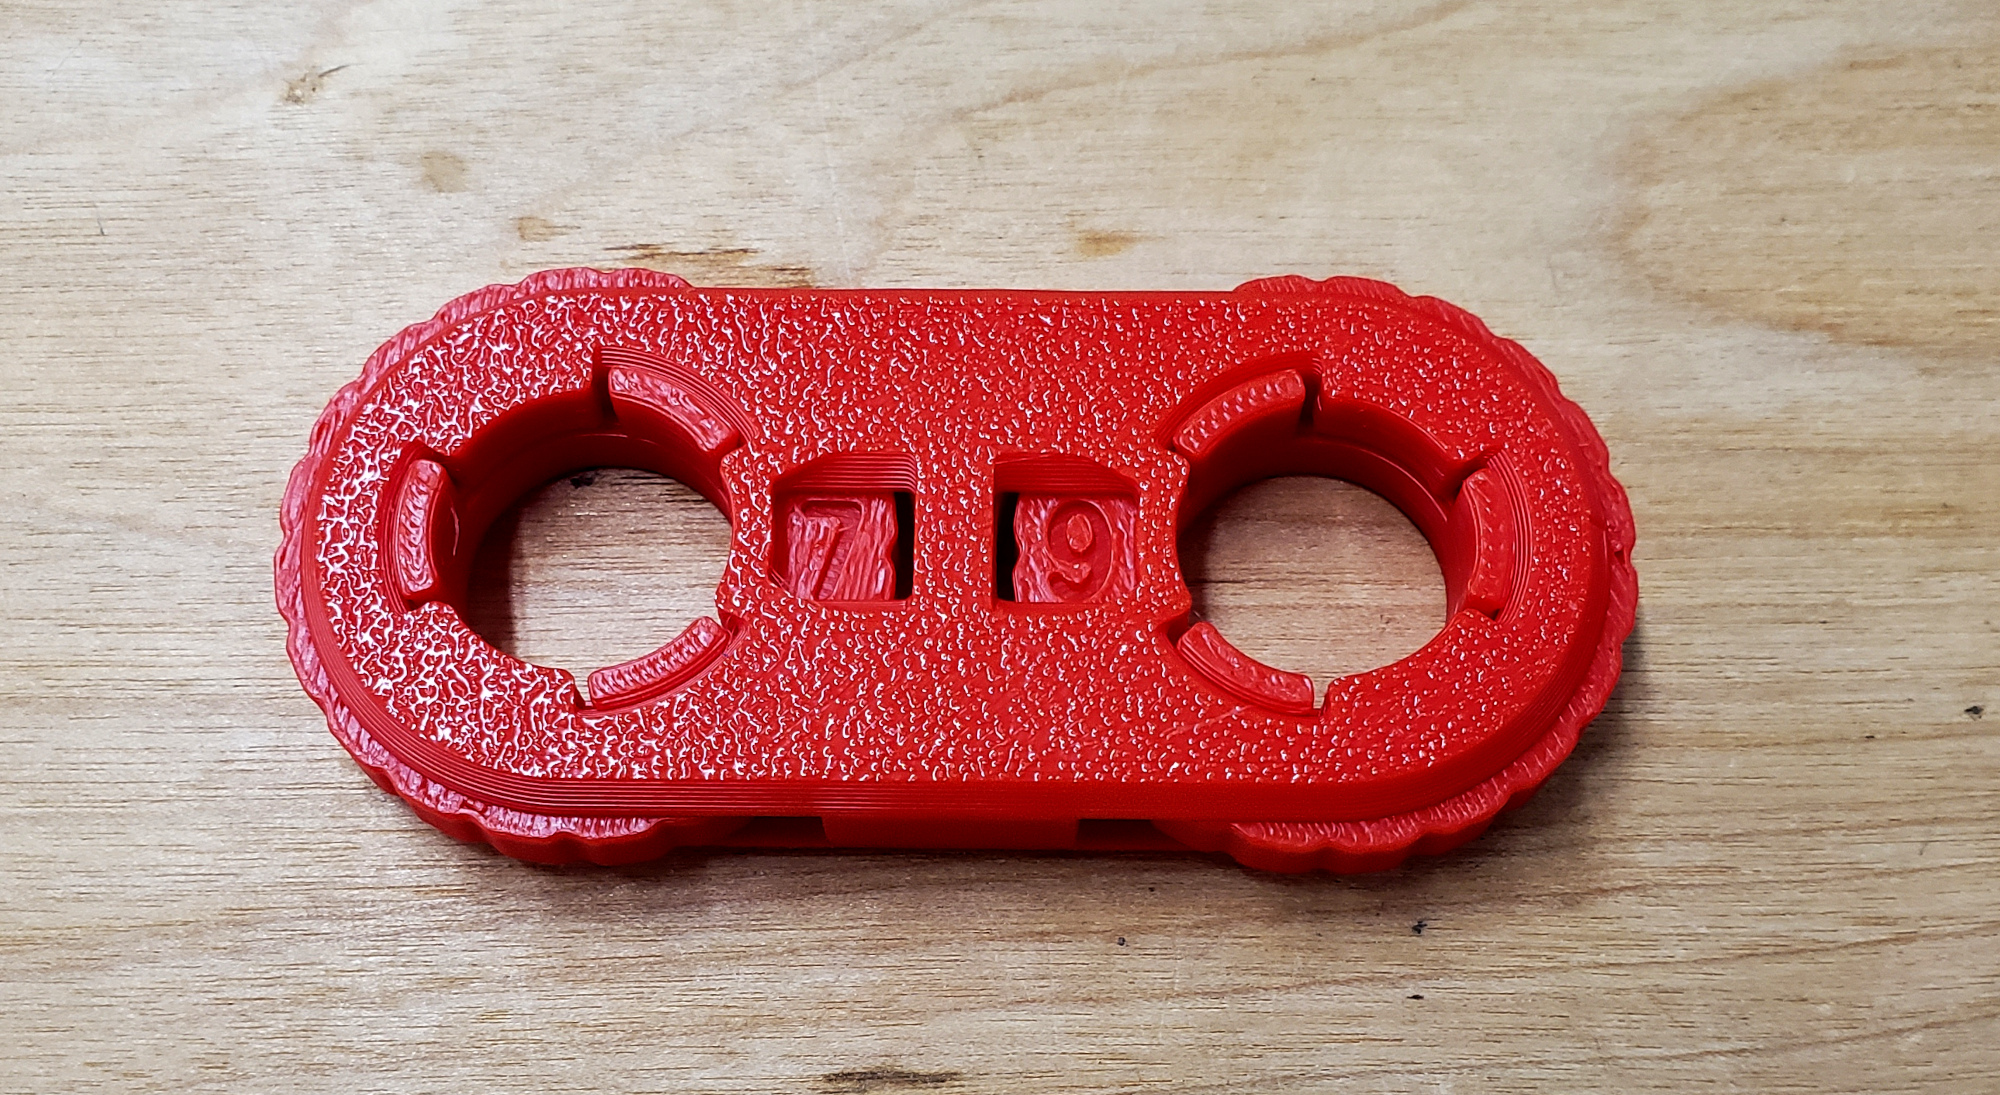
Model: Two Digit Clicky Rotate Counter https://www.printables.com/model/703486-clicky-rotate-counter/files
Slicer: Orca or Bambu Studio
Filament: PLA or PETG
3D Printer
¶ Prior Knowledge
Going into this project, you’re expected to know how to download model files from a model library, unzip the downloaded files, and import them into the slicer. You’ll also need to know how to adjust slicing settings in the slicer. If you need more help with those steps or want a refresher, review Project 1 or check out the Quick Guides.
¶ Obtain the Model
Download all files for the model. If there are multiple files, they may download in a .zip file. If the files are in a .zip, right click on the downloaded zip file and choose “Extract” or “Unzip” or a similar option from the menu.
On the model website, check the description of the model for recommended printing settings and other stuff to watch out for. Even if the recommendations aren’t for the printer that you’ll be using, they can recommend layer thickness and infill settings, among others.
¶ Slice the Model
Open the slicer program. On Open Works computers, this will be Orca or Bambu Studio.
Go to the “Prepare” tab. Click on the cube with a "+" sign icon on the top left to add your 3D model or File -> Import -> Import 3MF/STL/… Find the model files and open them.
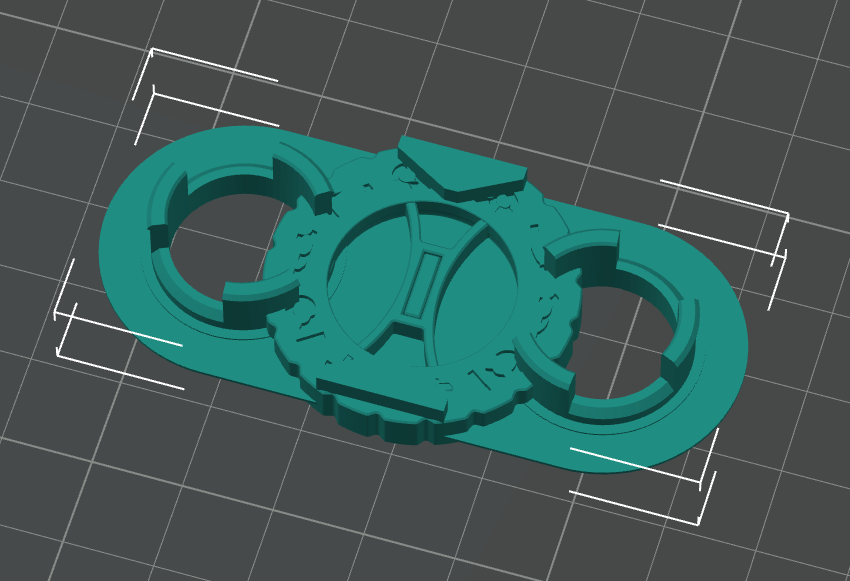
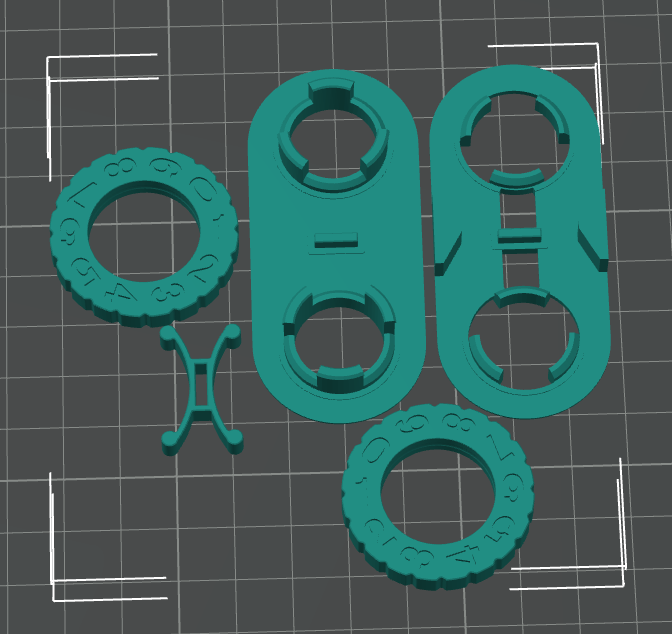
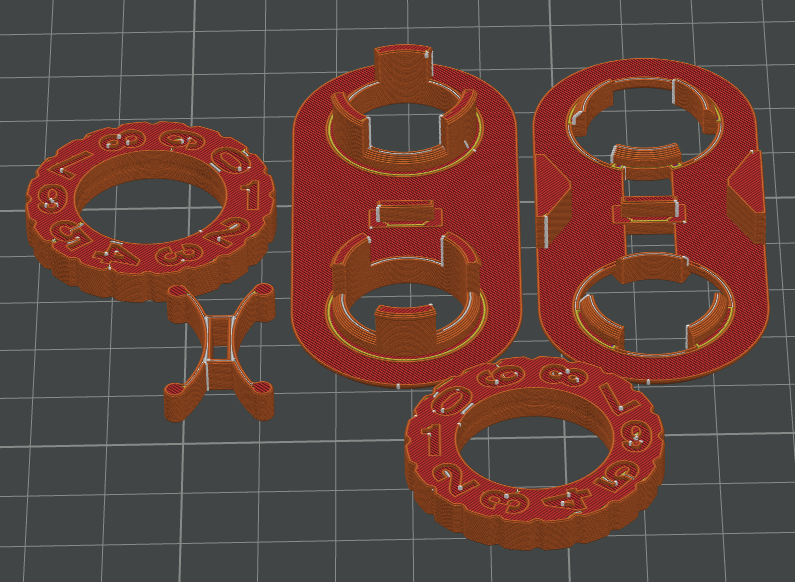
This model has multiple parts. Ensure that you add
- The top and bottom of the same case (normal or reversed)
- A spring (normal or soft)
- Wheels A and B
If the slicer asks “Load these files as a single object with multiple parts?”, respond “No”.
The parts will likely appear in a jumble in the center of the build plate.
Select all of them. This will be indicated by all of the parts being the same color and surrounded by a bounding box.
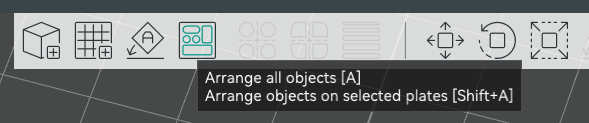
Then use the Arrange tool located in the center toolbar. The arrange tool automatically places the parts at appropriate distances from one another.
You can also manually place parts by selecting each part individually, then dragging it to a new location on the build plate.
Verify that everything is set appropriately for the printer and filament:
- Make and Model of the printer. Open Works uses Bambu A1 or Creality Ender-3 V3 printers at most locations.
- Type of build plate. Open Works provides a Textured PEI build plate.
- Nozzle diameter. Open Works uses 0.4mm nozzles, which is the most common nozzle size.
- Filament type. Check the label on the reel of filament that you intend to print with for the filament type.
- Process/Layer Thickness. Use the default/standard or 0.2 mm.
Check the description of the model for a recommendation on layer thickness and set layer thickness.
Switch from the Prepare tab to the Preview tab. This will slice the model. Remember that if you change any print parameters now, you will need to slice the model again by switching back and forth between the Prepare and Preview tabs.
Note that this model is designed to be printed with two colors and we are not doing that in order to make the project easier to complete on the typically available equipment.
¶ Starting the Print
| ↙ From the Slicer to the Printer ↘ | |
|---|---|
| Bambu A1 | Creality Ender-3 V3 |
| 1. Choose the printer from the dropdown in the window that pops up 2. Verify that the filament material shown on the printer’s controller matches the one on the spindle. Tap Filament, then Edit if it needs to be updated. |
1. Export G-code to SD card 2. Insert SD card into printer 3. Select “Print” menu option, click knob, select file, click knob, select “confirm”, click knob |
You need to make sure there’s enough filament and that the build plate is clean. When instructed to start printing the model, the printer will take care of heating the extruder and build plate. The Bambu A1 and Creality Ender3-V3 take care of calibrating the build plate for flatness, but other printers may not.
¶ Finishing the Print
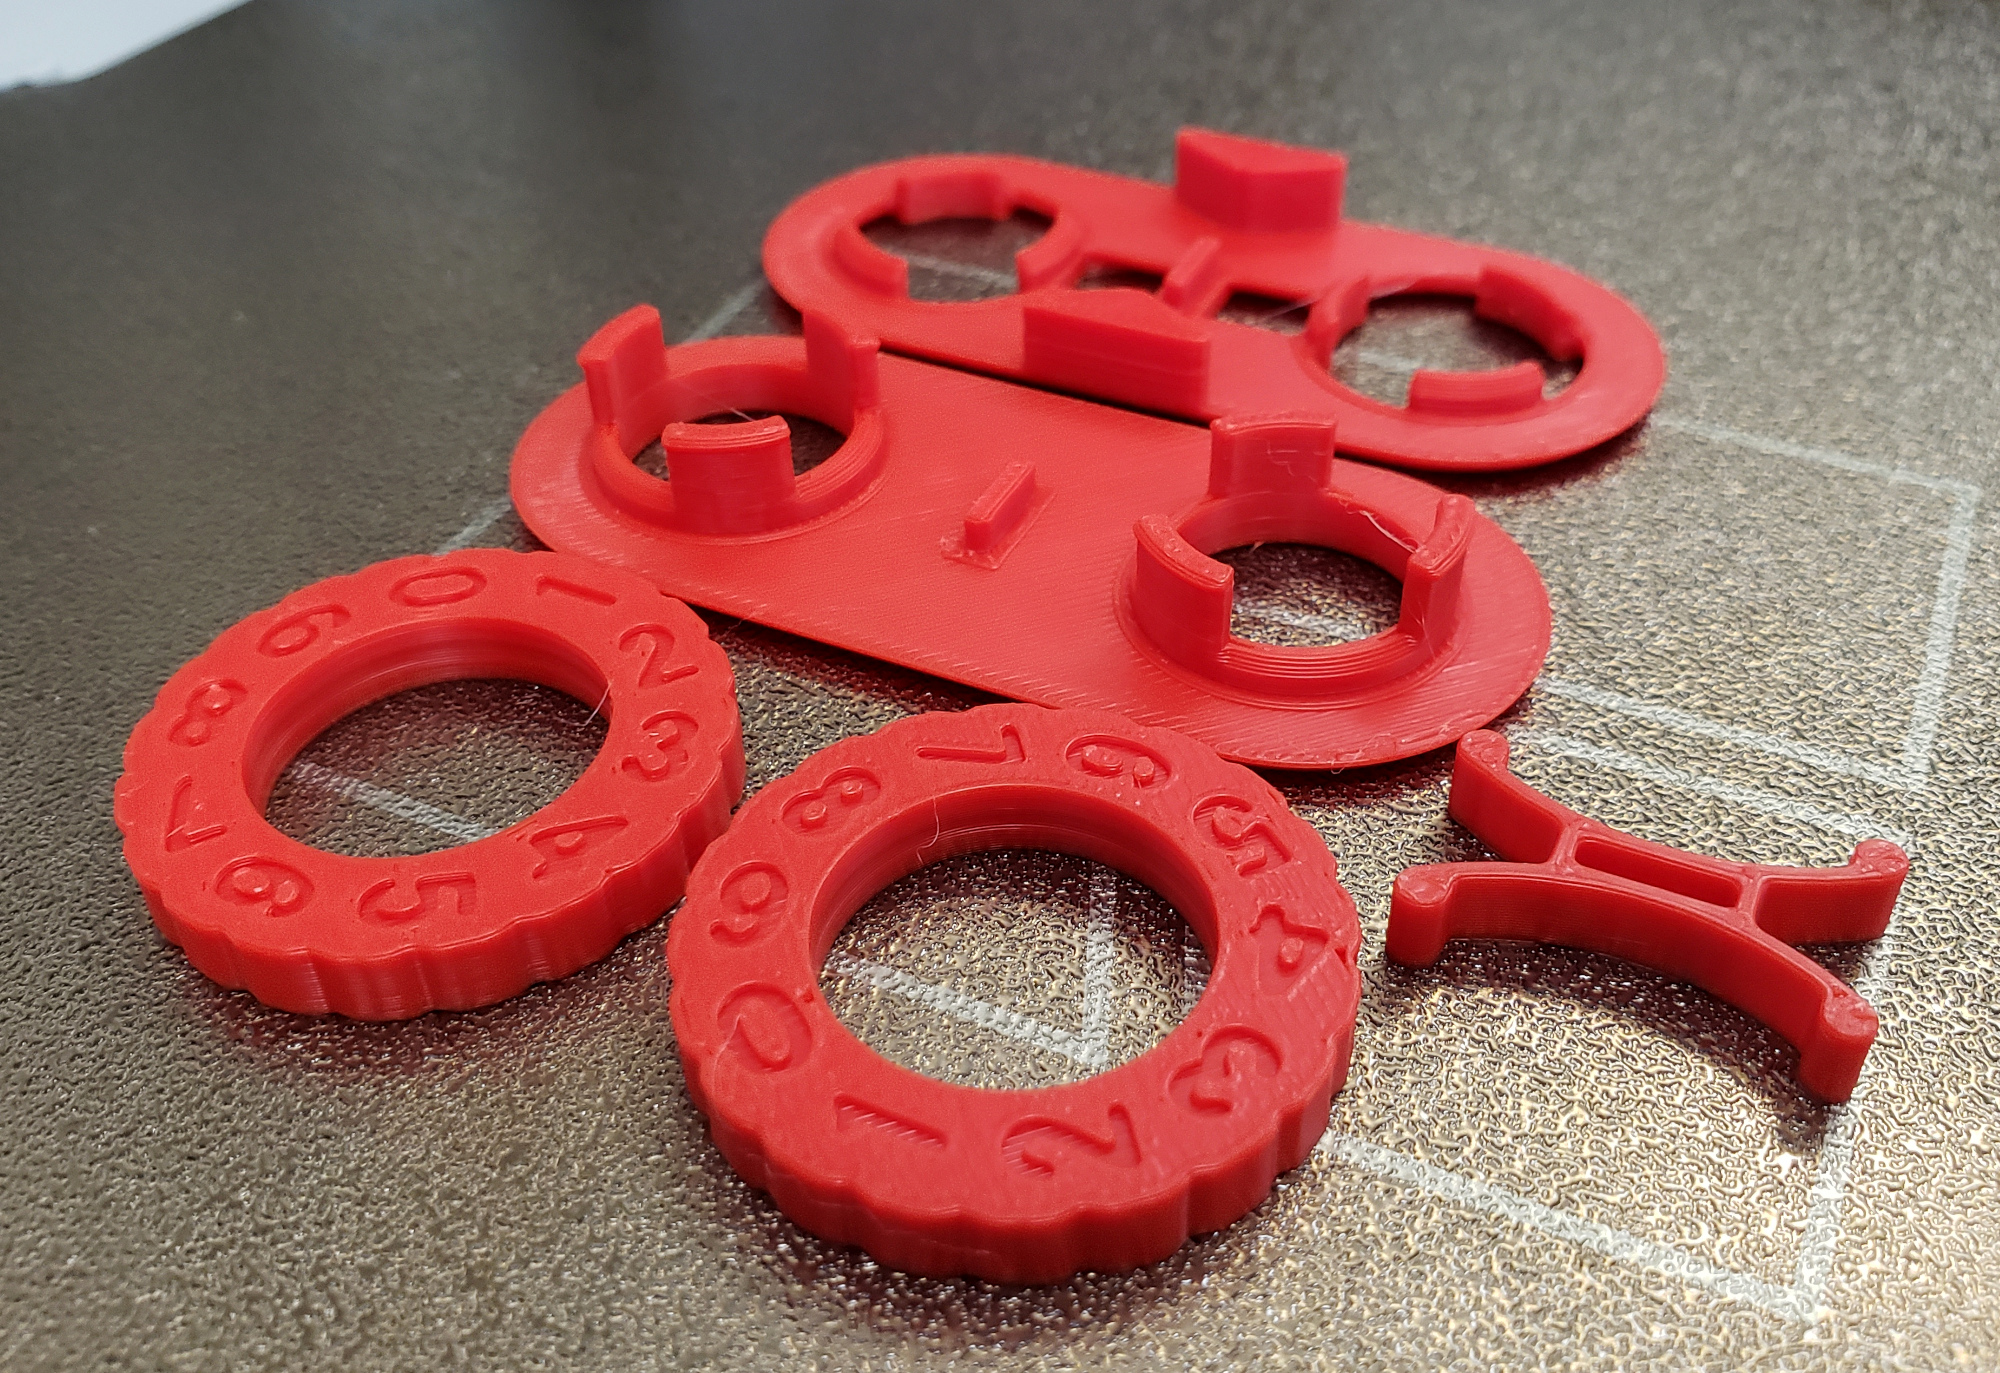
After the print is done, be safe and wait a few minutes for it to cool.
- The hot end, build plate, and object may be hot enough to burn you.
- The plastic may still be soft and could be deformed by the force used to remove it from the build plate.
- The object will be easier to remove from the build plate after it has cooled because the plastic shrinks slightly as it cools.
Wait longer for smaller parts because they are more influenced by the heat from the build platform. Large prints can be grabbed and popped off. Smaller prints may require removing the build plate and bending it to pop them off, and small prints may require using a scraper to pry them off. If you removed the build plate, return it to the printer.
Remove any support material from the object. It should be removable using your fingers but tweezers, needle nose pliers, or a craft knife to trim off thread ends may help.
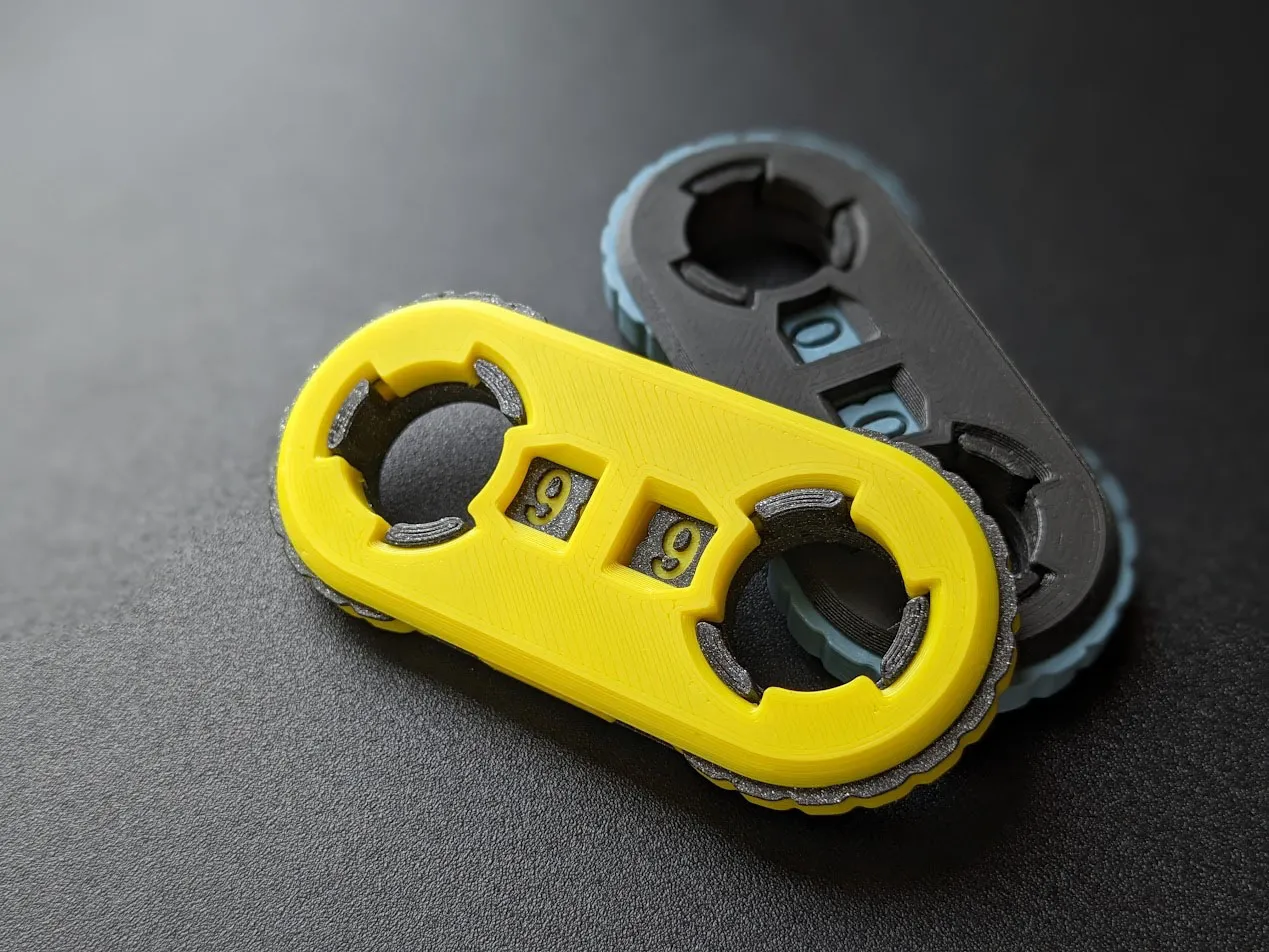
Since we printed this in one color instead of two, the numbers will be harder to read. A work-around is to fill the numbers with a contrasting color of paint. Fill the numbers before you assemble it, although it’s possible to take it apart and fill the numbers later.
Refer to the model description for assembly instructions.
And that’s it! Enjoy your new object!