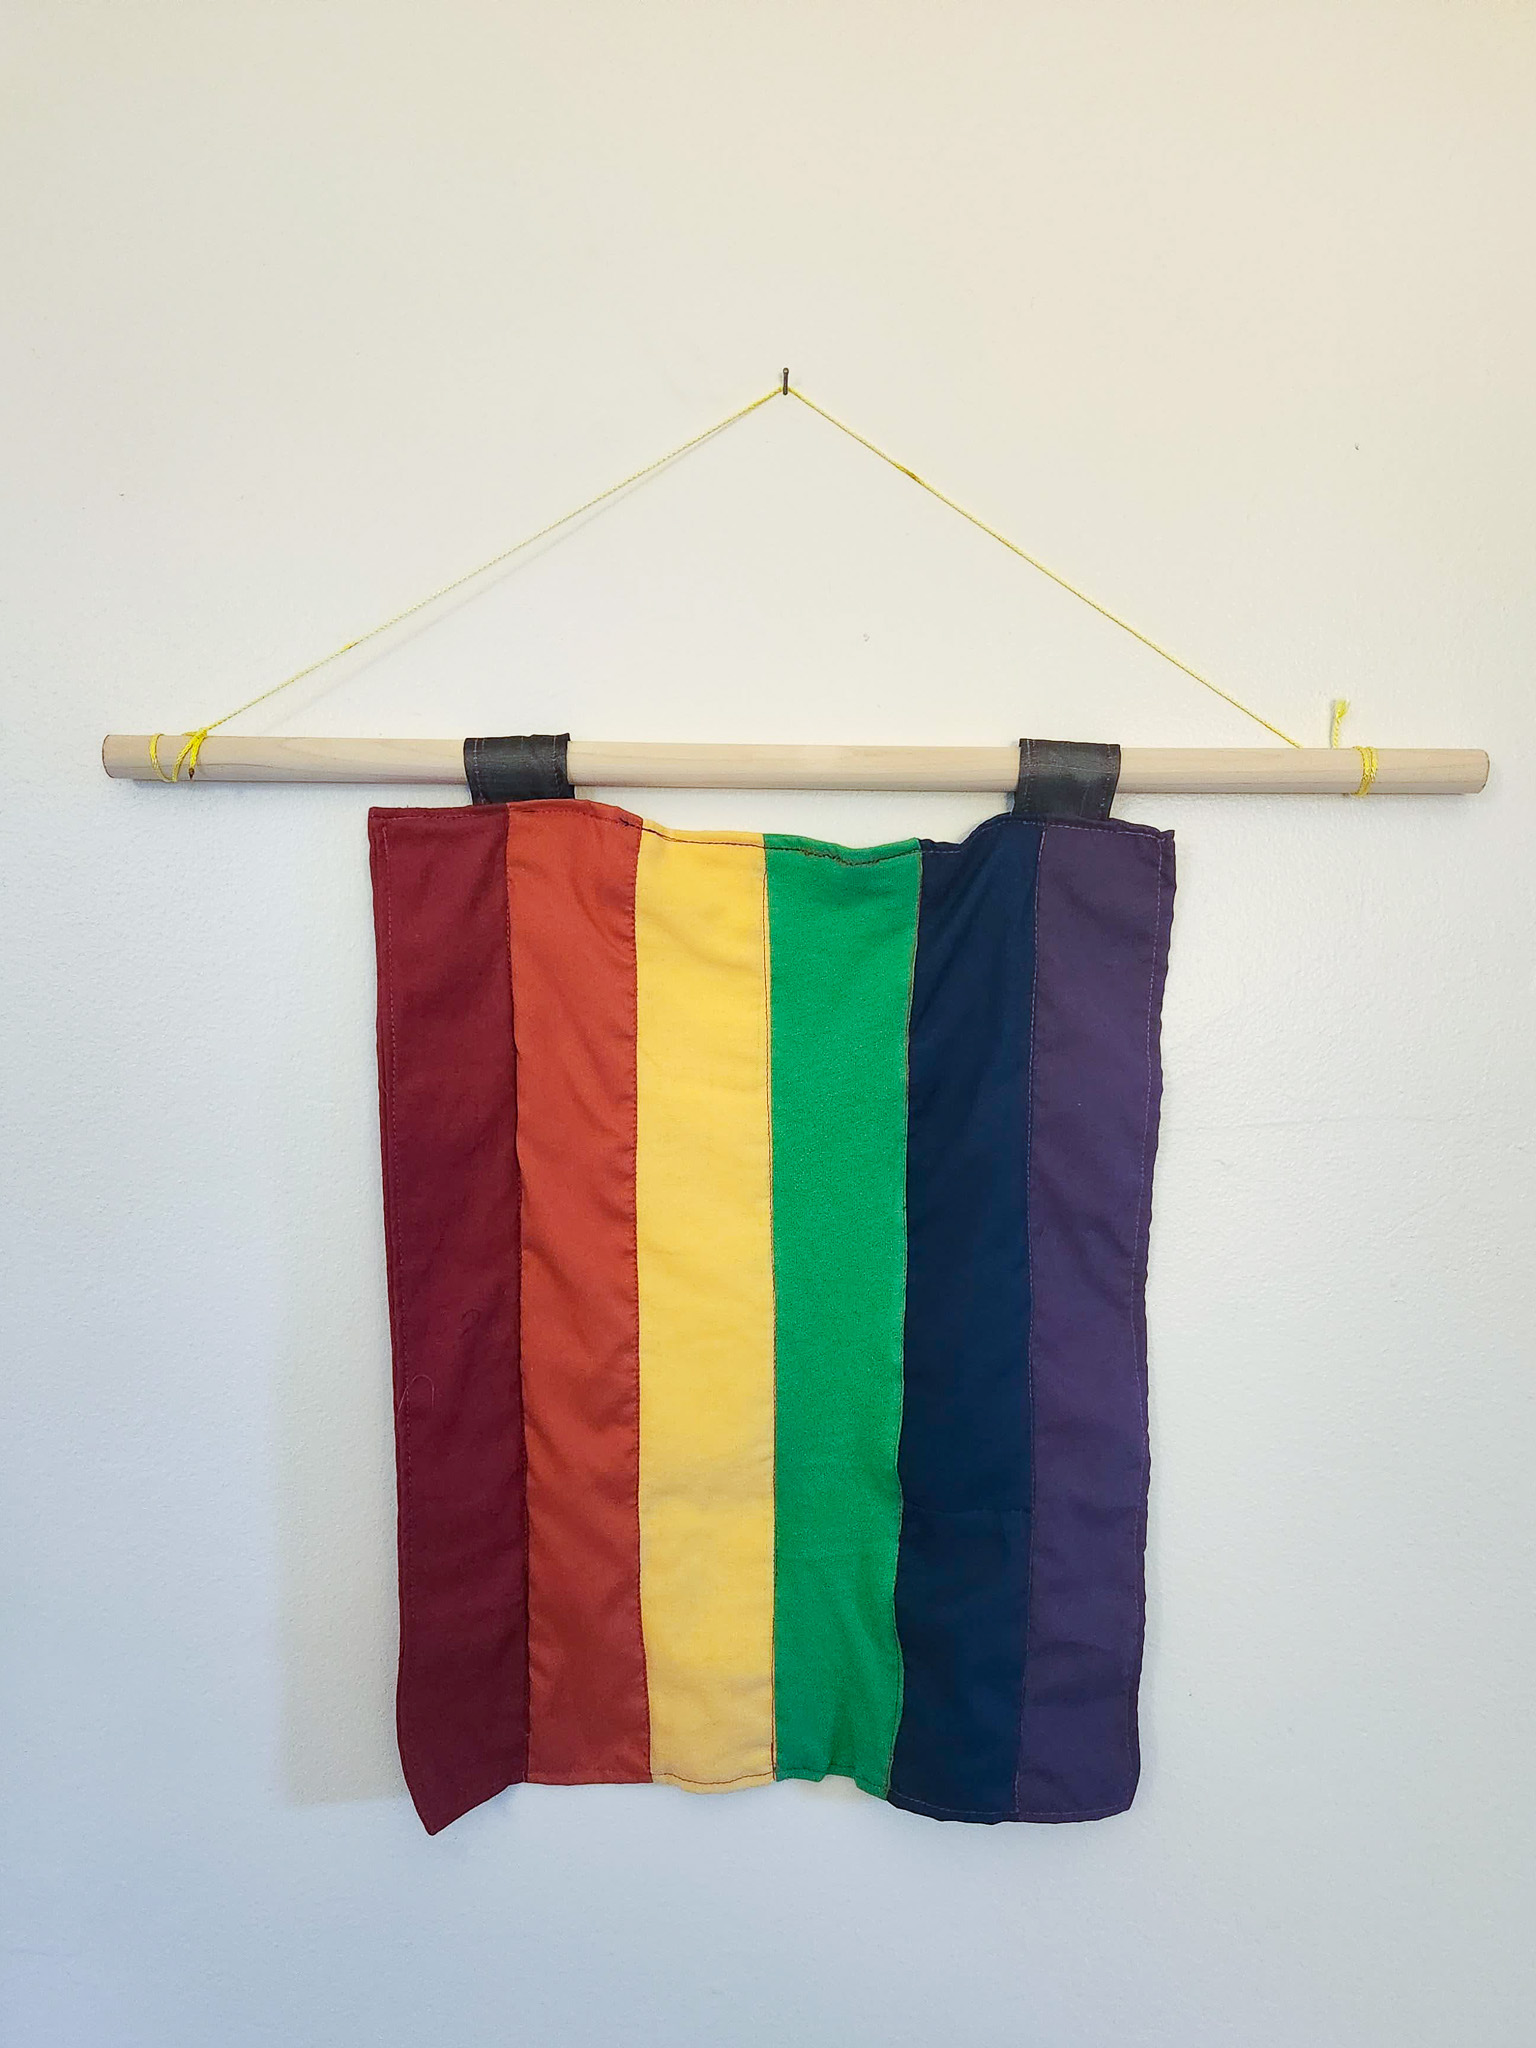
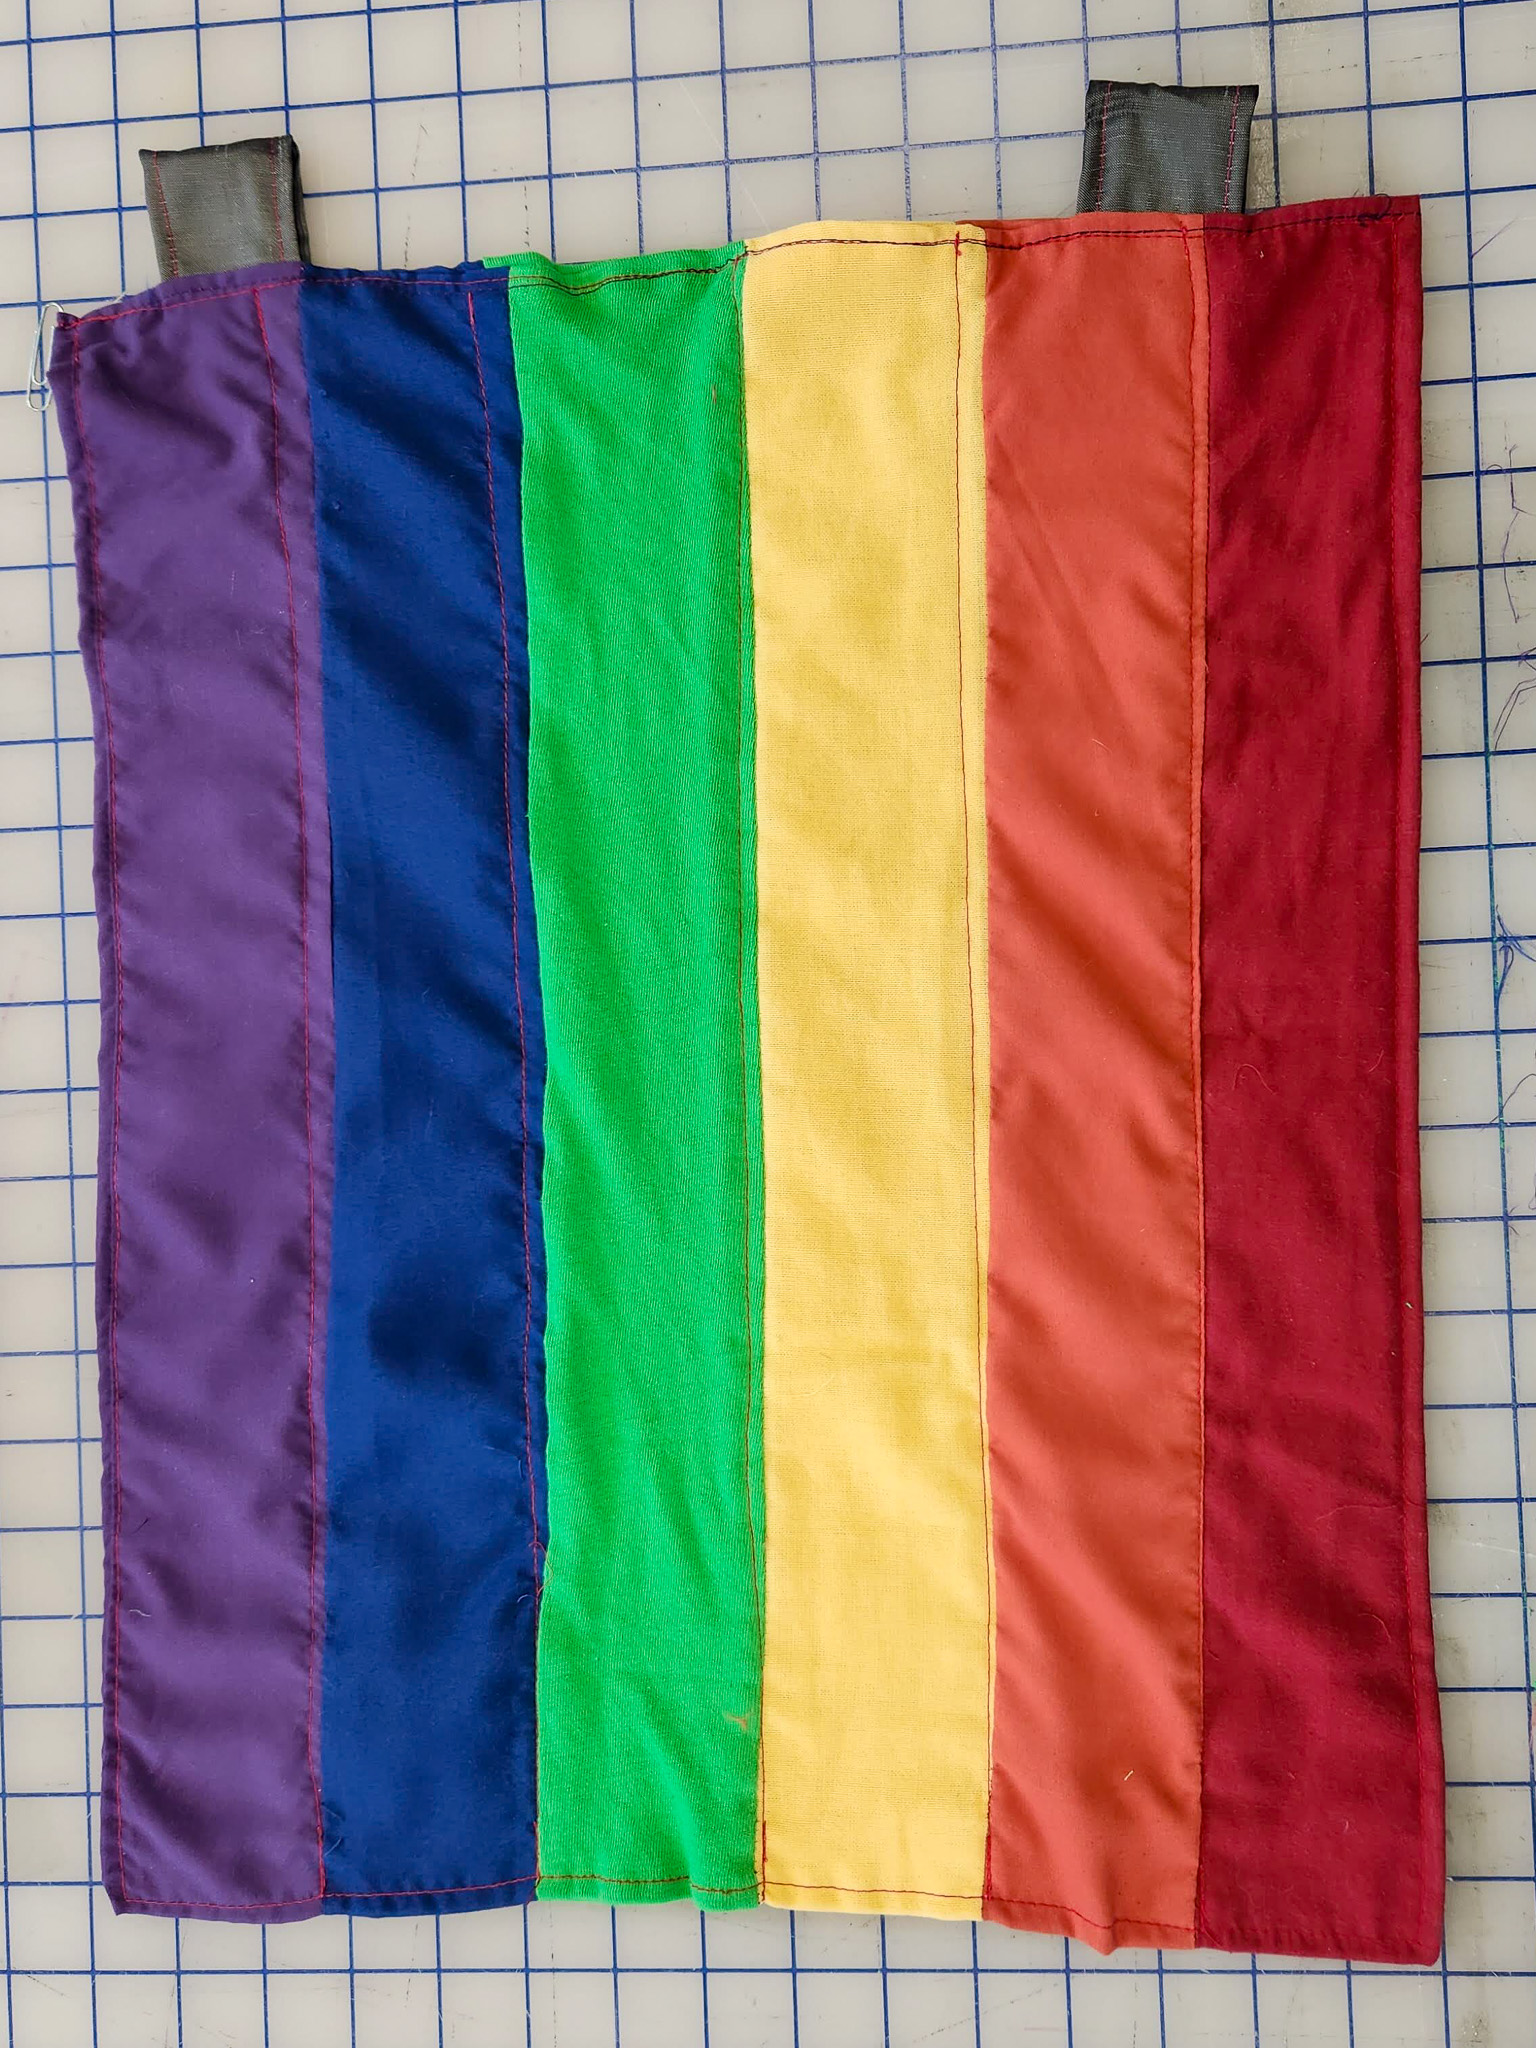
¶ Pride Flag
The finished flag will be approximately 19”x12”
Prep time: ~ 1 hour
Sewing time ~ 1 hour
![]()
¶ Fabric Choice and Prep
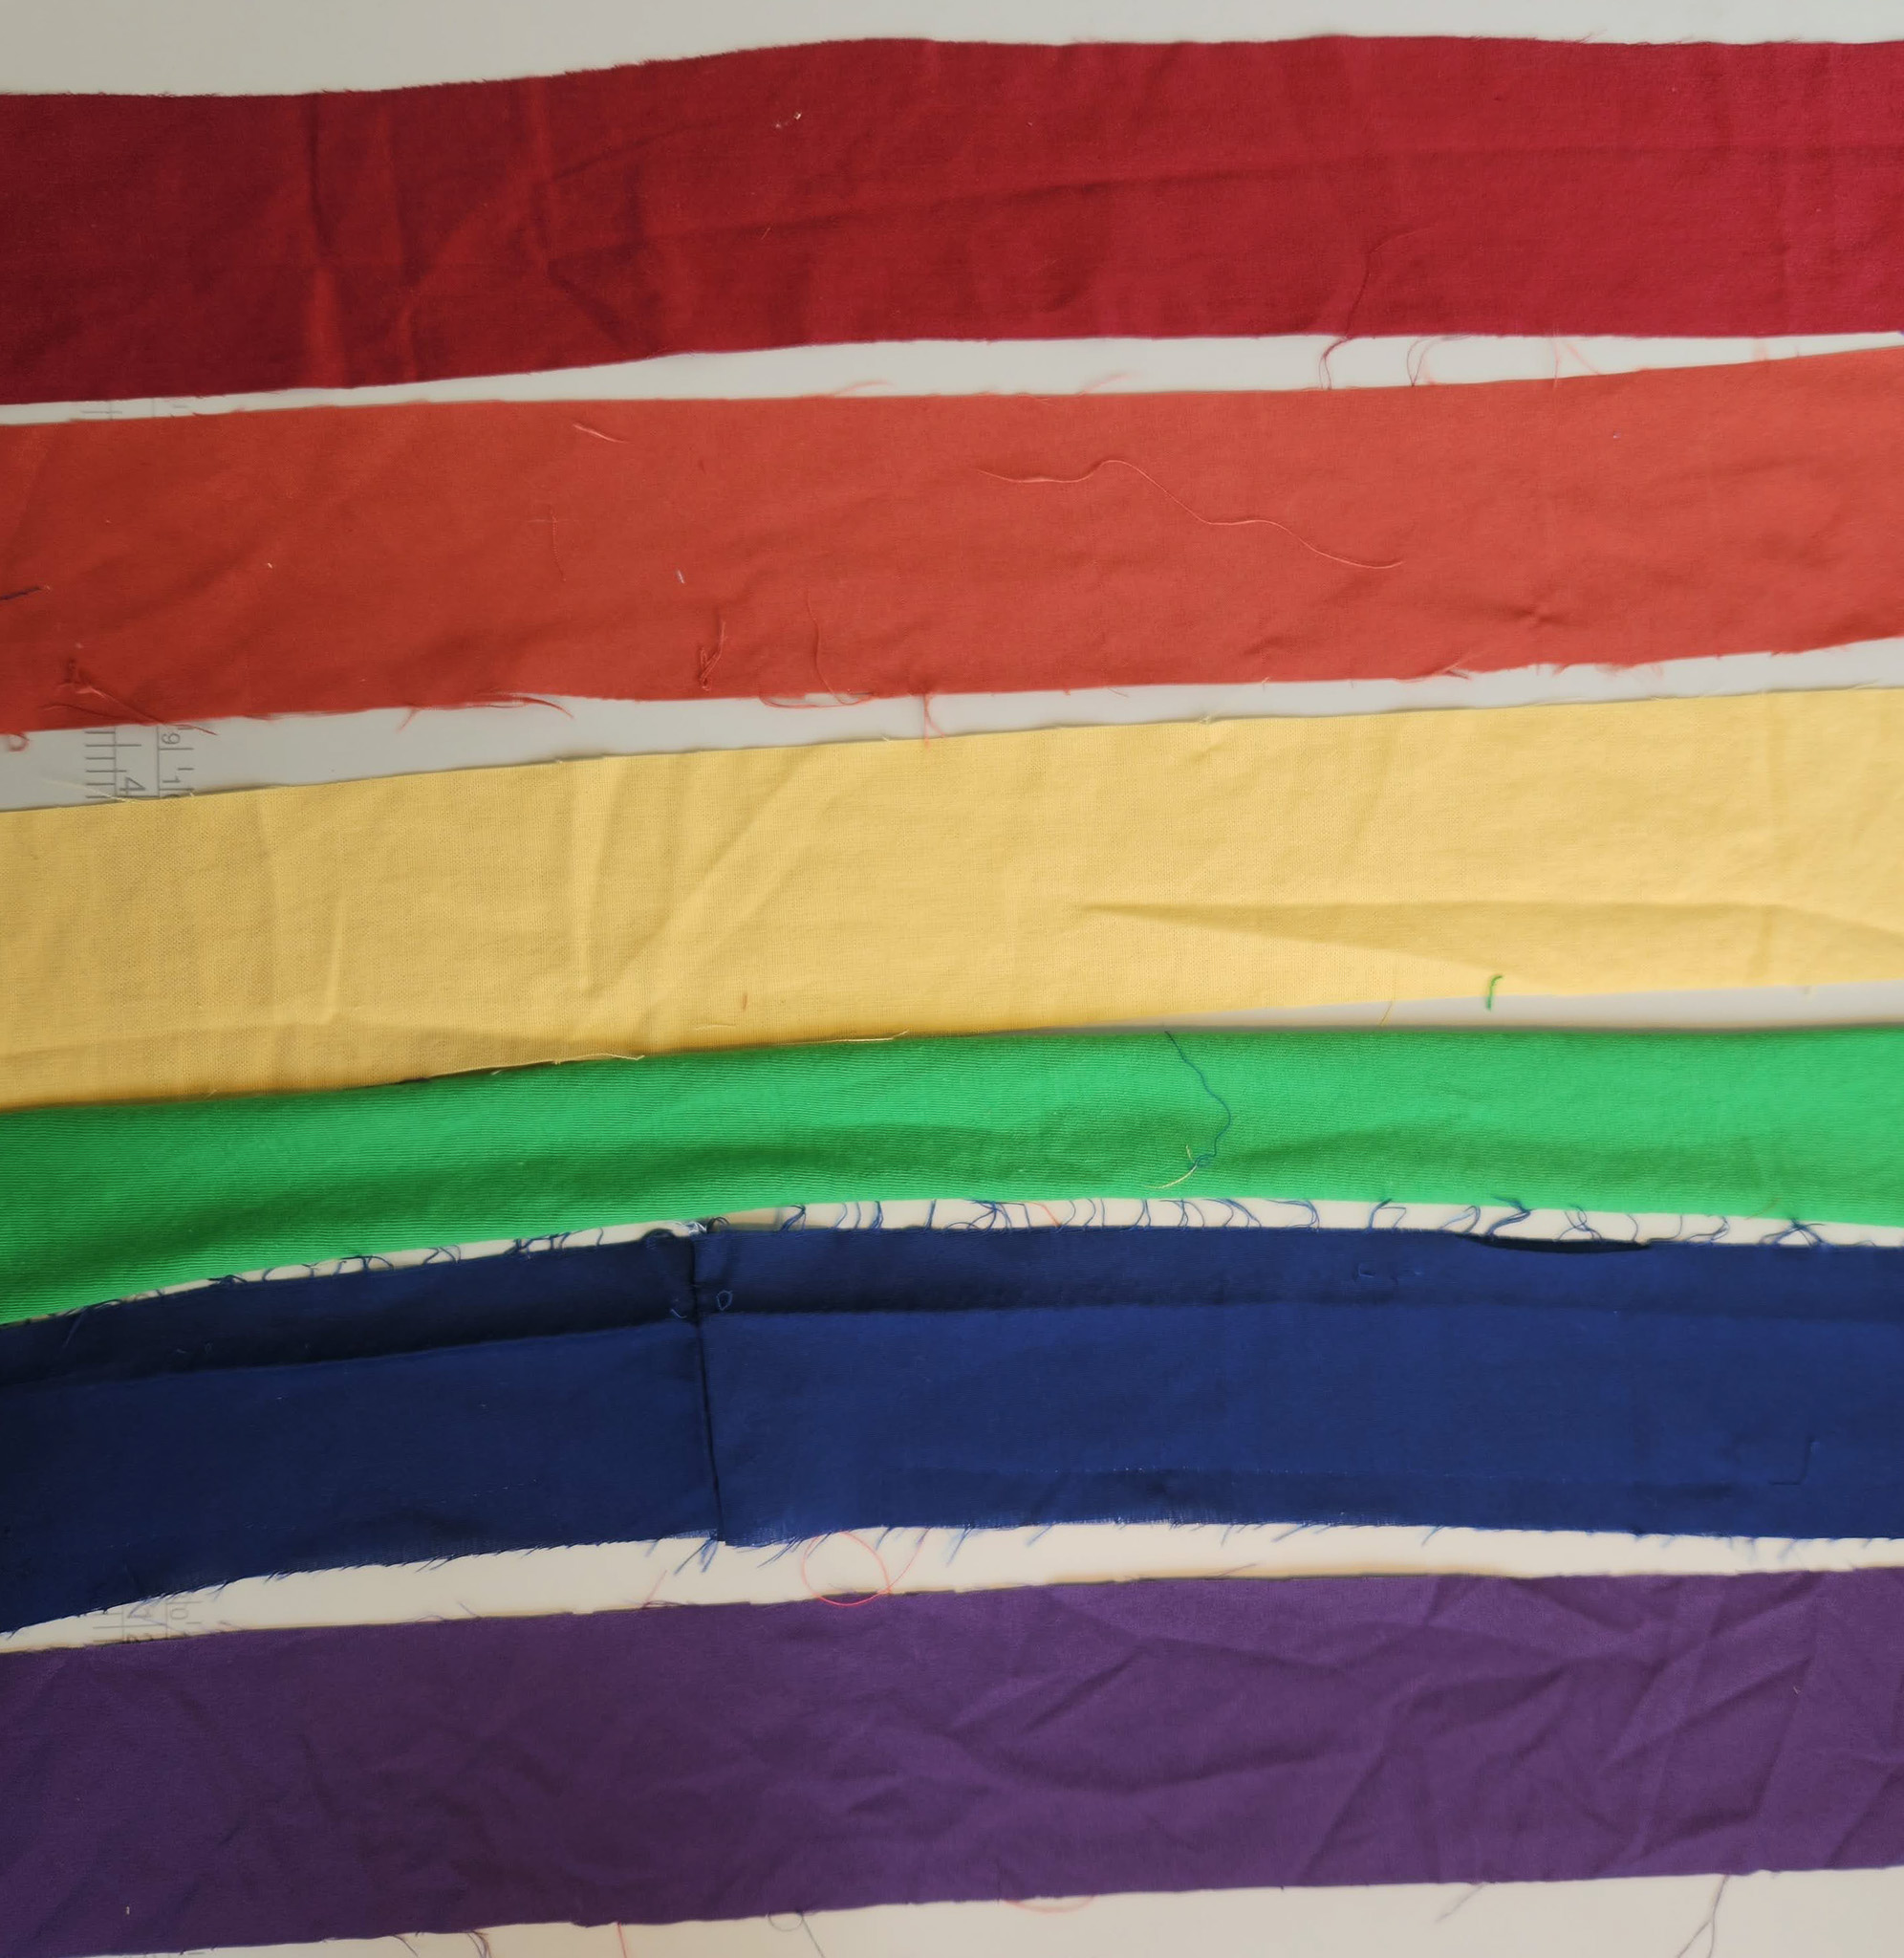
Using non-stretch materials is recommended. This project requires relatively small amounts of fabric in multiple colors, so it's a great opportunity to use your offcuts, or repurpose old clothes, curtains or sheets.
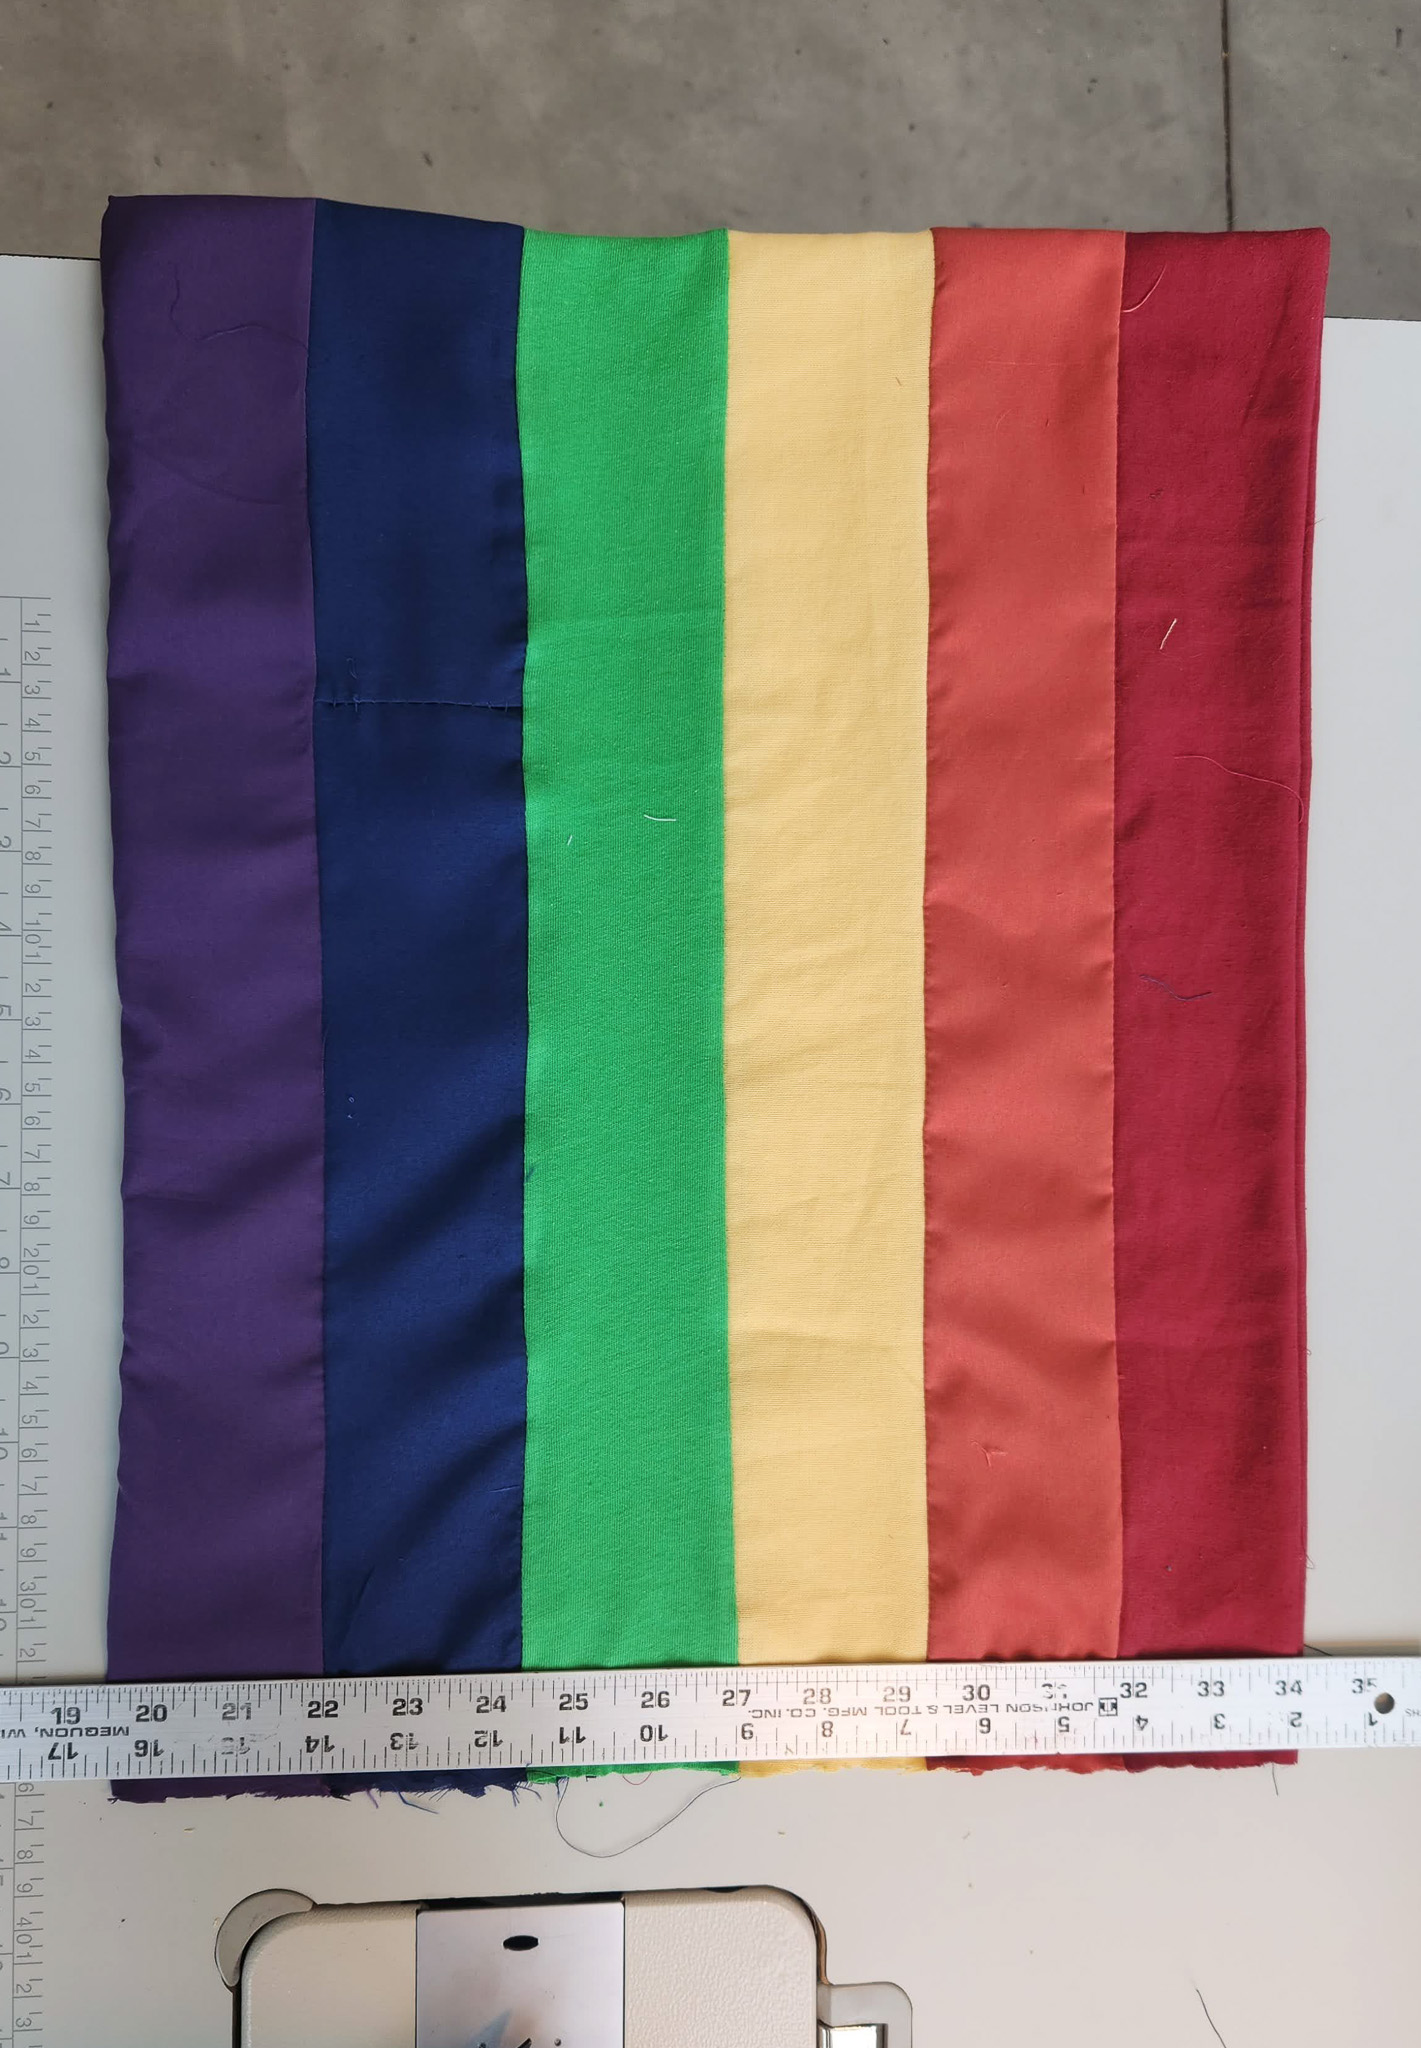
If the flag has 7 panels (ex: Agender flag) use 2.25 x 40” strips
If the flag has 6 panels (ex: rainbow flag) use 2.5 x 40” inch strips
If the flag has 5 panels (ex: lesbian or trans flag) use 3” x 40” inch strips
If the flag has 4 panels (ex: nonbinary or asexual flag) use 3.5” x 40 inch strips
If the flag has 3 panels (ex: bi or pansexual flag) use 4.5” x 40 inch strips
¶ other supplies
18" dowel
String
¶ tools
Rotary cutter (or fabric scissors)
Ruler
¶ Instructions
Step 1: Cut your strips of fabric according to the dimensions above.
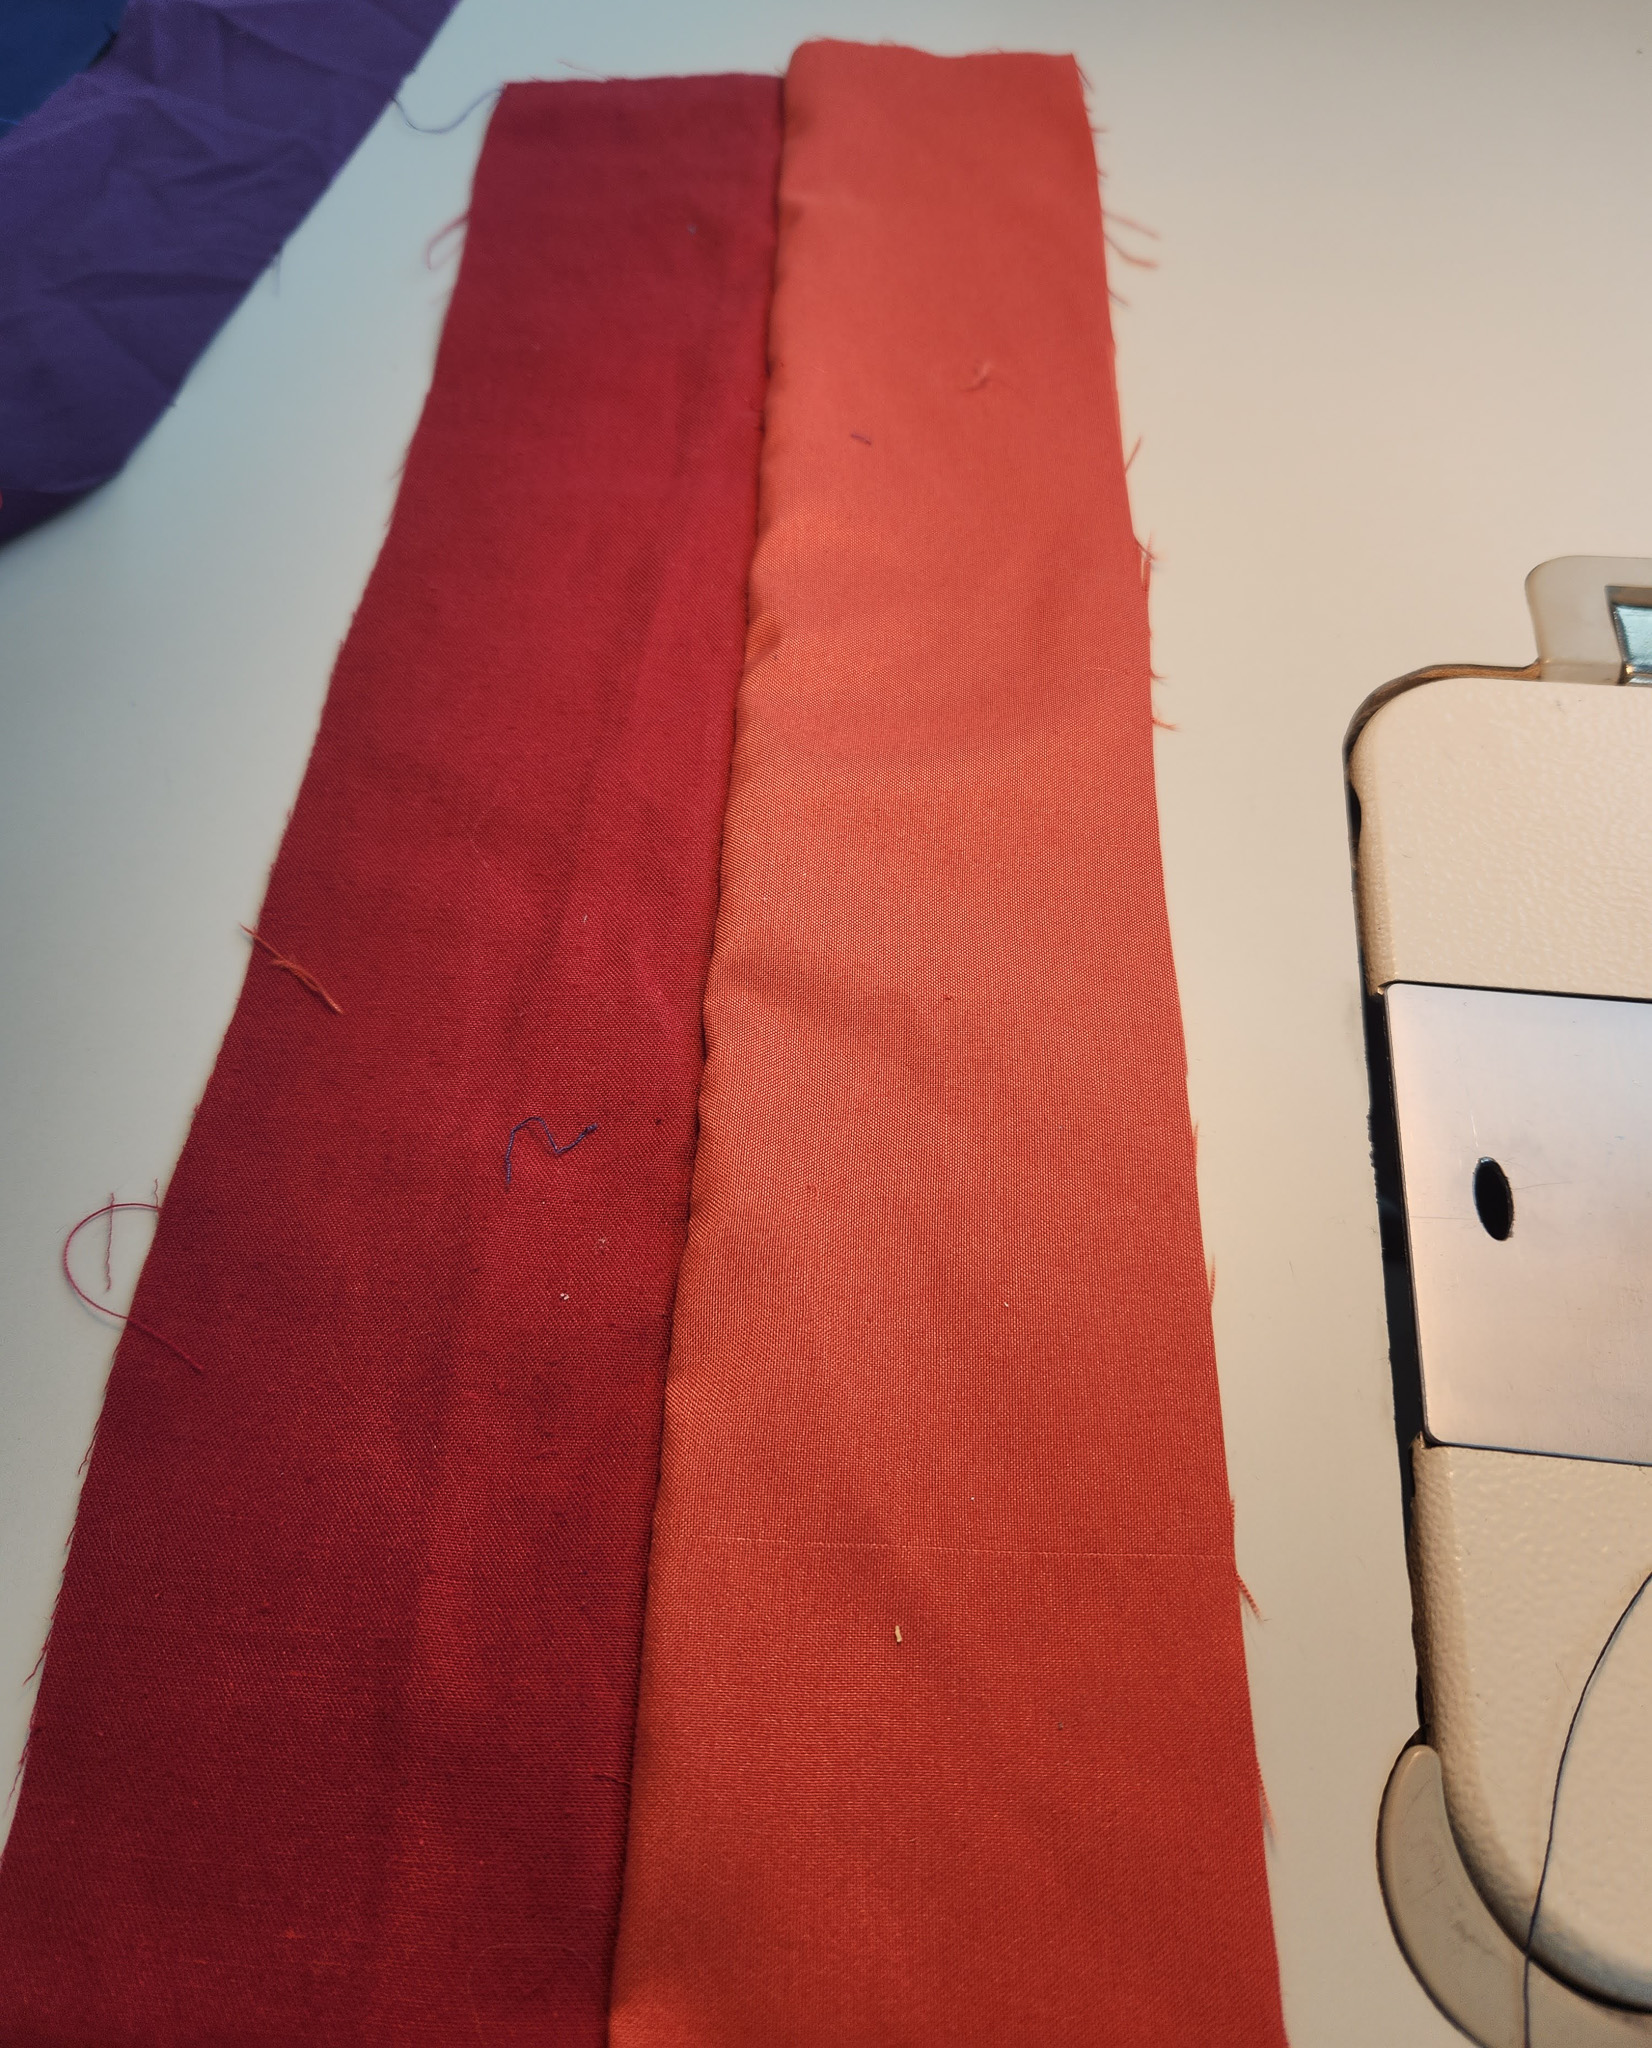
Step 2: Sew them in order lengthwise, right sides together using a ¼ seam allowance. Your piece should be around 12x40" when you're done.
As you add panels, double check that the "right sides" are consistent!
Step 3: When all panels are attached, Fold your flag in half, right sides together, and sew the two long sides closed, which will leave one short side completely open.
Step 4: Turn your flag inside out.
This would be a good time to trim your open edge so the front and back are level in your final project.
Step 5: Turn top ¼ inch of opening inward and sew around the edge (akin to hemming a pant leg)
Step 6: Make pole attatchments:
To Make Pole Attachment(s):
¶ For Banner display
To mount your flag to a pole so it can be carried and waved like the example trans flag, follow 6a. To hang your flag on a wall, like the example rainbow flag, follow 6b.
6a: Pole Cap
Cut a 4x10” piece of fabric. Fold one edge of a 4” side up by 1/2 inch and sew. Fold in half so the long edges meet, right sides together. Sew the other short edge closed. Turn inside out.
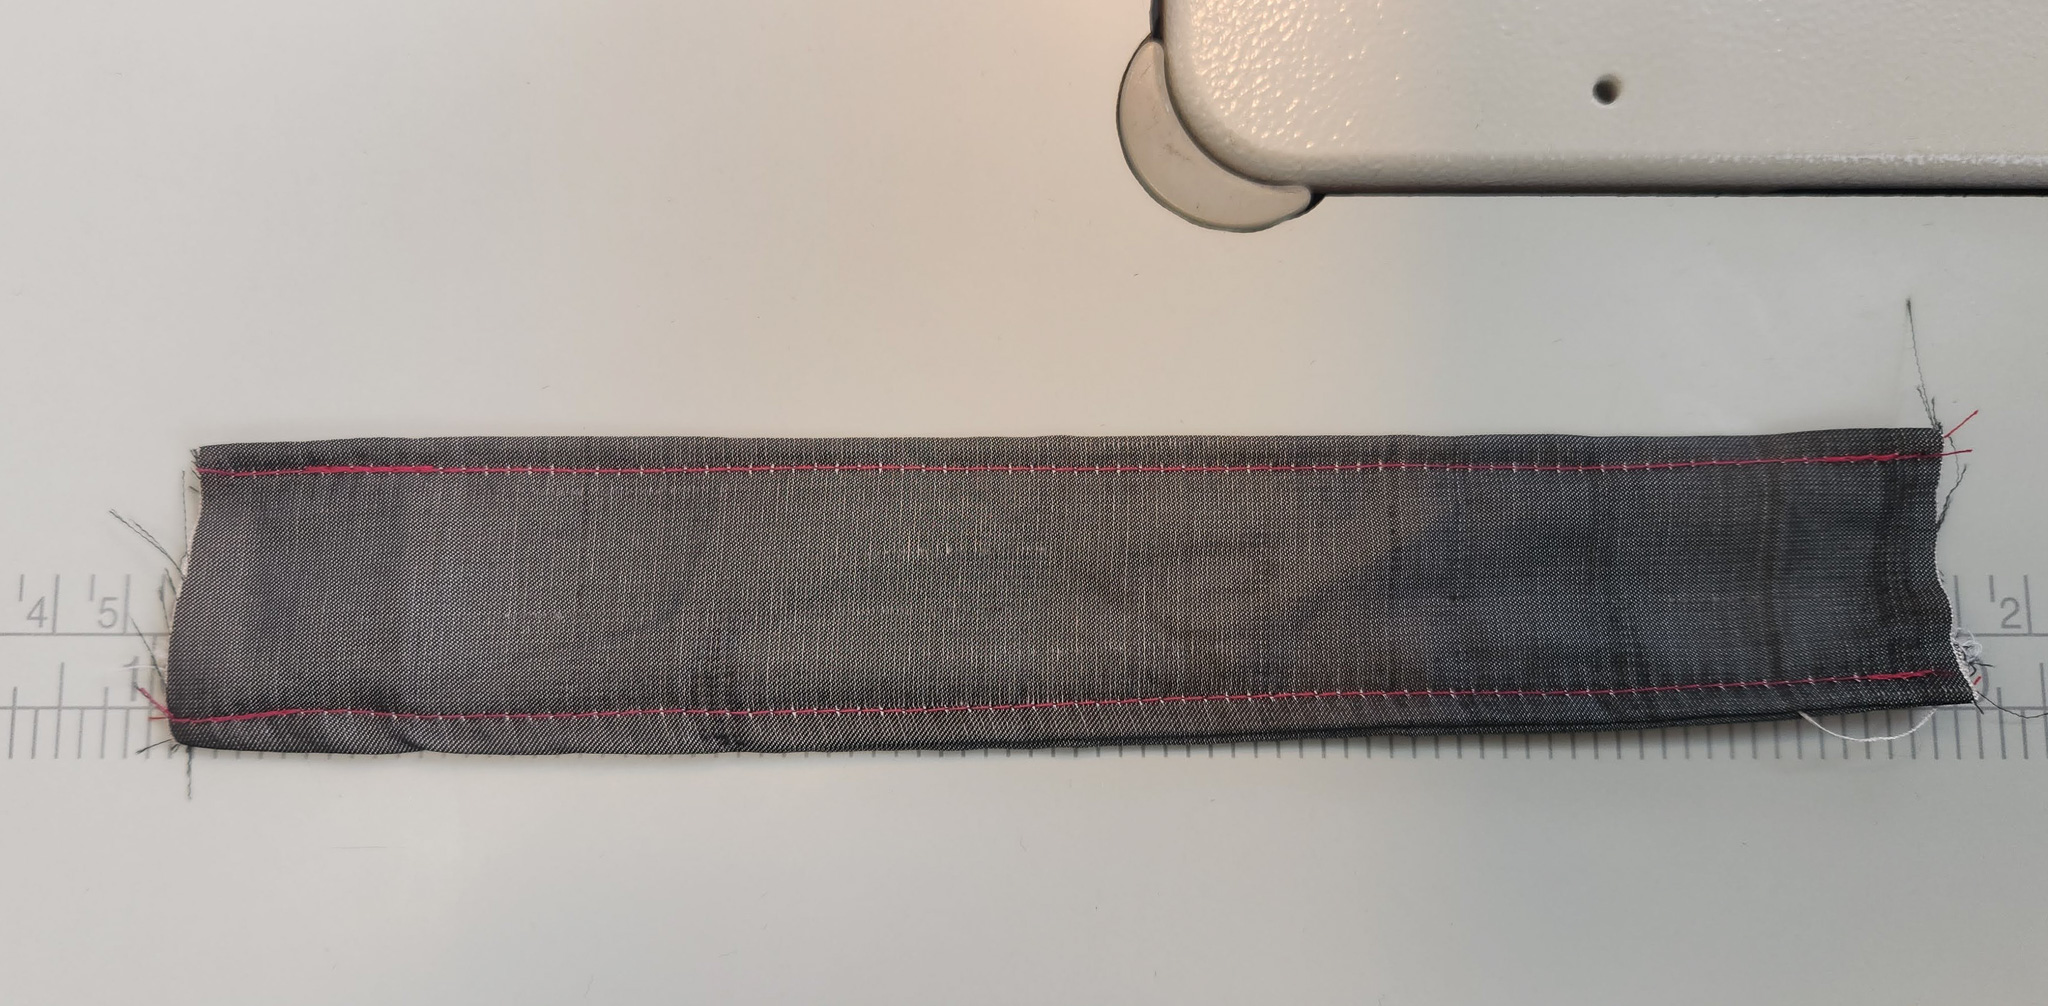
6b: Pole Straps
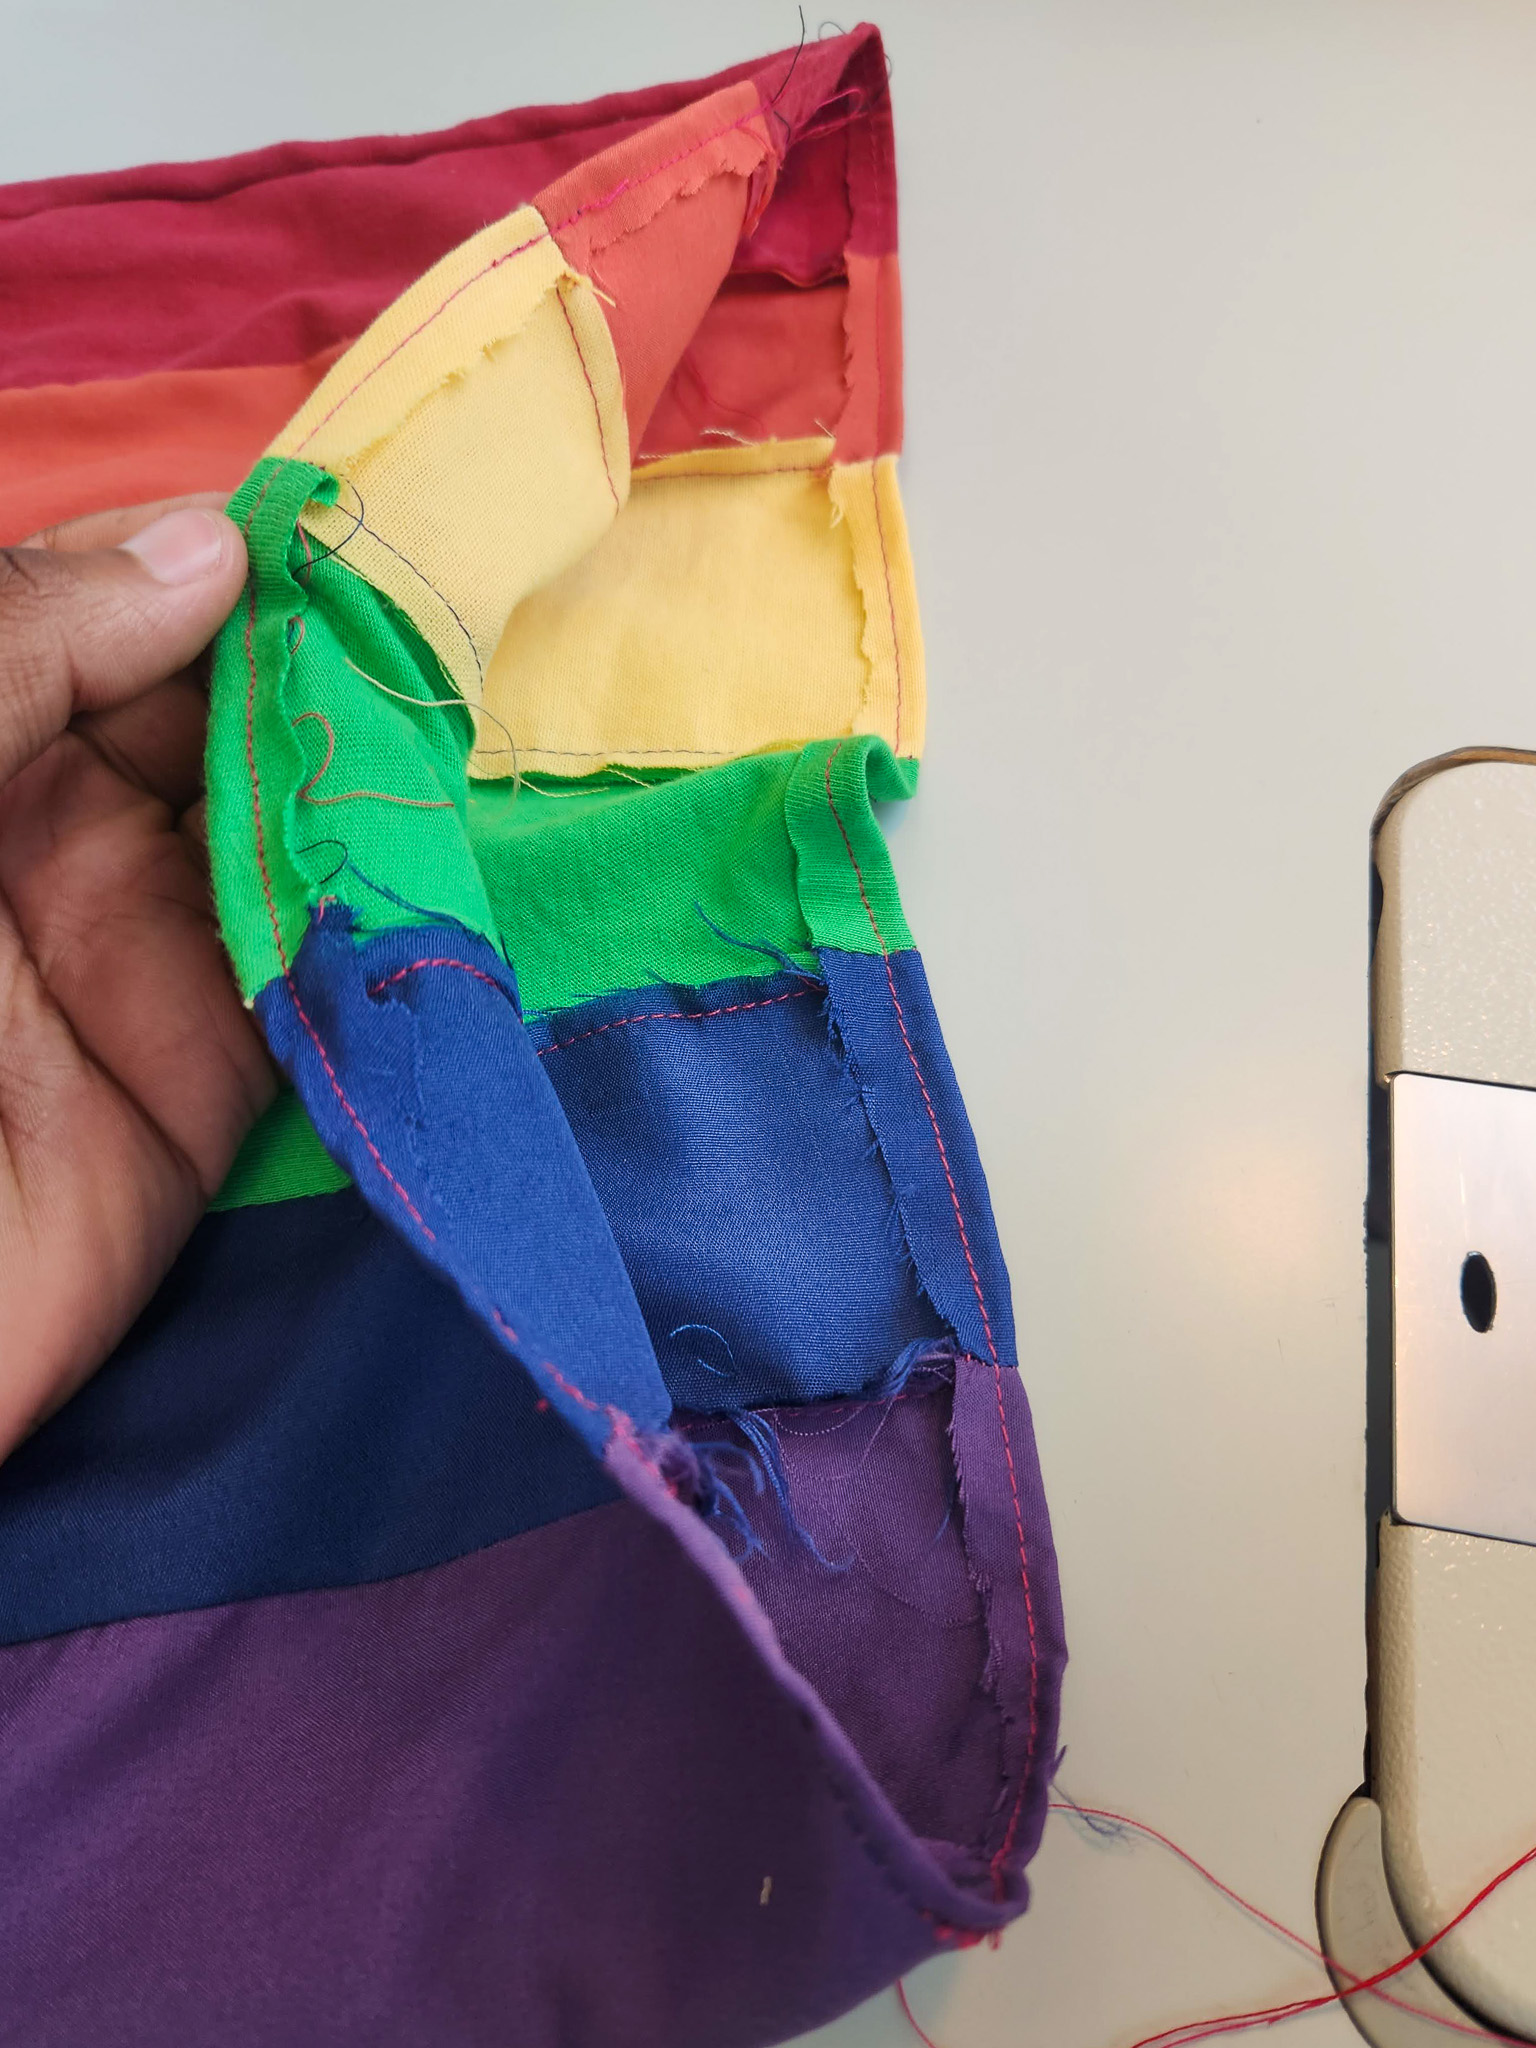
Cut a 2.5"x 6” piece of fabric. Fold in half longways. Sew closed using 1/4" seam allowance, creating a tube. Turn tube inside out. Topstitch 1/4" from each edge. Cut into two equal lengths. Fold when sewing them into the flag in the next step.
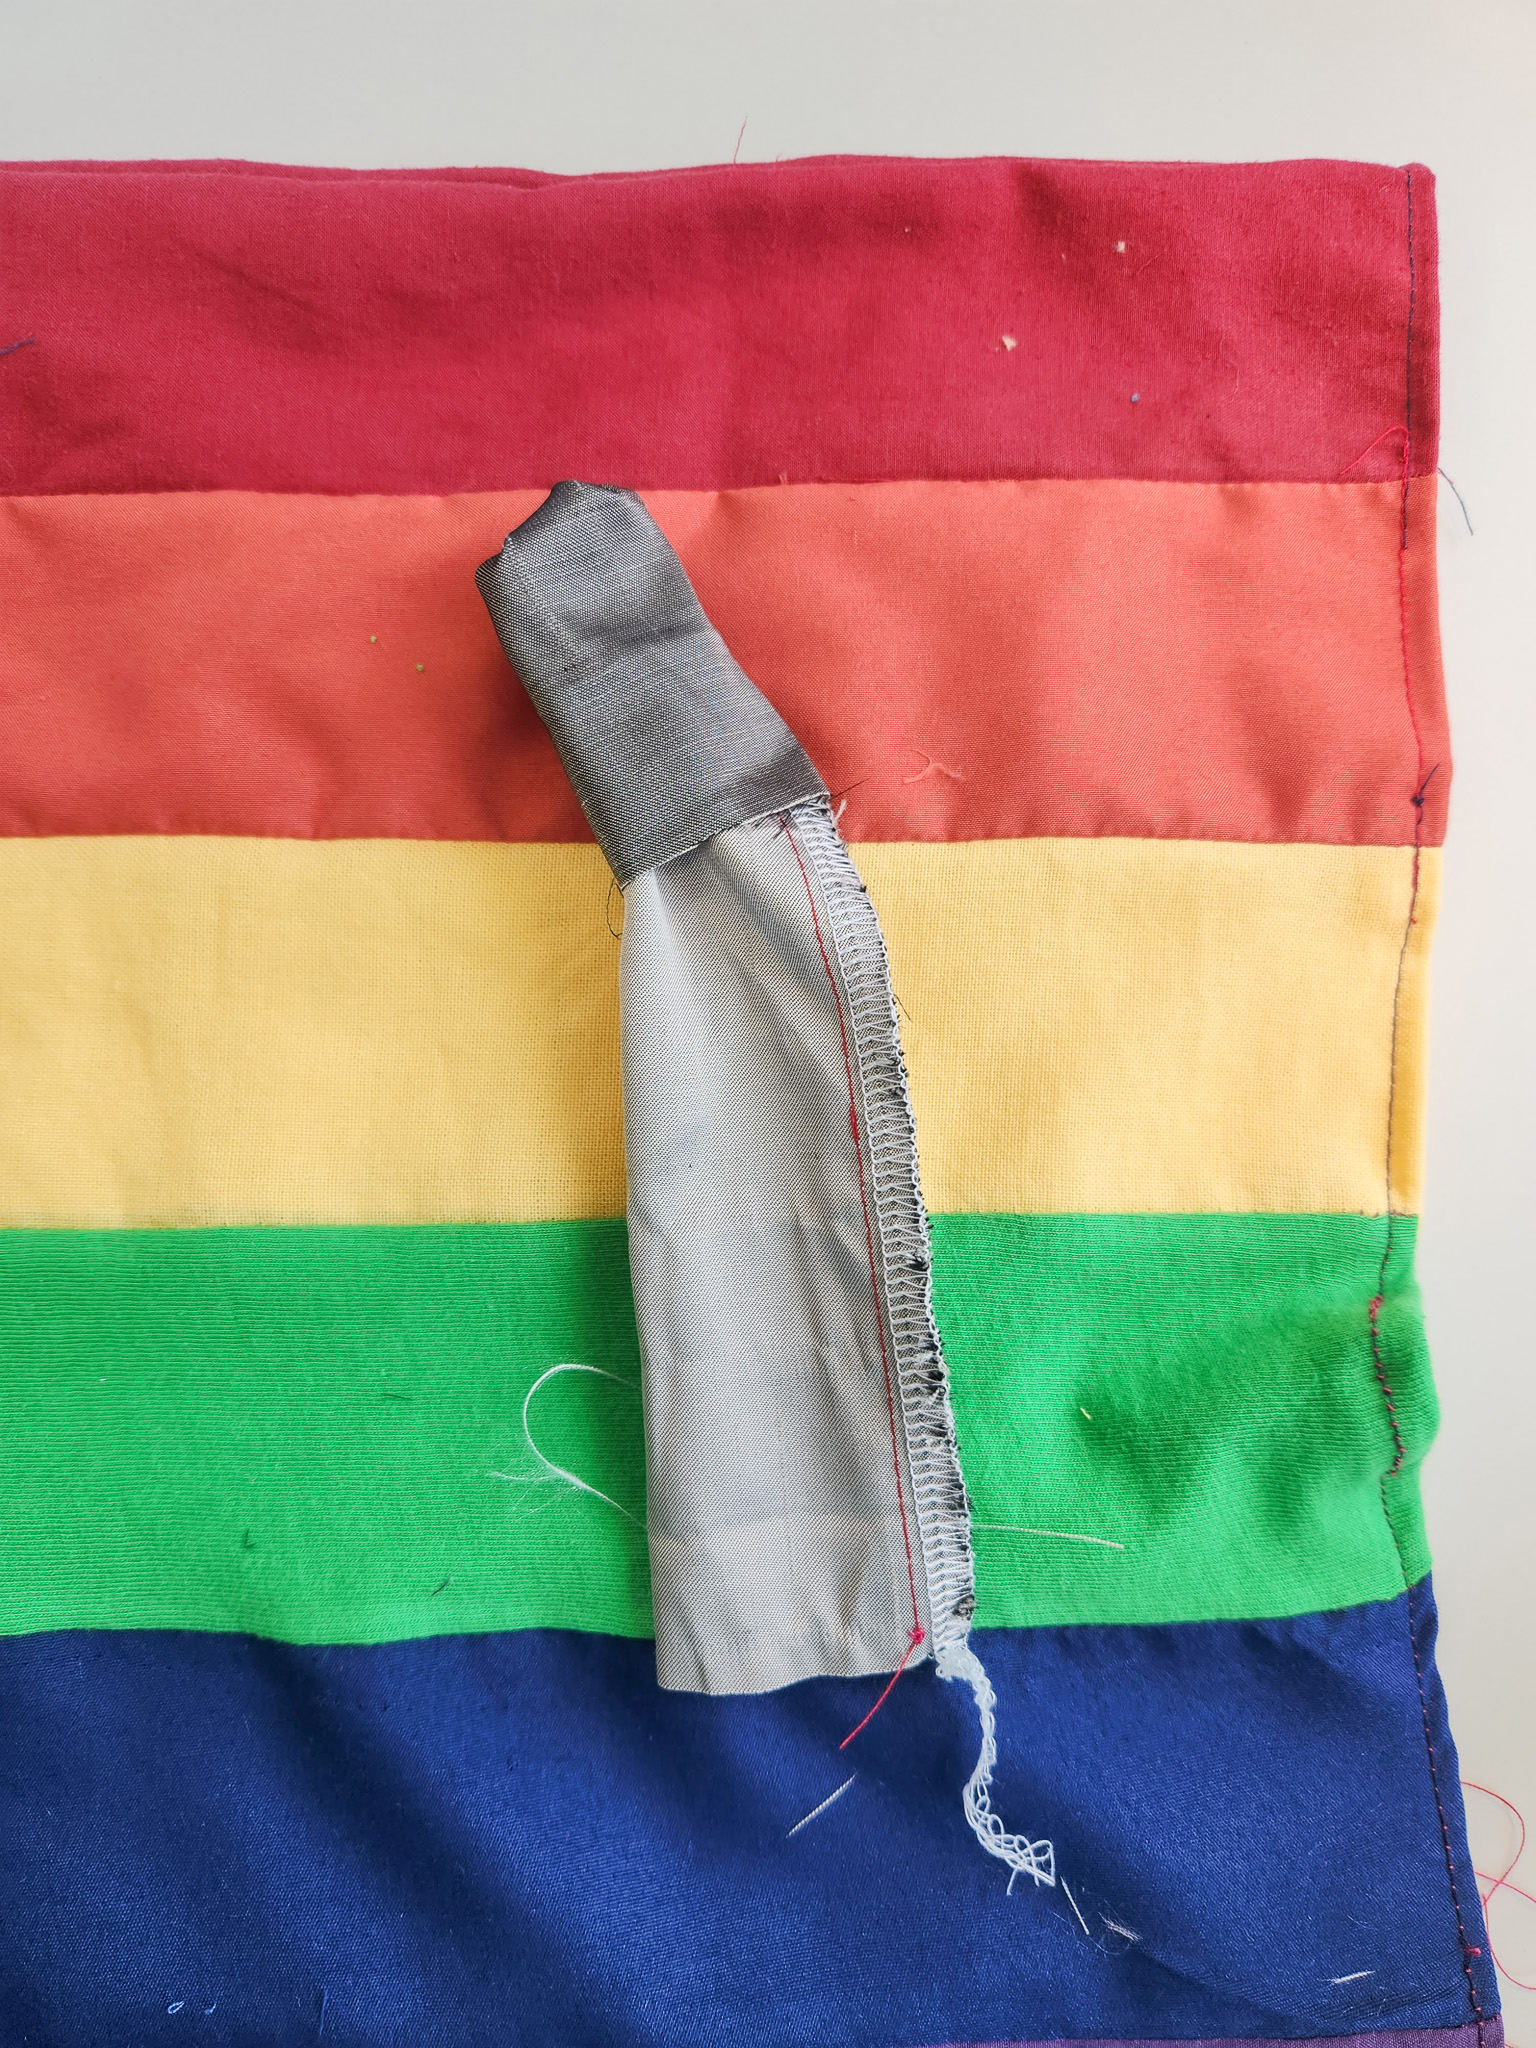
Step 7: Place pole attachment into opening and sew flag closed. (pinning them in place may help)
If making a pole cap (6a), check that the closed end is at the top of your flag.
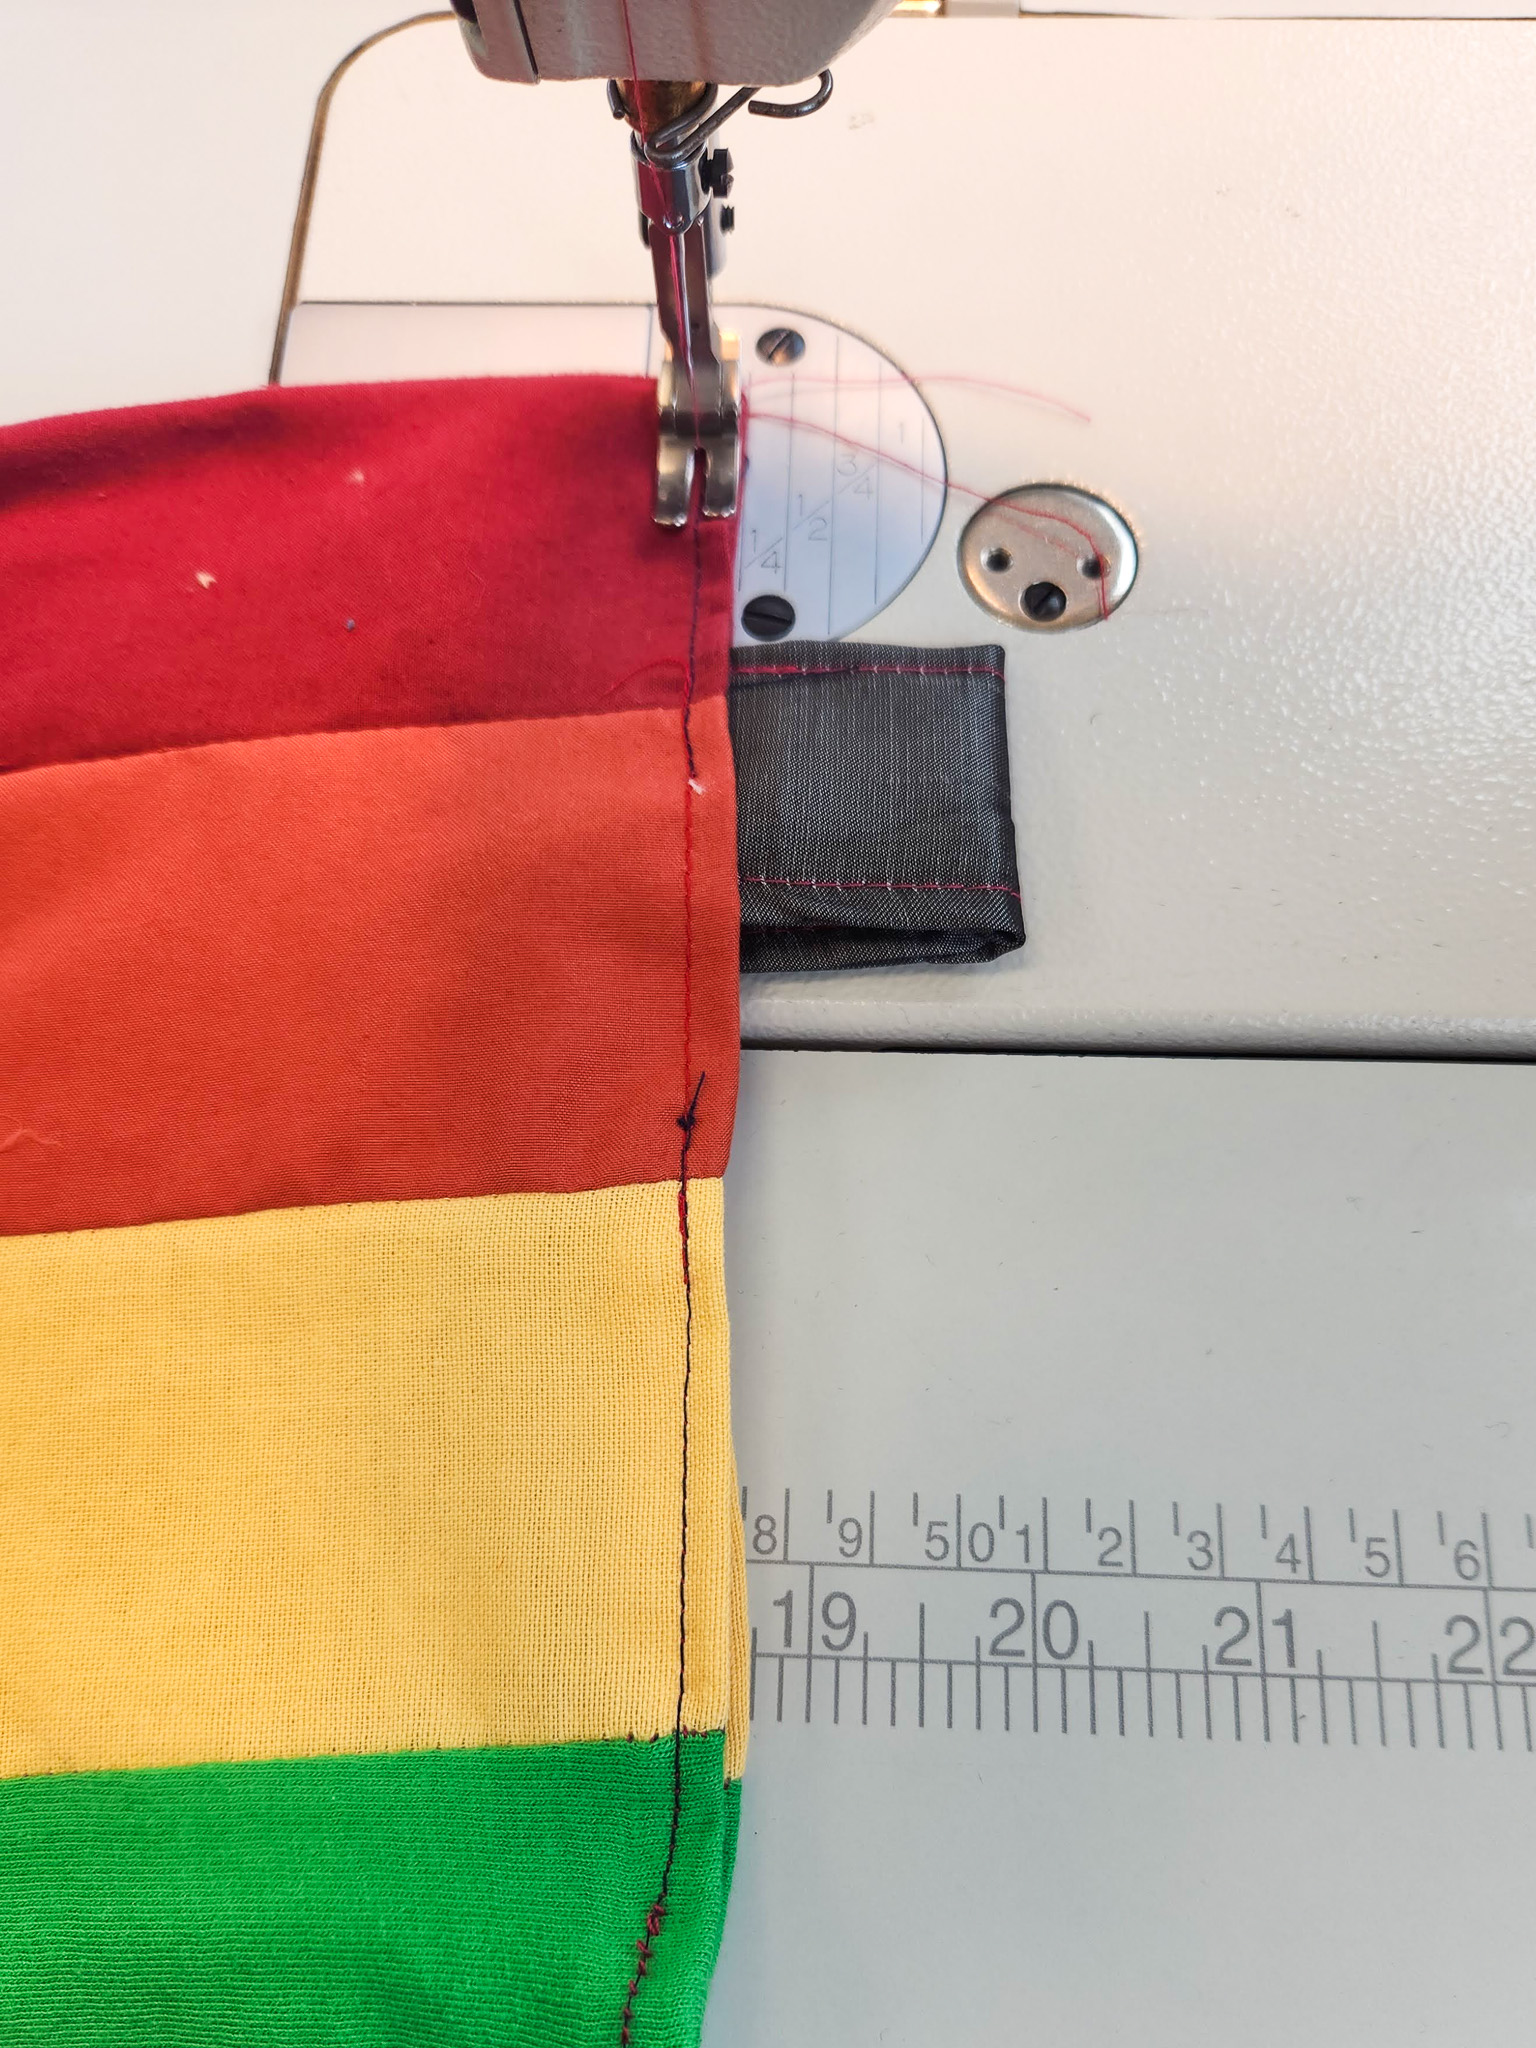
Step 8: Topstitch border of the flag, ¼ away from the edge, then sew along the face of the flag to bind the two faces together.
Step 9: Push dowel through loops or pole cap.
If your flag of choice has additional design elements, like the circle on the intersex flag, here are a few options for adding them in order of difficulty:
a) Use paint markers to draw your symbols on
b) Use Vinyl to create a stencil and use screenprinting ink to print the silhouette onto your fabric
c) Cut out one copy in fabric and use a zigzag stitch to tack it down.
d) Cut out two copies, sew them together and turn them inside out so each element has finished edges
e) Piece the elements into your fabric like a quilt