“Baltimore Beat is a Black-led, Black-controlled nonprofit newspaper and media outlet. Our mission is to honor the tradition of the Black press and the spirit of alt-weekly journalism with reporting that focuses on community, questions power structures, and prioritizes thoughtful engagement with our readers.
We aim to serve all of Baltimore City, including those with limited internet access and those who are a part of underrepresented communities.
Our organization aspires toward a more equitable, accountable, and rigorous future for journalism that fully represents the stories of all our neighbors.”
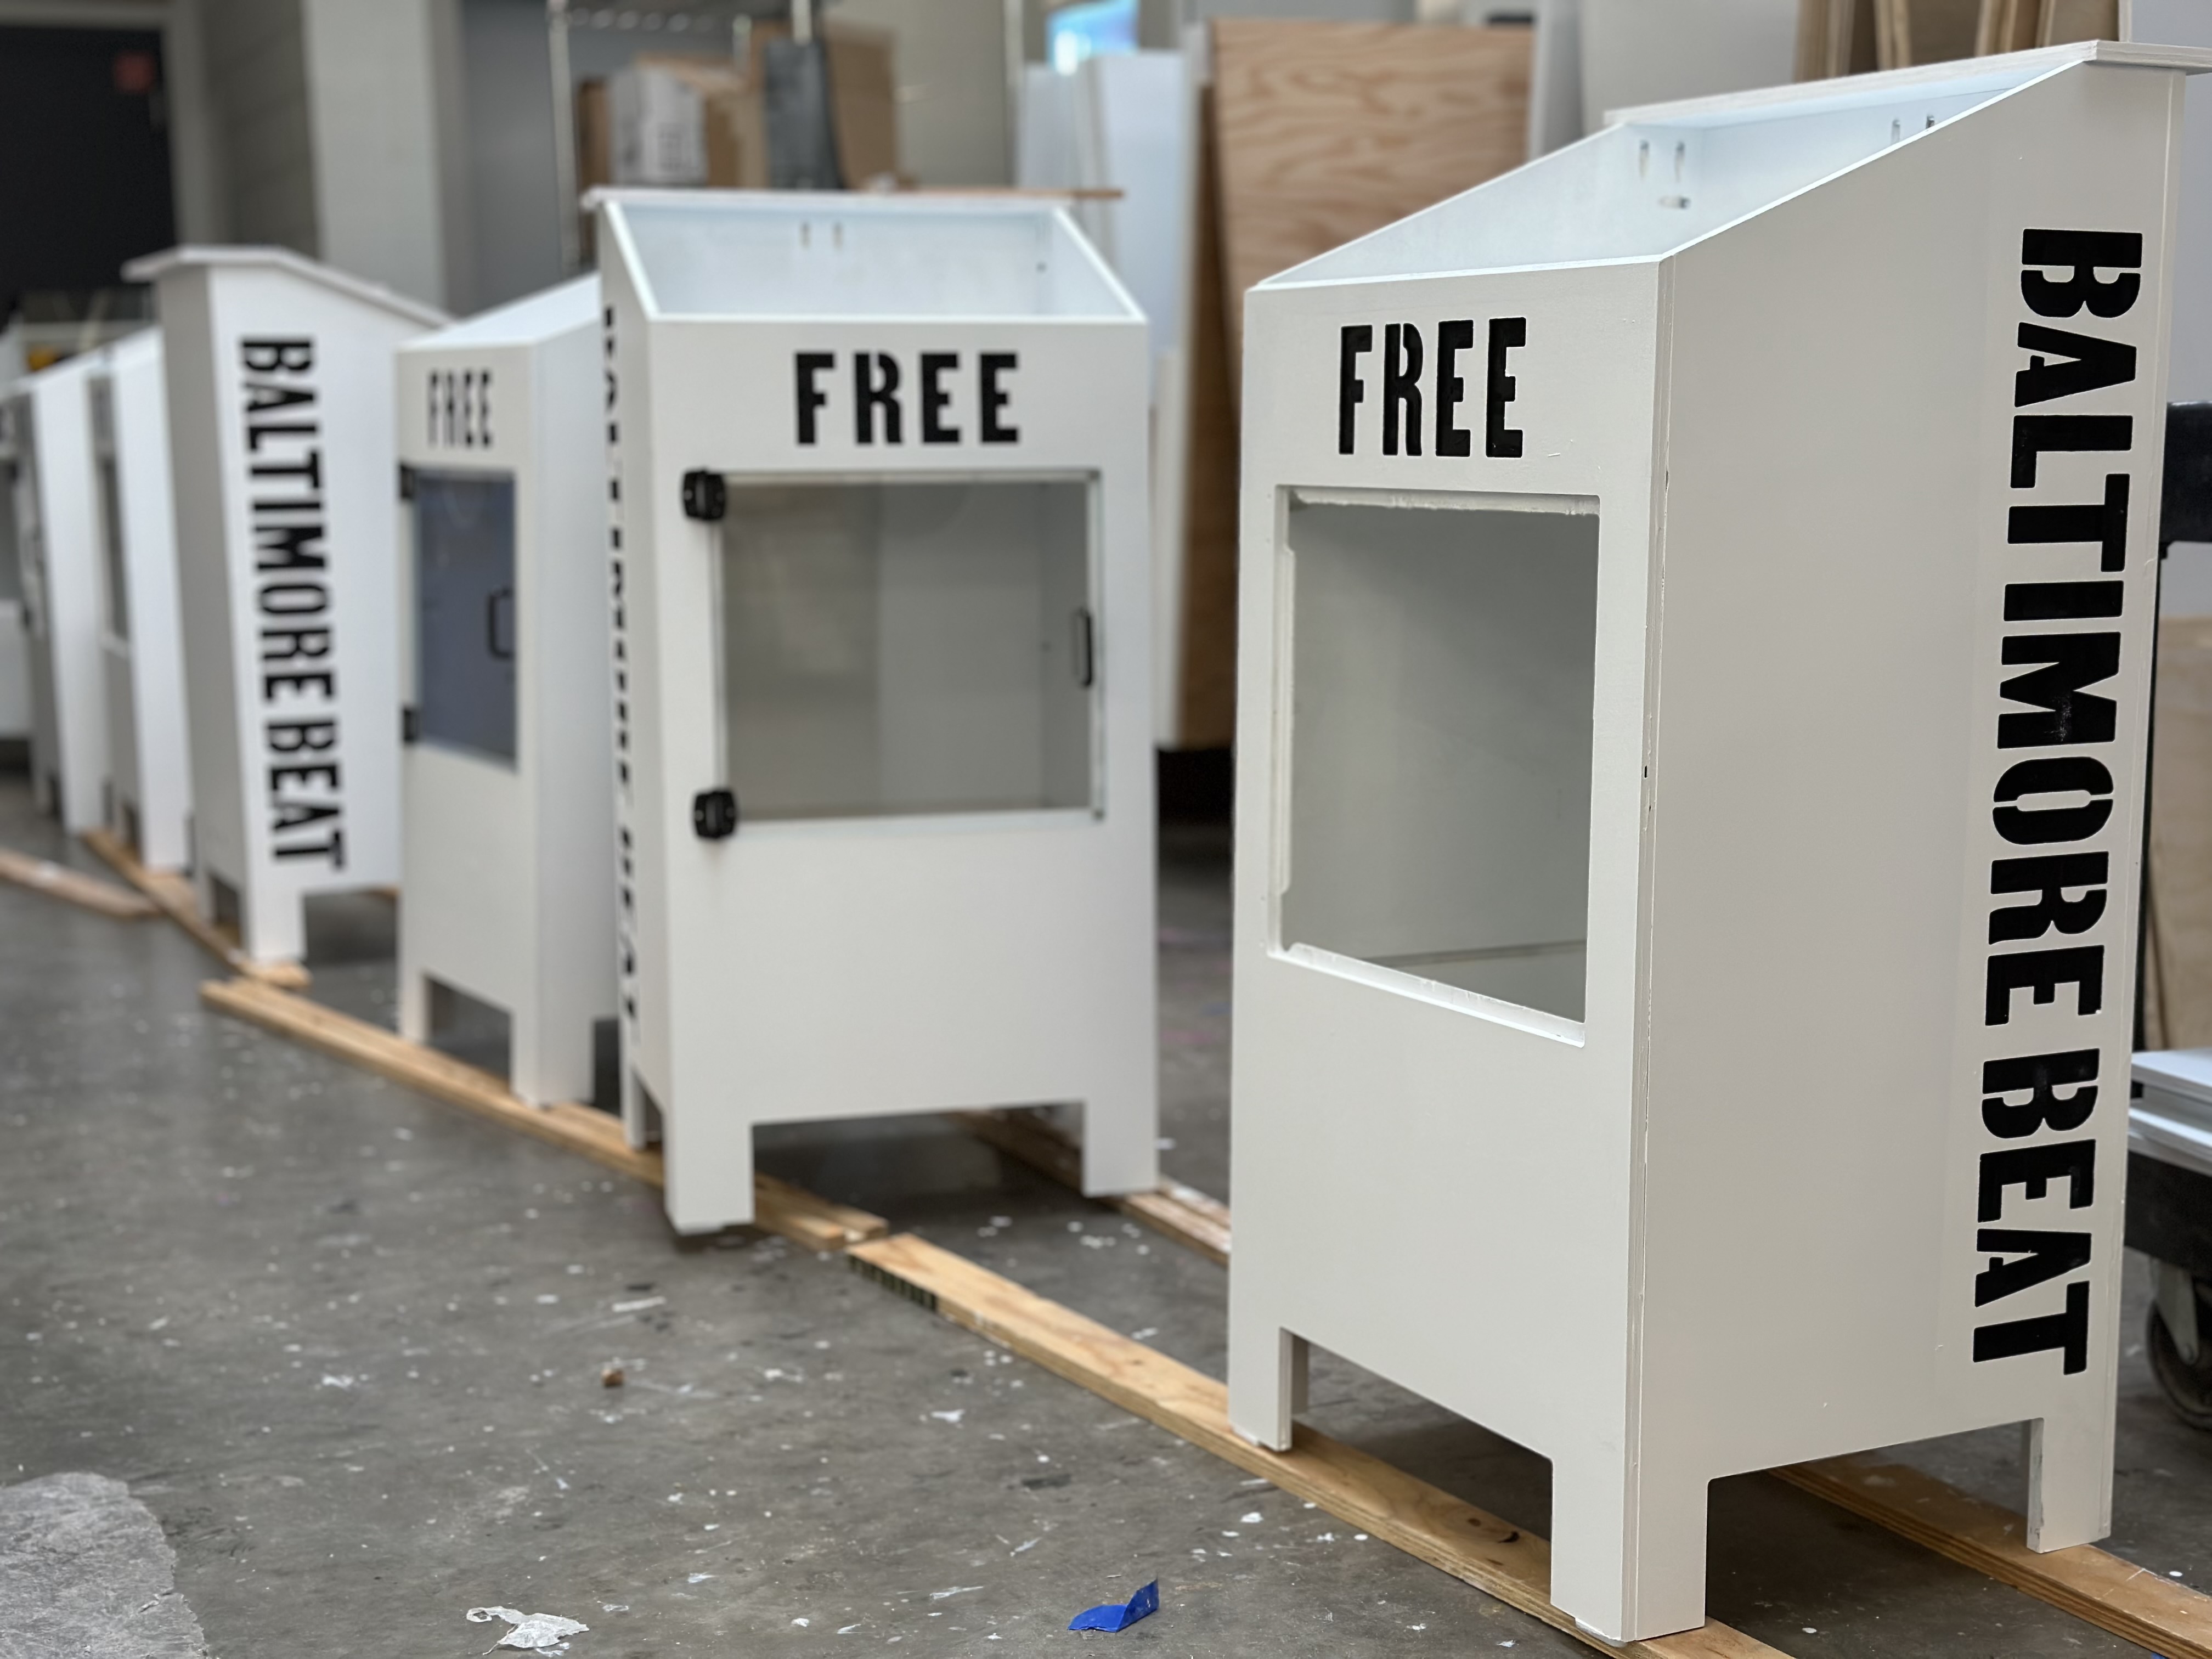
In 2022, the Baltimore Beat commissioned Open Works to design, prototype, and manufacture newspaper boxes. The brief included a request for a mutual aid section in the top and an aesthetic that referenced Baltimore's iconic salt boxes.
We are pleased to release this design open-source for replication in other cities.
¶ What is the Box?
The box is a newspaper box that holds the bi-weekly Baltimore Beat publication and a protected community exchange location. Here's the blurb on their website.
They are located all over the Baltimore area. The map below shows all locations that have the publication, and the red markers show the locations that also have a community exchange area.
¶ How to get it
The best way to get a Baltimore Beat Box is to get in touch with Baltimore Beat and sponsor one.
However, if you'd like an idea of what goes into one and how to build it, keep reading!
¶ Materials
¶ 3D Model
Explore the Fusion model to see the box assembled as well as the parts laid out flat for cutting.
¶ How to assemble it
- Use paint rollers to paint the plywood for the body with the Armorseal. Apply one coat. Mix paint according to package instructions.
- Use a CNC router to mill out the body parts and shelves. The pretty sides of the panels should go down, as this will put the imperfections on the inside of the finished box. Before running the mill files, make sure that the areas that will have engraved lettering are generously masked off with well pressed down blue painter's tape in order to prevent paint overspray later. Use a chisel to release pieces from the panel without marring the underside/pretty side.
- Sand the edges of all parts with orbital sander. Hand sand the front window opening.
- Use a CNC router to mill out the lettering on the right and left sides.
- Use a CNC router to cut out the shelves. Use a chisel to release pieces from the panel without marring the underside/pretty side.
- Use a CNC router to mill out the window.
- Test fit all parts.
- Using 2 part epoxy, glue the magnets flat in their little holes, making sure that they do not extend above the surface.
- Use Sherwin Williams Emerald urethane paint mixed for spray painting to paint the engraved lettering. Be careful of overspray.
- Use Sherwin Williams Emerald urethane paint and a paint roller to paint the parts. There is no need to paint inside dado grooves.
10.1 Paint the edges, and use a wet cloth to wipe any excess off of the faces. Be sure to get the inside of the window area of the front panel.
10.2 Paint non-show face and let it dry to the touch.
10.3 Paint the edges again, and wipe any excess off of the faces. Be sure to get the inside of the window area of the front panel.
10.4 Paint the show faces.
10.5 For the shelves, the show face gets two coats of paint and the rest gets one. - Attach the handle and hinges to the window.
- Assemble one side of the box.
- Lay one “Baltimore” side down with the shorter edge against the fence.
- Line the box back against the long edge of the side at 90°
- Prop the L jig against the back to lightly hold it at 90° and screw jig in place onto the table.
- Insert shelves into the dado, using the dado to keep the set up square.
- Screw the box back to the side through the pre-drilled pilot holes.
- Assemble the other side of the box.
- Place the opposite side of the box onto the shelves that are already in place. Use the dado grooves to align the parts.
- Align the parts and screw the box front to the side through the pre-drilled pilot holes.
- Flip the box onto its back and attach the face of the box.
- Attach window. Ensure small gaps between the side and bottom of the window with the window opening by placing a ruler between the window and the opening in those locations. This will prevent the window from scraping.
- Attach the lid by first attaching the flat top, the hinges, and then the lid to the hinges.
- Cut two twelve inch lengths of chain. Attach them inside the box
- Lid underside: mark the 2 points, measure 6.5” up from the hinge end, 2” in from the sides.
- Inside box: Mark 1 point on each side, measure 7.5” from back and 1.5” down from top of side.
- Pre-drill shallow pilot holes, then screw down the ends of the chain. Use washers to make sure that the chain links cannot slip over the heads of the screws.
- Apply stickers.
- Deliver and install it!