¶ Introduction
Instructions to safely change the needle on the lockstitch sewing machines (Juki DDL-8700) and the walking foot machine (Juki DNU-1541s). The only difference between the process for the two machines is the needle used. You must use the correct needle.
The needle needs to be changed if:
- The point is dull and is causing thread breaks.
- The needle on the machine is not the correct type of needle for your project. Check the Machine Compatibility Chart to make sure the needle is appropriate for the machine and your fabric.
- The needle is broken. If so, consult a Community Technician in order to have them check for pieces of the needle that may be loose inside the machine.
¶ Skills/Class Required
A membership or day pass is required to access Textiles. The following Shop Safety Class is required to access the lockstitch sewing machines:
¶ Machine Reservations
The lockstitch sewing machines do not require a machine reservation and are available on a first-come first-serve basis.
¶ Before You Begin
Personal Protective Equipment (PPE):
• Sturdy, close-toed shoes must be worn at all times for traction and stability.
• Long hair, jewelry, and loose clothing must be tied back to prevent getting caught in moving parts.
For more information on shop safety visit Textiles under "Safety."
✓ Make sure the machine is turned off before changing out the needle.
✓ Keep your feet off the drive pedal as you perform this procedure.
¶ Time to complete
- 5 minutes.
¶ Tools Required
- Small flat head screw driver. Screw drivers are available in:
- the small drawer under the left end of the table.
- the black tool chest by the door.
- Tweezers (optional). Tweezers are available in:
- the small drawer under the left end of the table.
- the black tool chest by the door.
¶ Materials Required
For the lockstitch machines:
- A new DB X 1 needle. Needles are available in:
- the small drawer under the left end of the table.
- the black tool chest by the door.
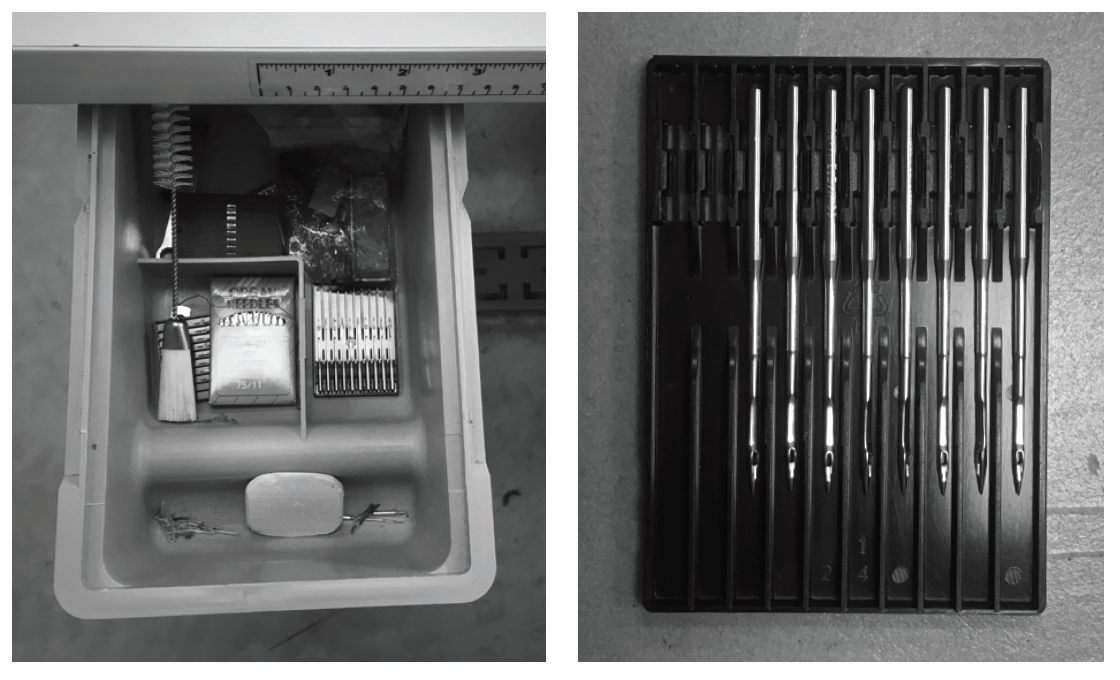
For the walking foot machine:
- A new DP X 17 needle. Needles are available in:
- the small drawer under the left end of the table.
- the black tool chest by the door.
Double-check that the point is sharp and free of burrs.
¶ Changing the Needle
- Turn off the machine.
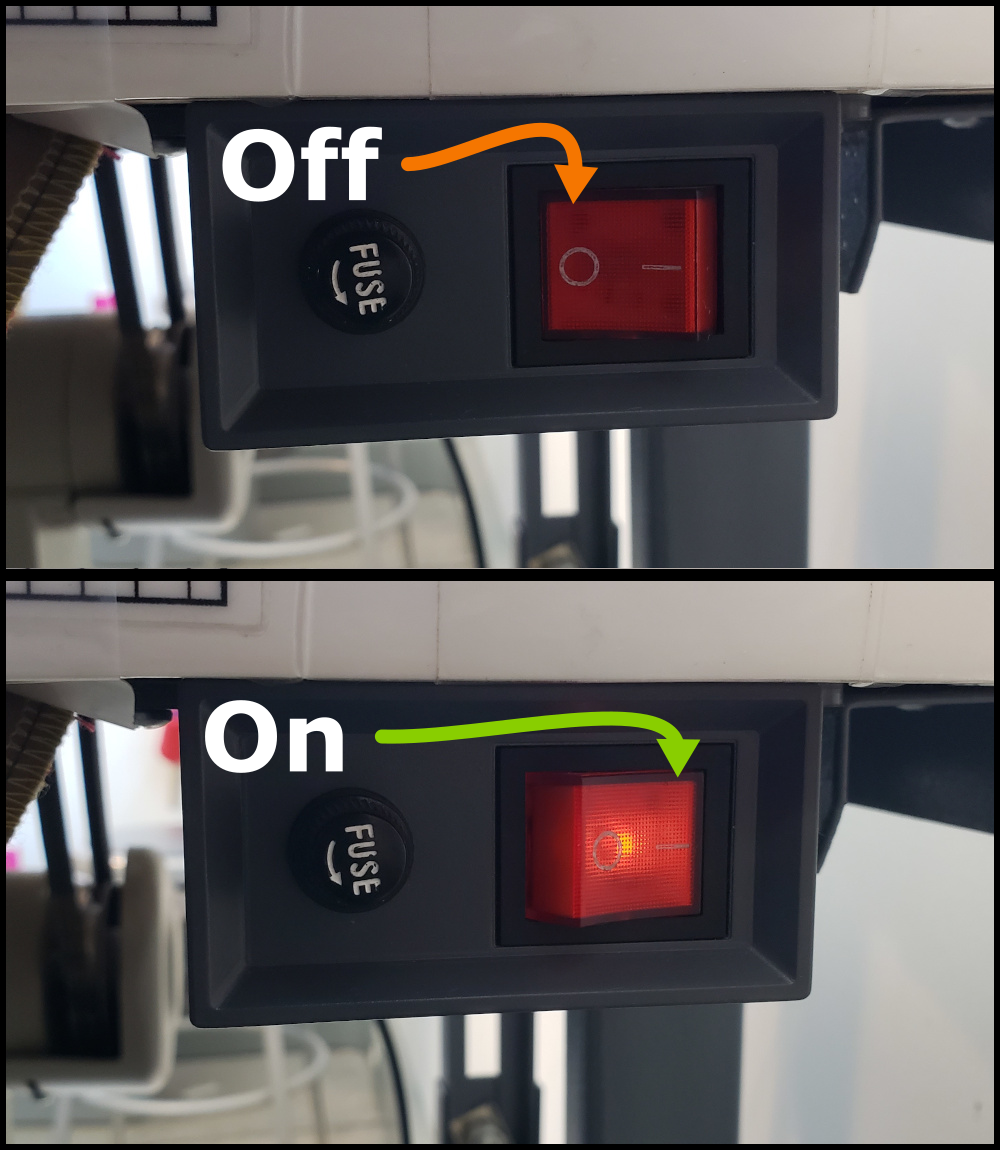 |
The power switch is located on the front edge of the sewing machine, towards the right corner of the table. The power switch will be lit to indicate that it is on. Toggle the switch to the "off" position. |
Leaving the machine powered on as you change the needle could result in injury.
¶ Removing the Needle
-
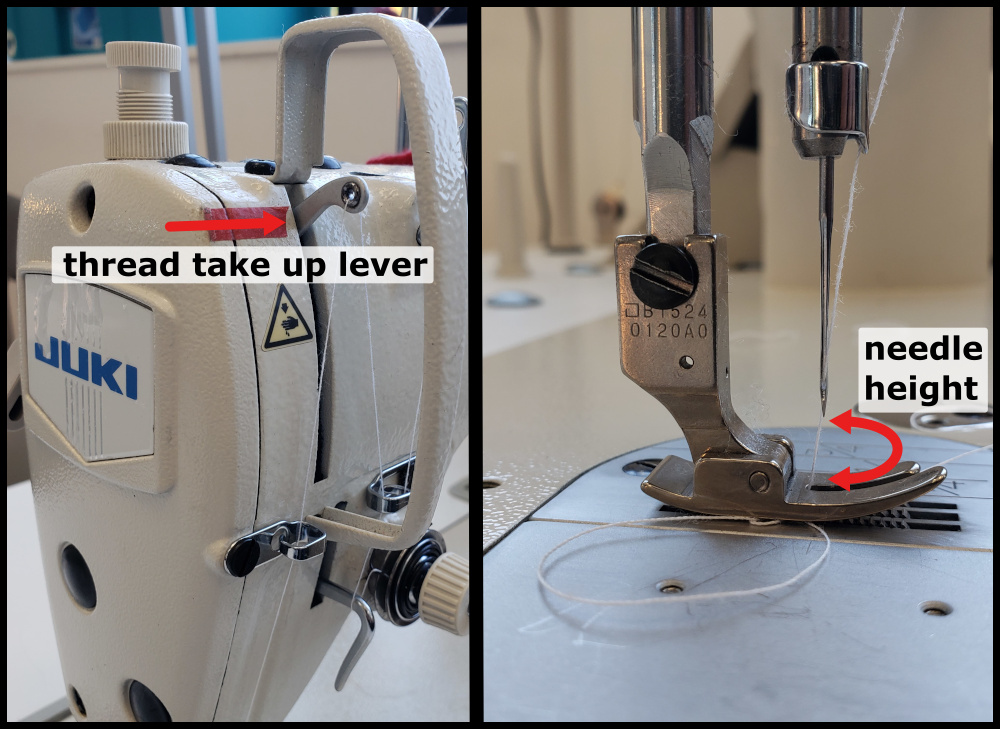
Turn the top of the hand wheel TOWARDS you to raise the needle to the top of its range. This gives you room to work.
-
If the needle is still threaded, unthread it by pulling the thread out of the eye[1] of the needle.
-
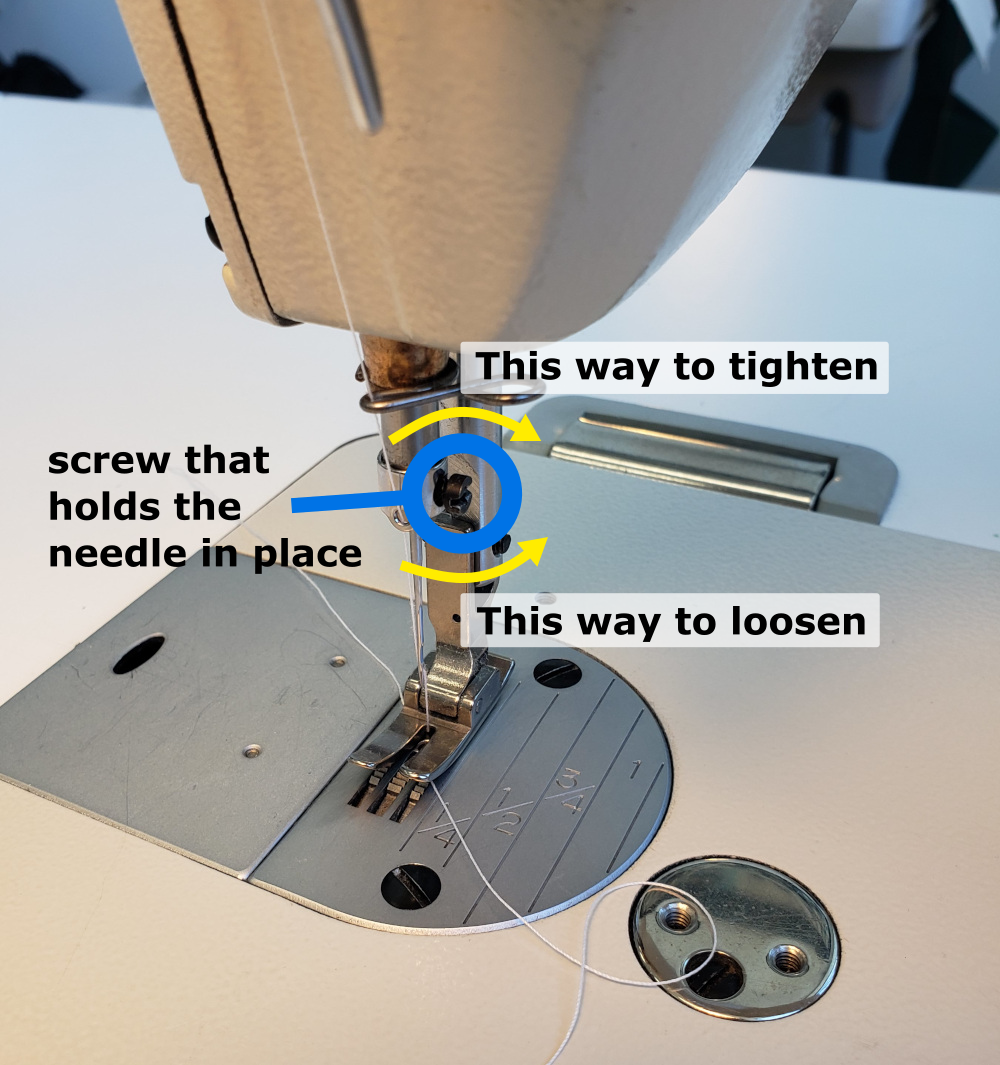
Remove the old needle from the machine by holding the needle with one hand while loosening the screw with the other. You may use tweezers to hold the needle. With your other hand, take the flat head screwdriver and loosen the screw that is right above the needle. Turn the screwdriver counter clockwise just a few turns to loosen the screw. Remove the needle downward.
-
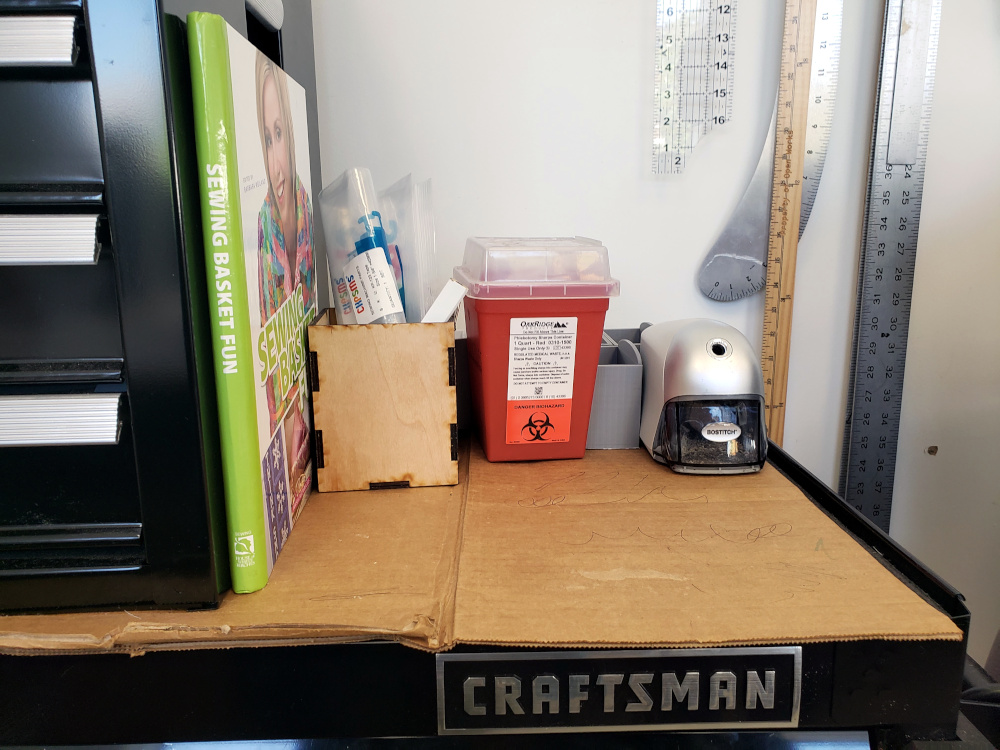
Discard the old needle by placing it in the sharps container. The sharps container is located on or near the black toolchest.
¶ Installing a New Needle
- Install the new needle into the needle shaft. Hold the needle by the scarf[2]. The scarf is the indented part, right above the eye. Make sure the scarf is facing towards your right you as you insert the needle all the way up into the needle shaft.
- While keeping the scarf facing right, tighten the screw to lock the needle in place.
It is important to make sure the needle is installed correctly. If the needle orientation is wrong or not fully inserted into the needle shaft, problems with thread tension, breakage, and more can occur.
¶ Next Steps
- Install a new bobbin on a lockstitch
- Threading a lockstitch
- Return to the Walking Foot area of the wiki