¶ Overview
Instructions to thread a Coverstitch machine (Juki MF-7923).
¶ Skills/Certification Required
Sewing 1
¶ Time to complete
Variable
¶ Before you Begin
¶ Safety Check
✓ Ensure that you are not wearing any dangling jewelry or loose clothing that could get caught in the machine.
✓ Take your foot off the “drive” pedal when turning the machine on, threading, or changing a needle.
✓ Only use Coverstitch-designated needles, with the scarf facing to the back.
✓ Only turn the hand wheel towards you, never away.
¶ Tools required
- Scissors
- needle threaders (wire loop type, hook type)
- thread wax
¶ Materials required
- Wooly nylon thread
¶ Threading the Coverstitch
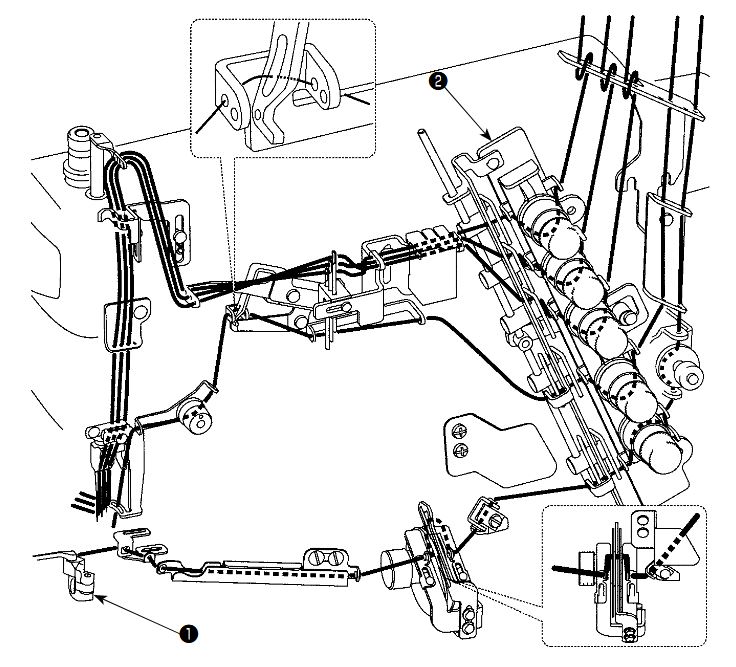
There are two main ways to thread the coverstitch. If it is already threaded correctly, you can use the fast way. If it is not threaded, or threaded incorrectly, follow the diagram below.
| Threading detail 1 |
|---|
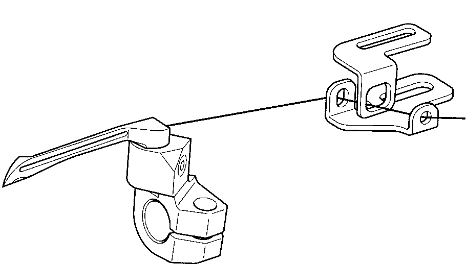 |
| Threading detail 2 |
|---|
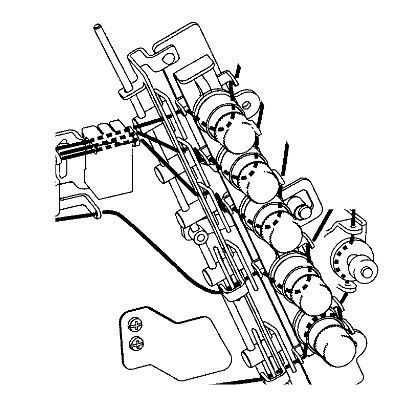 |
¶ Text Guide
All five threads are the same unil they reach the tension mechanism. Not all threads are required, so depending on the stitch you want, you may leave threads unthreaded. Check the manual for the settings for different stitches.
- Spool holder bar. Thread each hole from the cone side to the machine side.
- Guide bar. Thread each pair of holes from top to bottom, then back to front.
- Machine guide bar. For the first three threads on the left, thread each pair of holes starting with the left hole. Thread the left hole top to bottom, then bring the thread up around the front to thread the right hole top to bottom. The two threads on the right go straight through the guide bar, either hole in the pair is fine.
- Tension mechanism. Thread the guide above and to the right of each tension knob from right to left. Then bring the thread down and underneath, between the plates, then up and right to left through the guide on the other side. On thread five, the one furthest to the right that goes through the lowest tension mechanism, the thread goes over and between the plates instead of under.
- Now we will work on each thread starting from the top/leftmost. This thread uses the uppermost, backmost, or leftmost holes in the thread guides as it moves across the machine.
- The second thread from the left follows the same path as the first thread but uses the middle holes in the guides.
- The third thread from the left follows the same path as the first and second threads but uses the third/uppermost/rightmost holes in the guides.
- The rocking thread, fourth from the left, is next.
- Then the looper thread, the one all the way to the right.
¶ The Fast Way
Do this for each thread that needs to be changed.
- Unthread the needle.
- Cut the thread between the machine and the spool.
- Tie the end of the new spool of thread to the machine end of the old thread.
- Using the end of the old thread by the needle, pull the knot and new thread all the way through the machine.
- Cut the old thread off of the new thread.
- Thread the needle with the new thread.