¶ Introduction
The following guide covers the procedure for cleaning and oiling the machine, as well as changing the needle. This process should be done every 4 hours.
¶ Time to complete
- 10 minutes.
¶ Tools Required
- Bernina Q24 Longarm Quilting Machine
- Dusting brush
- 1.5mm hex driver
- sewing machine oil
¶ PPE
Personal Protective Equipment (PPE):
• Sturdy, close-toed shoes must be worn at all times.
• Long hair, jewelry, and loose clothing must be tied back.
For more information on shop safety visit Digital Textiles under "Safety."
¶ Steps
In order,
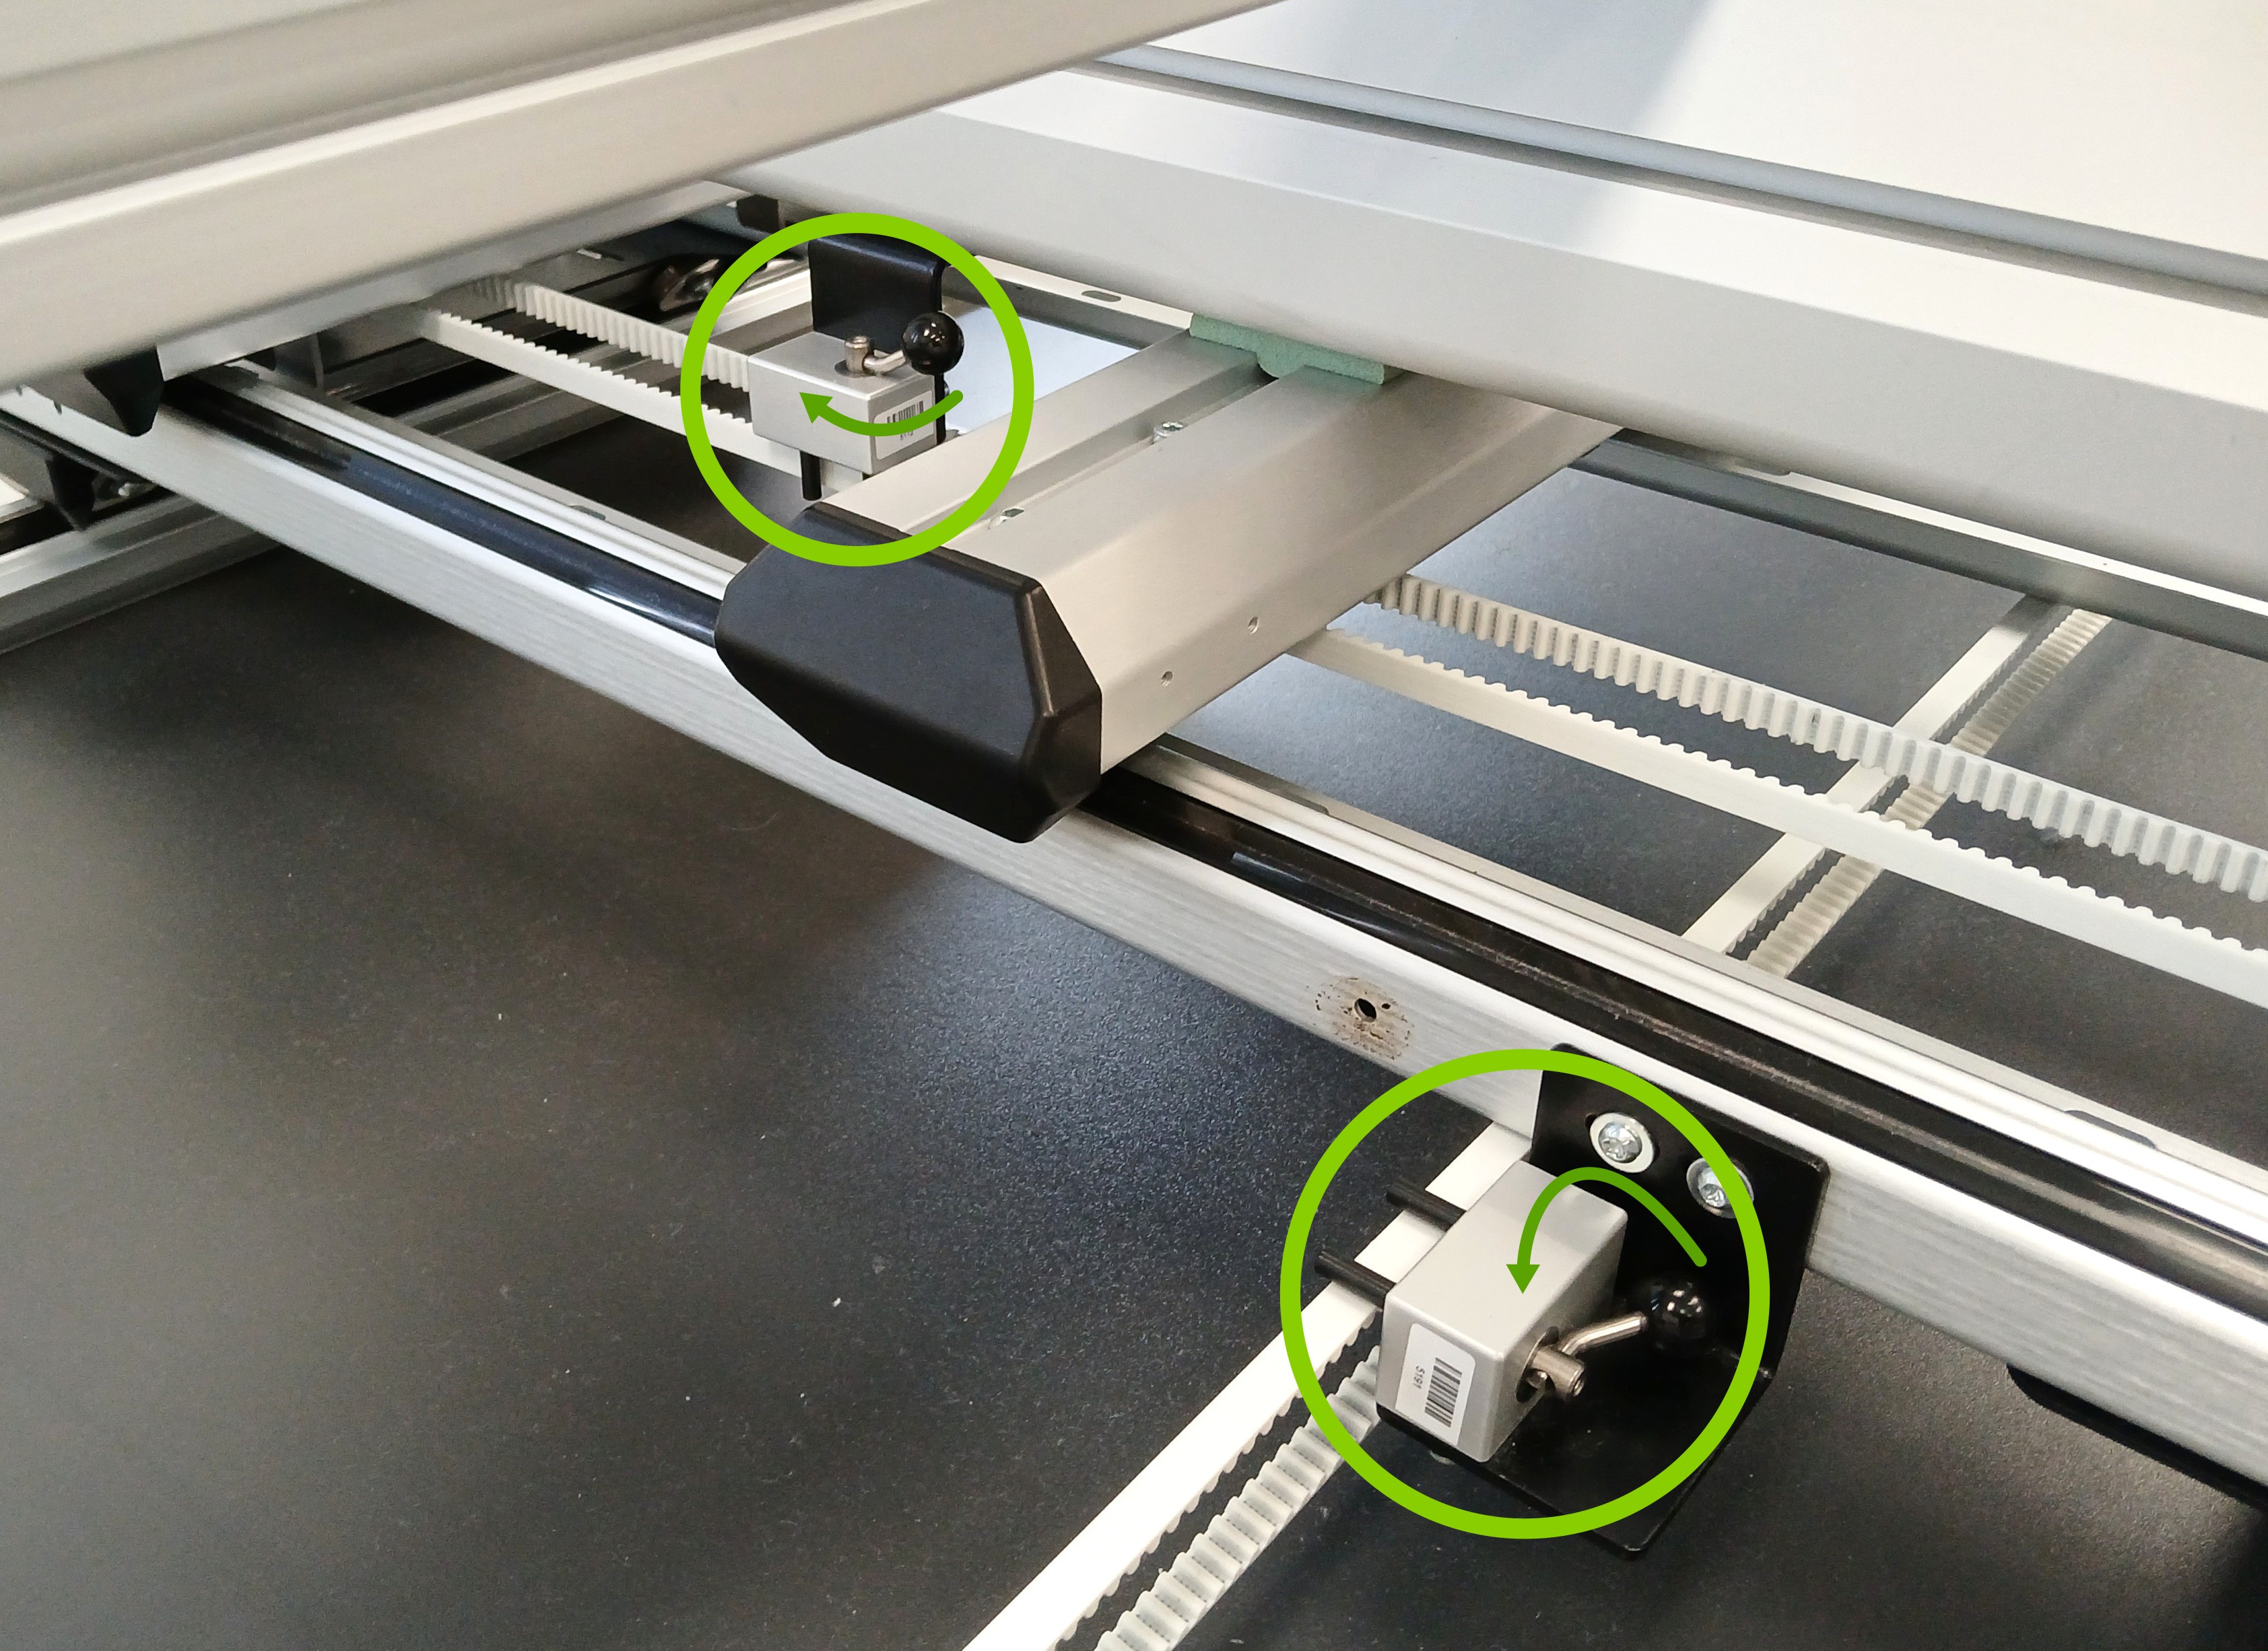
Tip: clamp the belts so that the sewing head doesn't move around while you're working on it.
¶ Remove needle
- Gently pinch the needle between thumb and forefinger
- Loosen the screw that's just above the needle with the hex driver. One half turn will do it.
- Pull the needle down and out. Discard needle in sharps container.
¶ Remove presser foot
- Pull up on tab on the back
- While pulling down on the presser foot
- Set presser foot aside
¶ Remove stitch plate
- Firmly press the target symbol in the upper right of the stitch plate
- Once the plate pops up, lift it up and set it aside.
¶ Open bobbin box
- Door opens from top, swinging down.
- If present, remove bobbin case and bobbin.
¶ Cleaning
- Use the brush to dust out the bobbin race from the front and top
Do not use compressed air because that can force lint further into the machine instead of removing it.
¶ Oiling
- Use the hand wheel to move the hooks in the bobbin race until the two dots are revealed at the top.
Press in on the hand wheel to engage it.
- Place a drop of sewing machine oil in the left dot. It's okay if it's the right dot. It's not okay if thread lubricant is used instead.
¶ Assemble machine in reverse order
- Install stitch plate by placing the plate where it belongs and pressing it down into place. It will snap in.
- Install presser foot by aligning the presser foot with the cone, then press the lever back to lock it in place.
¶ Install new needle
- Hold new needle between thumb and forefinger with the flat pointing towards the back
- Insert into the bottom of the needle bar until it stops.
- Tighten screw until snug. No need to go ham on it.