¶ Introduction
The following guide covers two methods for hooping material.
¶ Time to complete
- Less than 10 minutes per hoop, assuming materials are already prepared.
¶ Tools Required
- Hoop (manual or magnetic)
- Jig for magnetic hoop (if using magnetic hoop)
- Scissors
- Iron (optional, recommended)
¶ Materials required
- Material to be embroidered
- Appropriate stabilizer/backings for that material
¶ Personal Protective Equipment (PPE):
• Sturdy, close-toed shoes must be worn at all times.
• Long hair, jewelry, and loose clothing must be tied back.
• Ear protection is recommended when two or more machines in the lab are running at once.
For more information on shop safety visit Digital Textiles under "Safety."
¶ Stabilizers/Backing
There are many types of stabilizer.
- cut away
- tear away
- water soluble
- heat soluble
There are also toppings and foam to add texture and depth on the surface of the fabric.
¶ Positioning the hoop on material
Typically, the embroidered design will be positioned on a garment or accessory and so the location and orientation are extremely important.
- Lay material out flat. If there are creases, iron it and then lay it out.
- Determine where the design will go. Mark the center with chalk or a washable pen. A dot is typically invisible when sewn over, but a cross or x may also be appropriate.
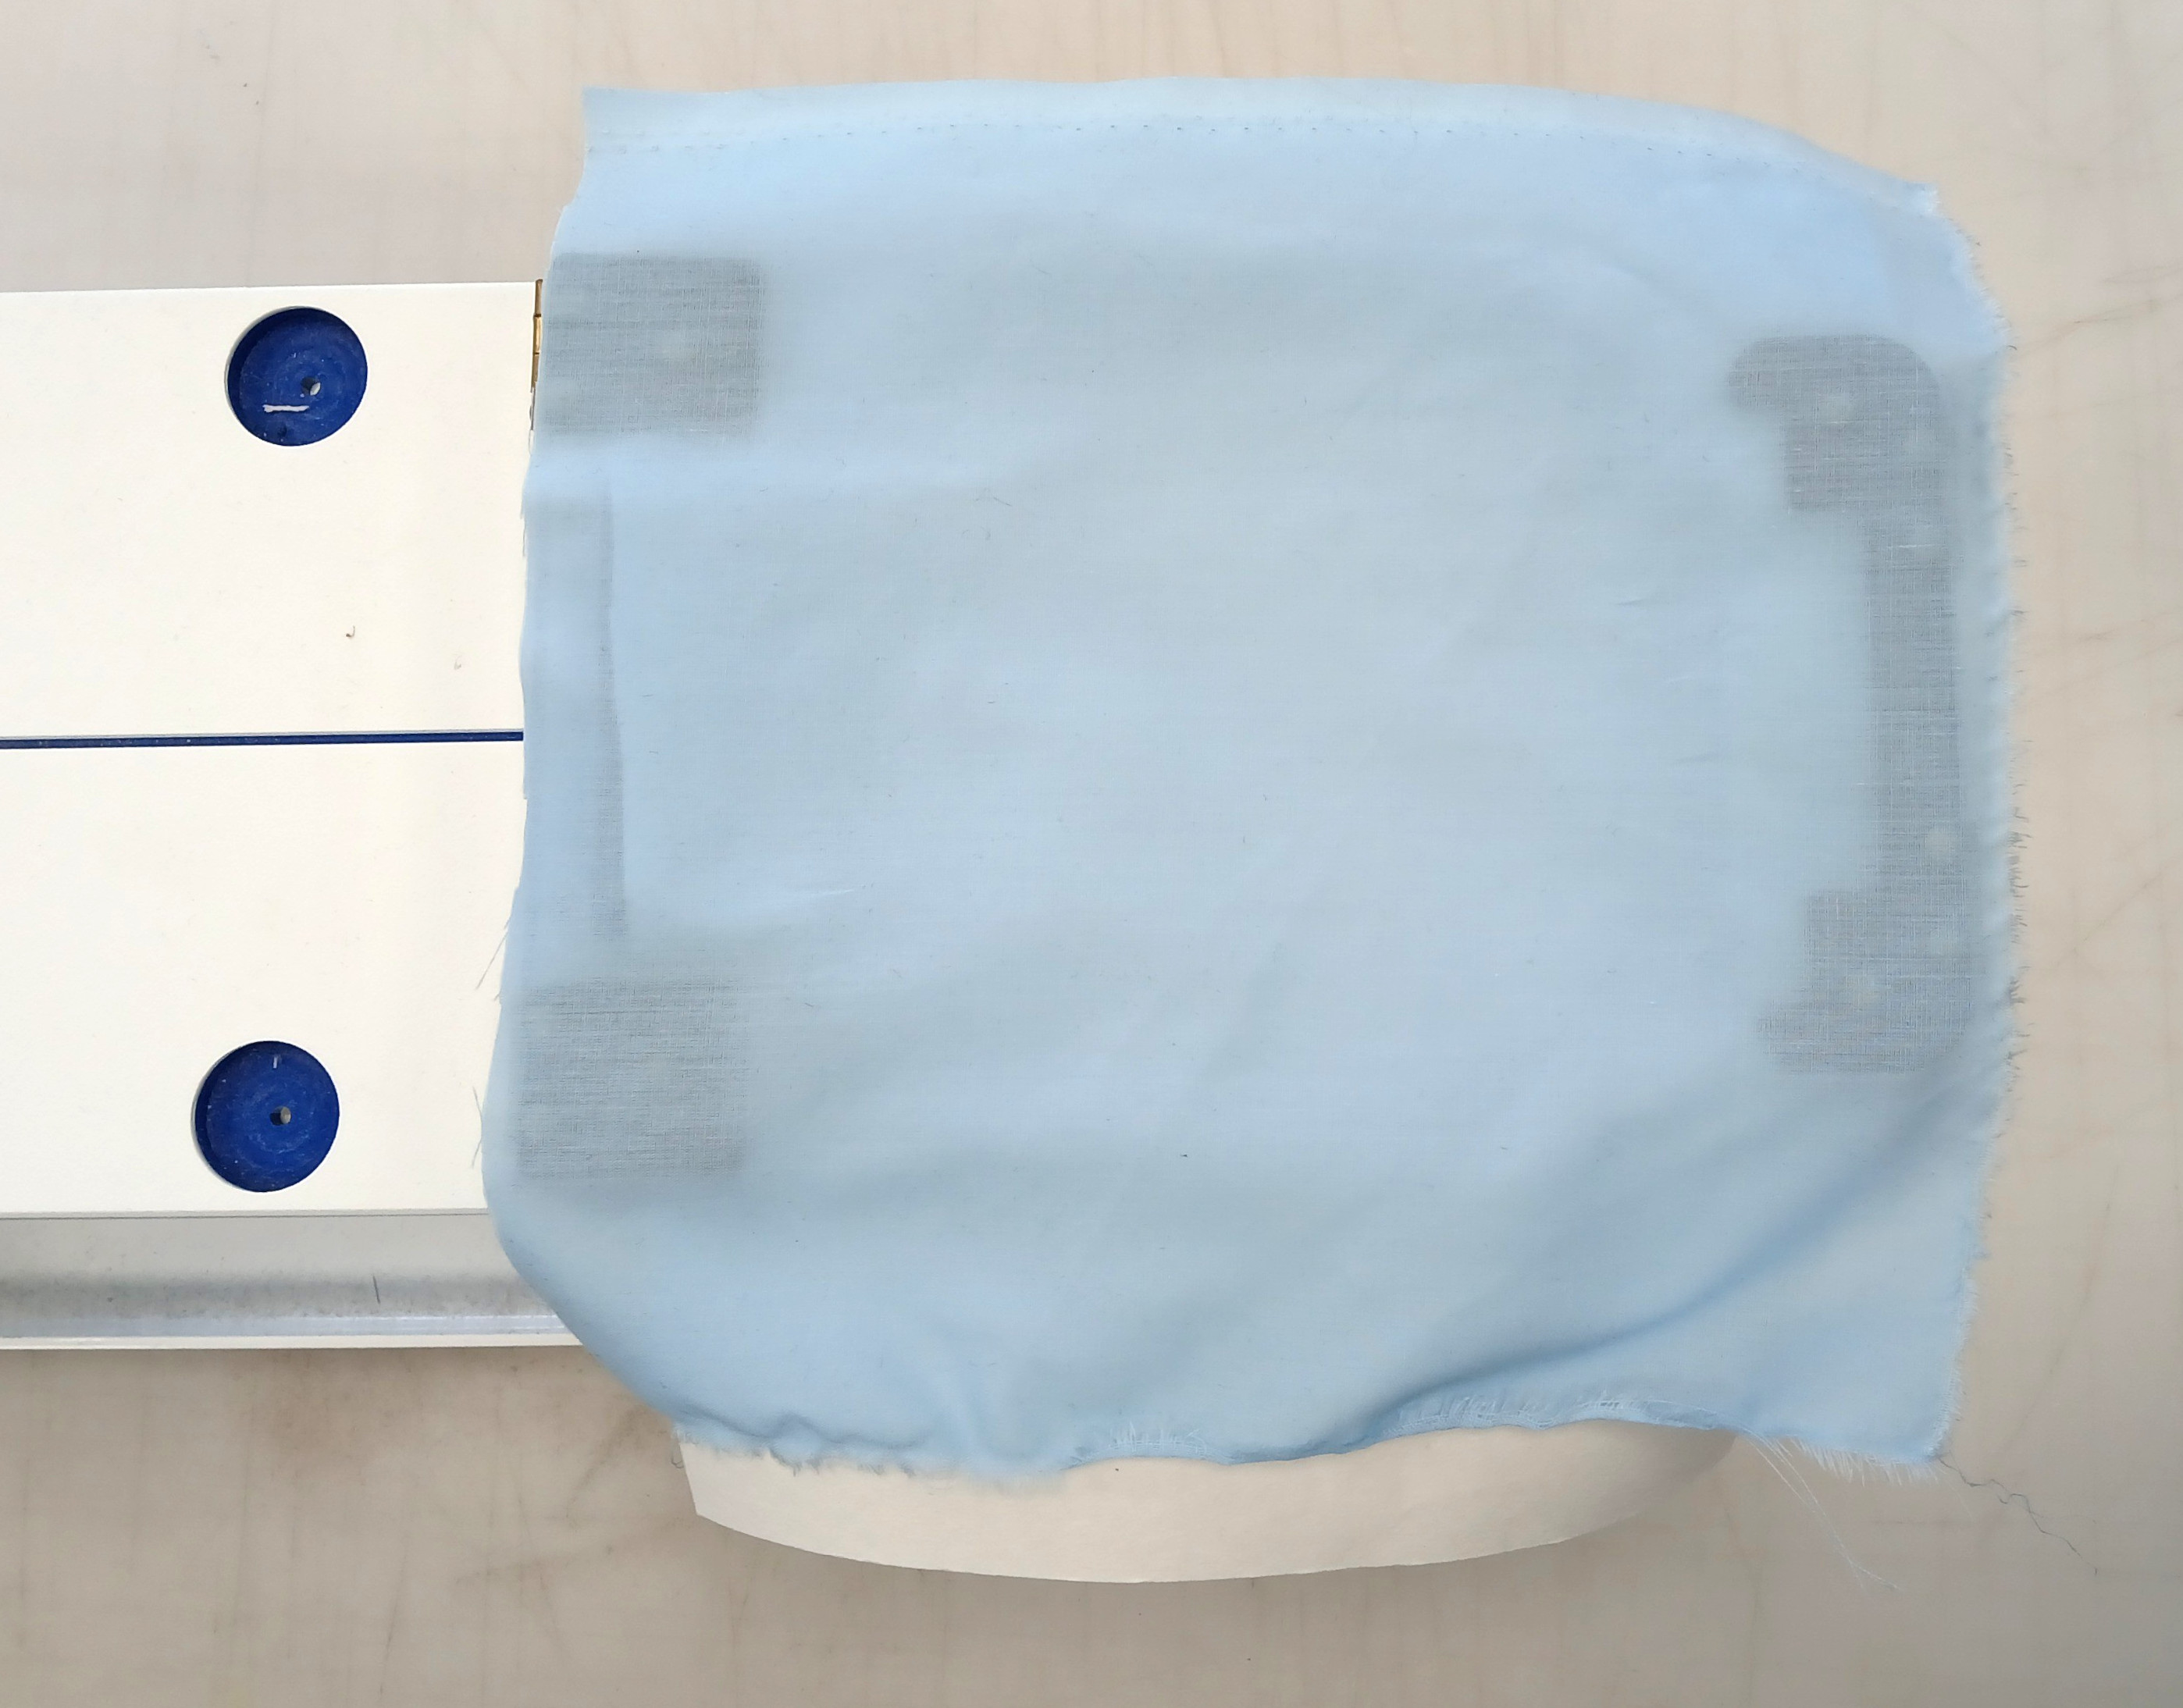
¶ Stacking up material to go in a hoop
All material going into a hoop needs to be larger than the hoop by a couple of inches. If any edges are inside the hoop, tension will be weird and it will negatively impact the sew out.
- All toppings, etc
- All material
- All stabilizers
¶ Manual Hoop
Starting with the stabilizer and material already stacked
- Slip the inside/top of the hoop underneath of the stabilizer OR place the stack on top of the inside/top of the hoop. The top of the hoop should be against the worksurface.
- Use the alignment marks on the hoop to get the center dot that you placed earlier positioned in the center of the hoop.
- Place the outside/bottom of the hoop onto the stack.
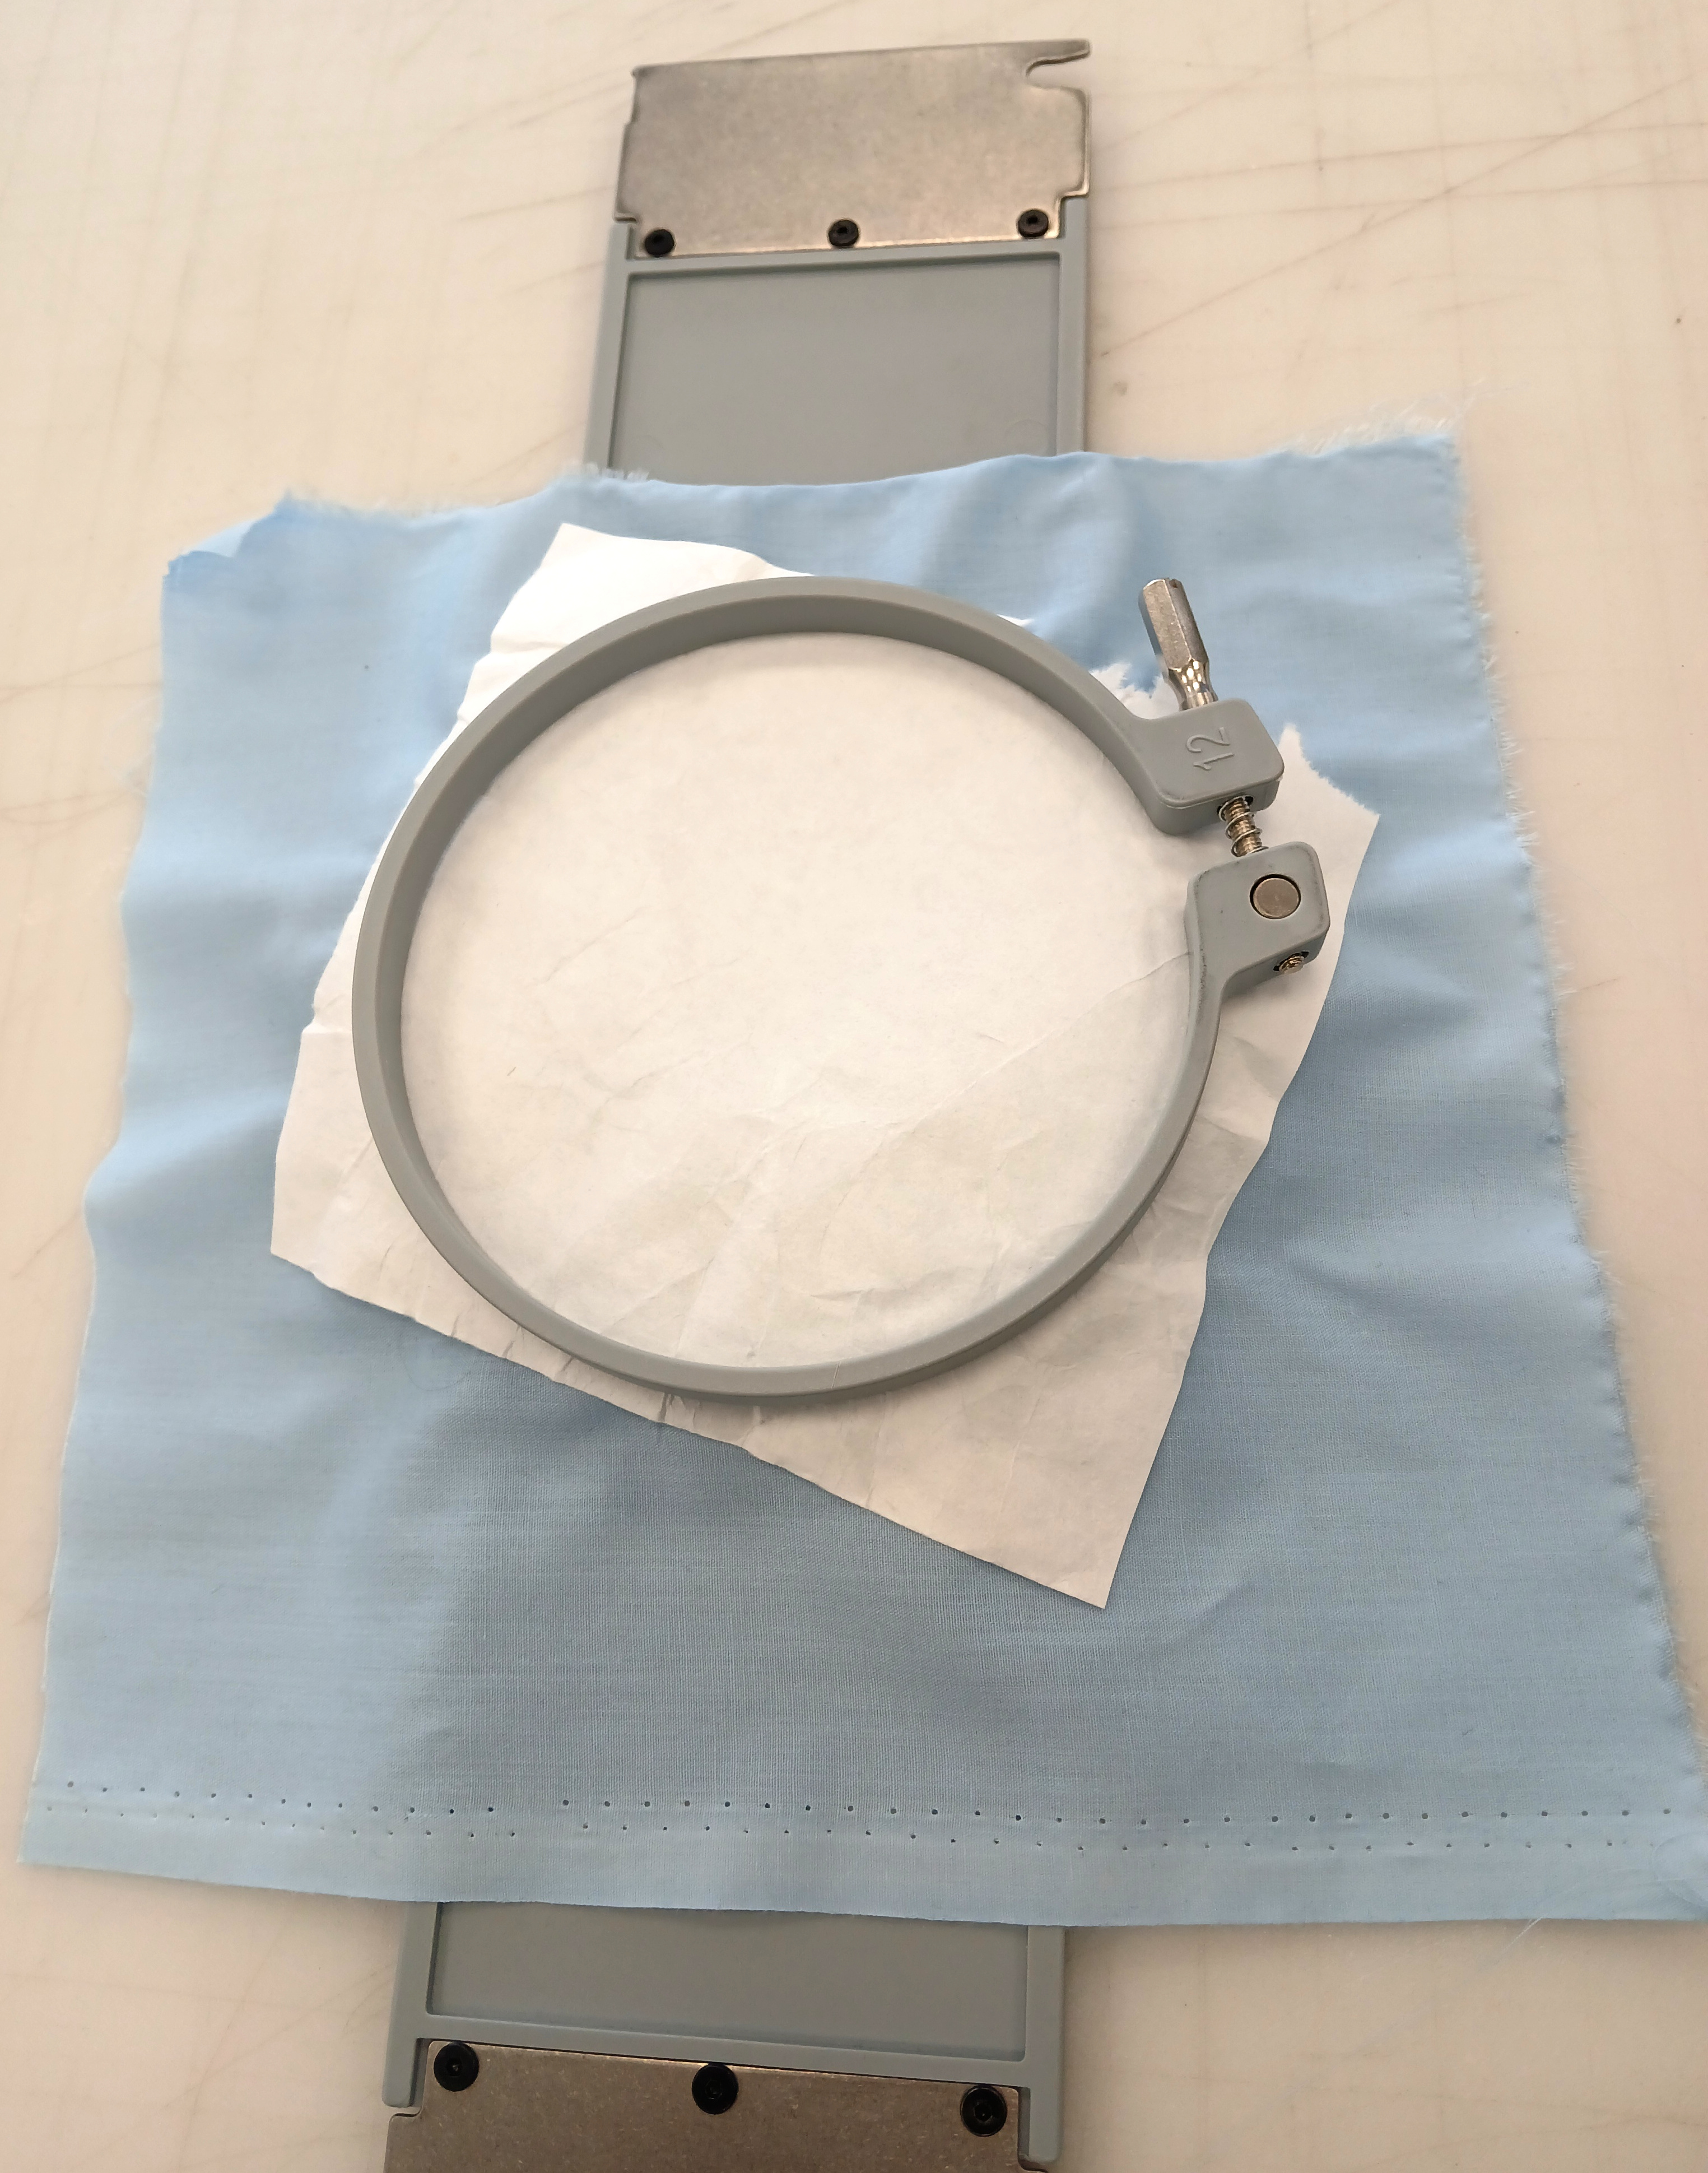
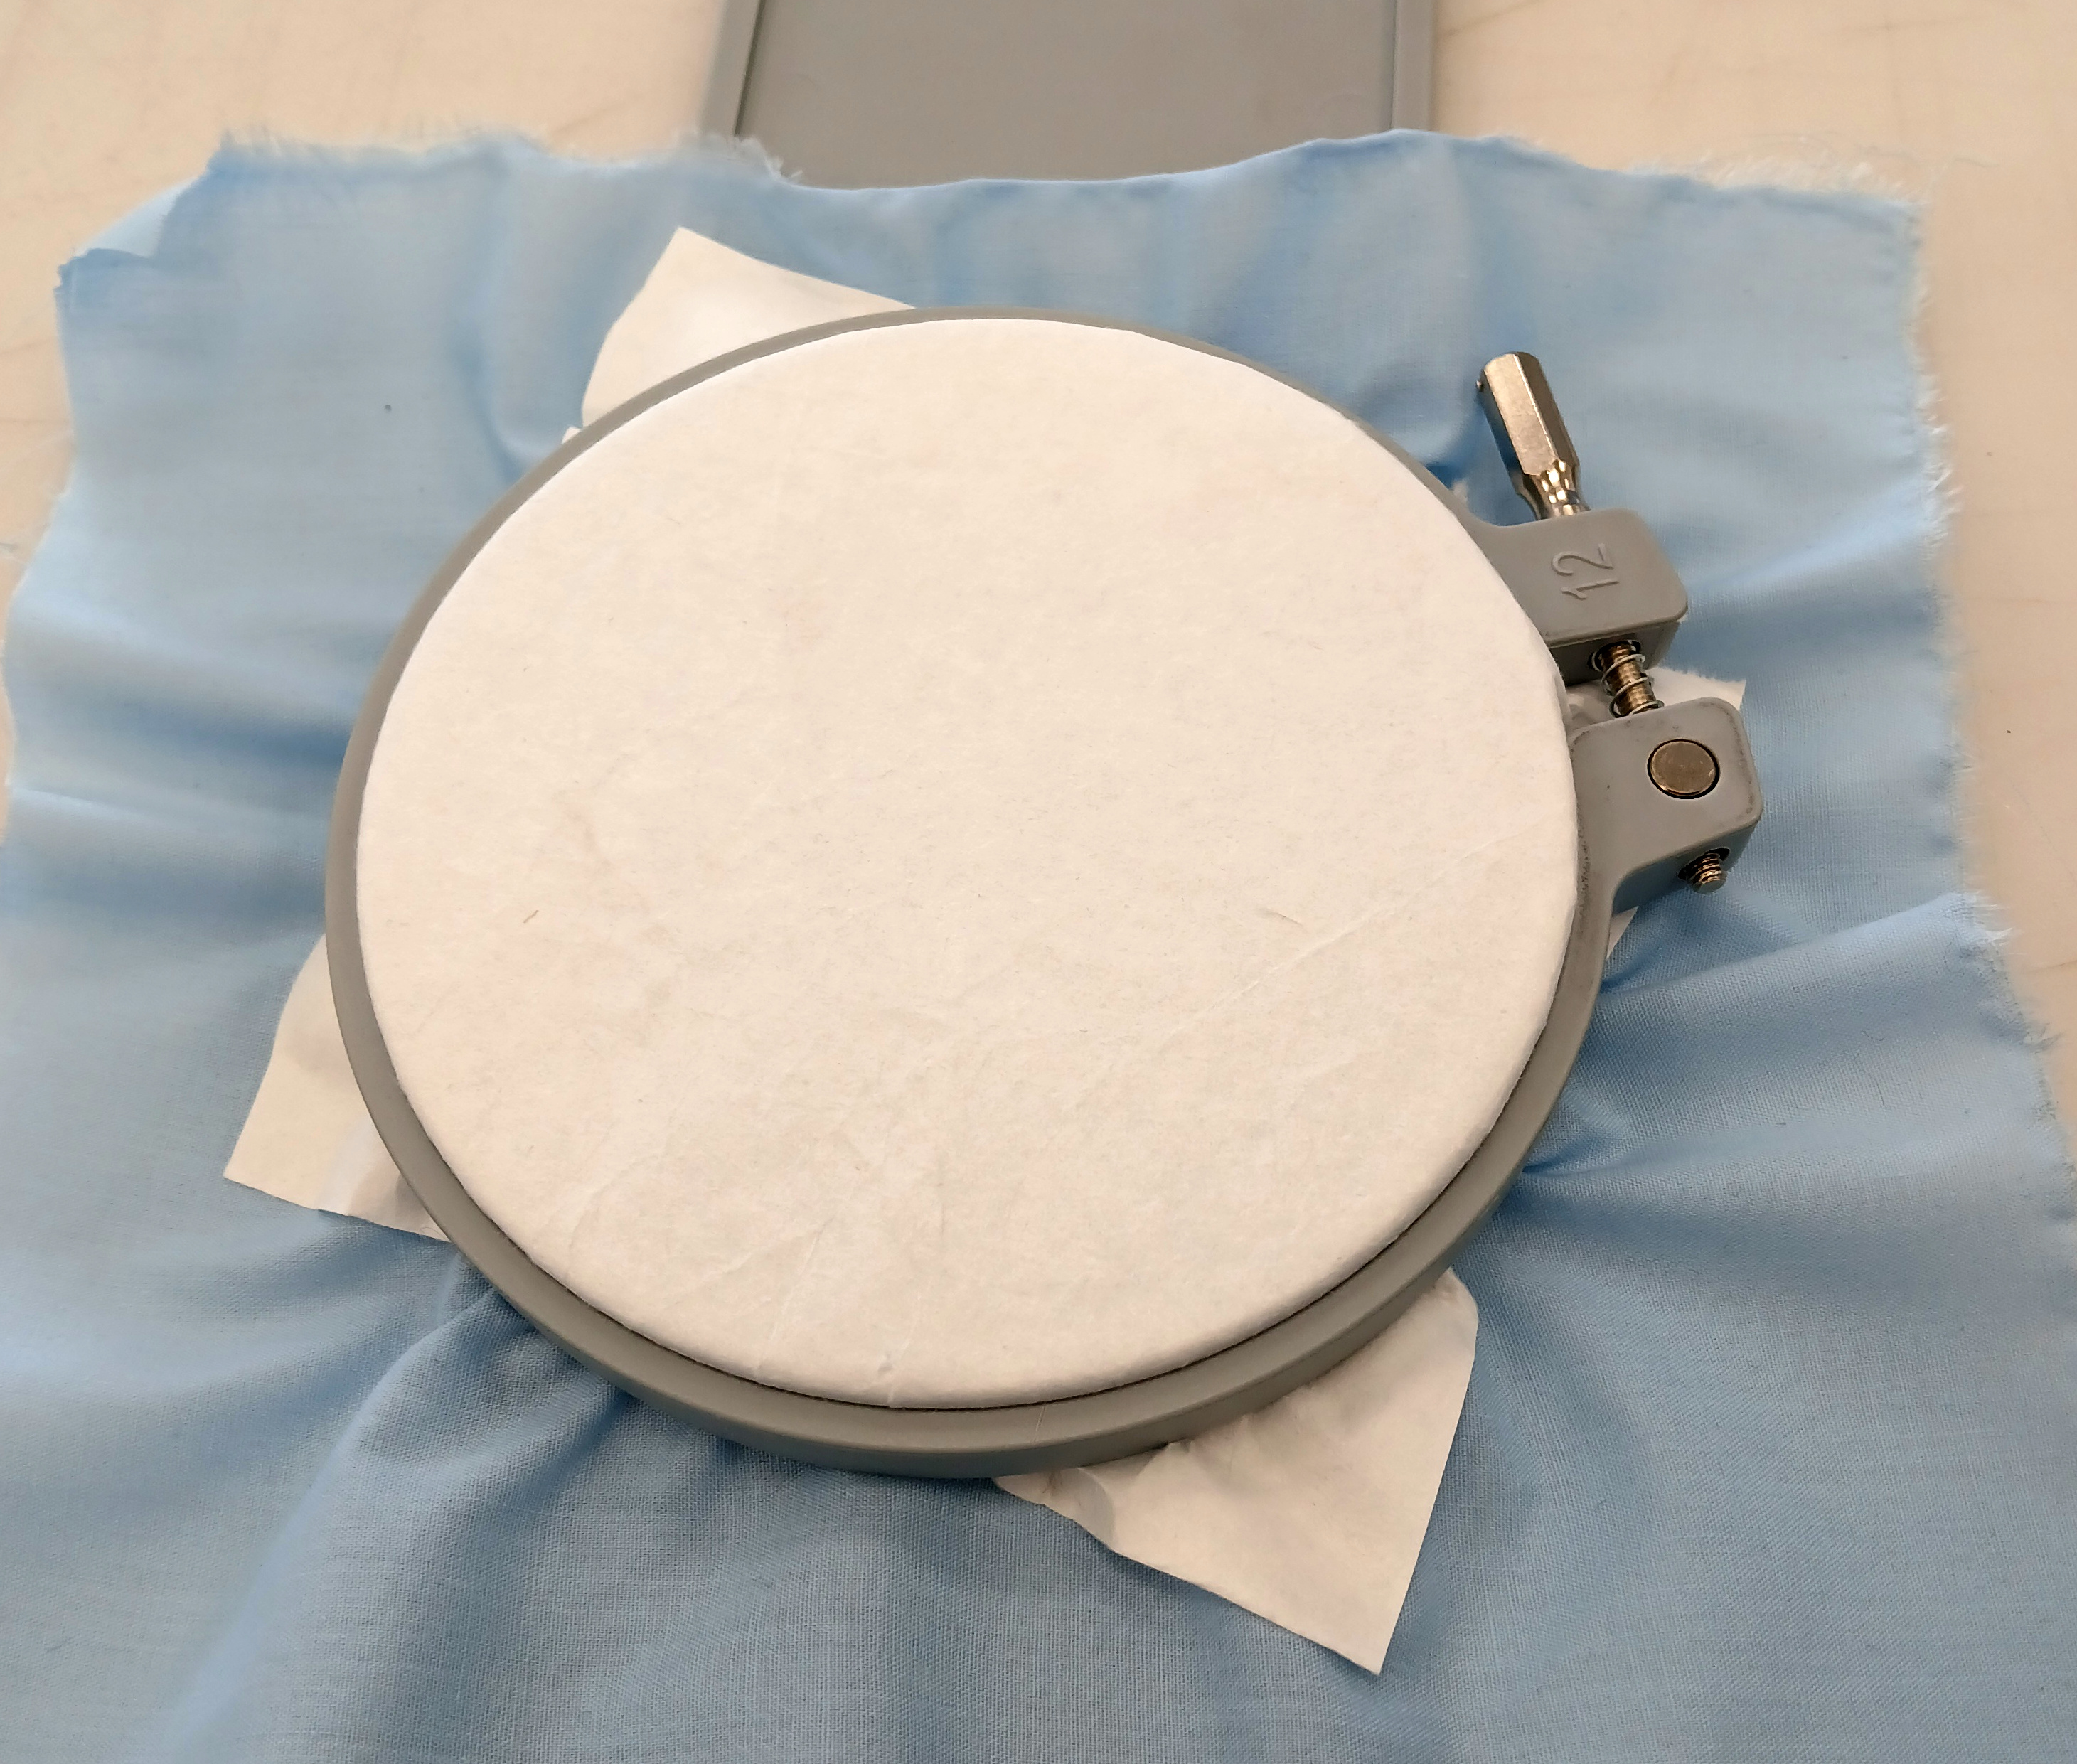
The surface of the material will extend beyond the edge of the hoop when fully assembled.
¶ Magnetic Hoop
Starting with the jig on the table in front of you:

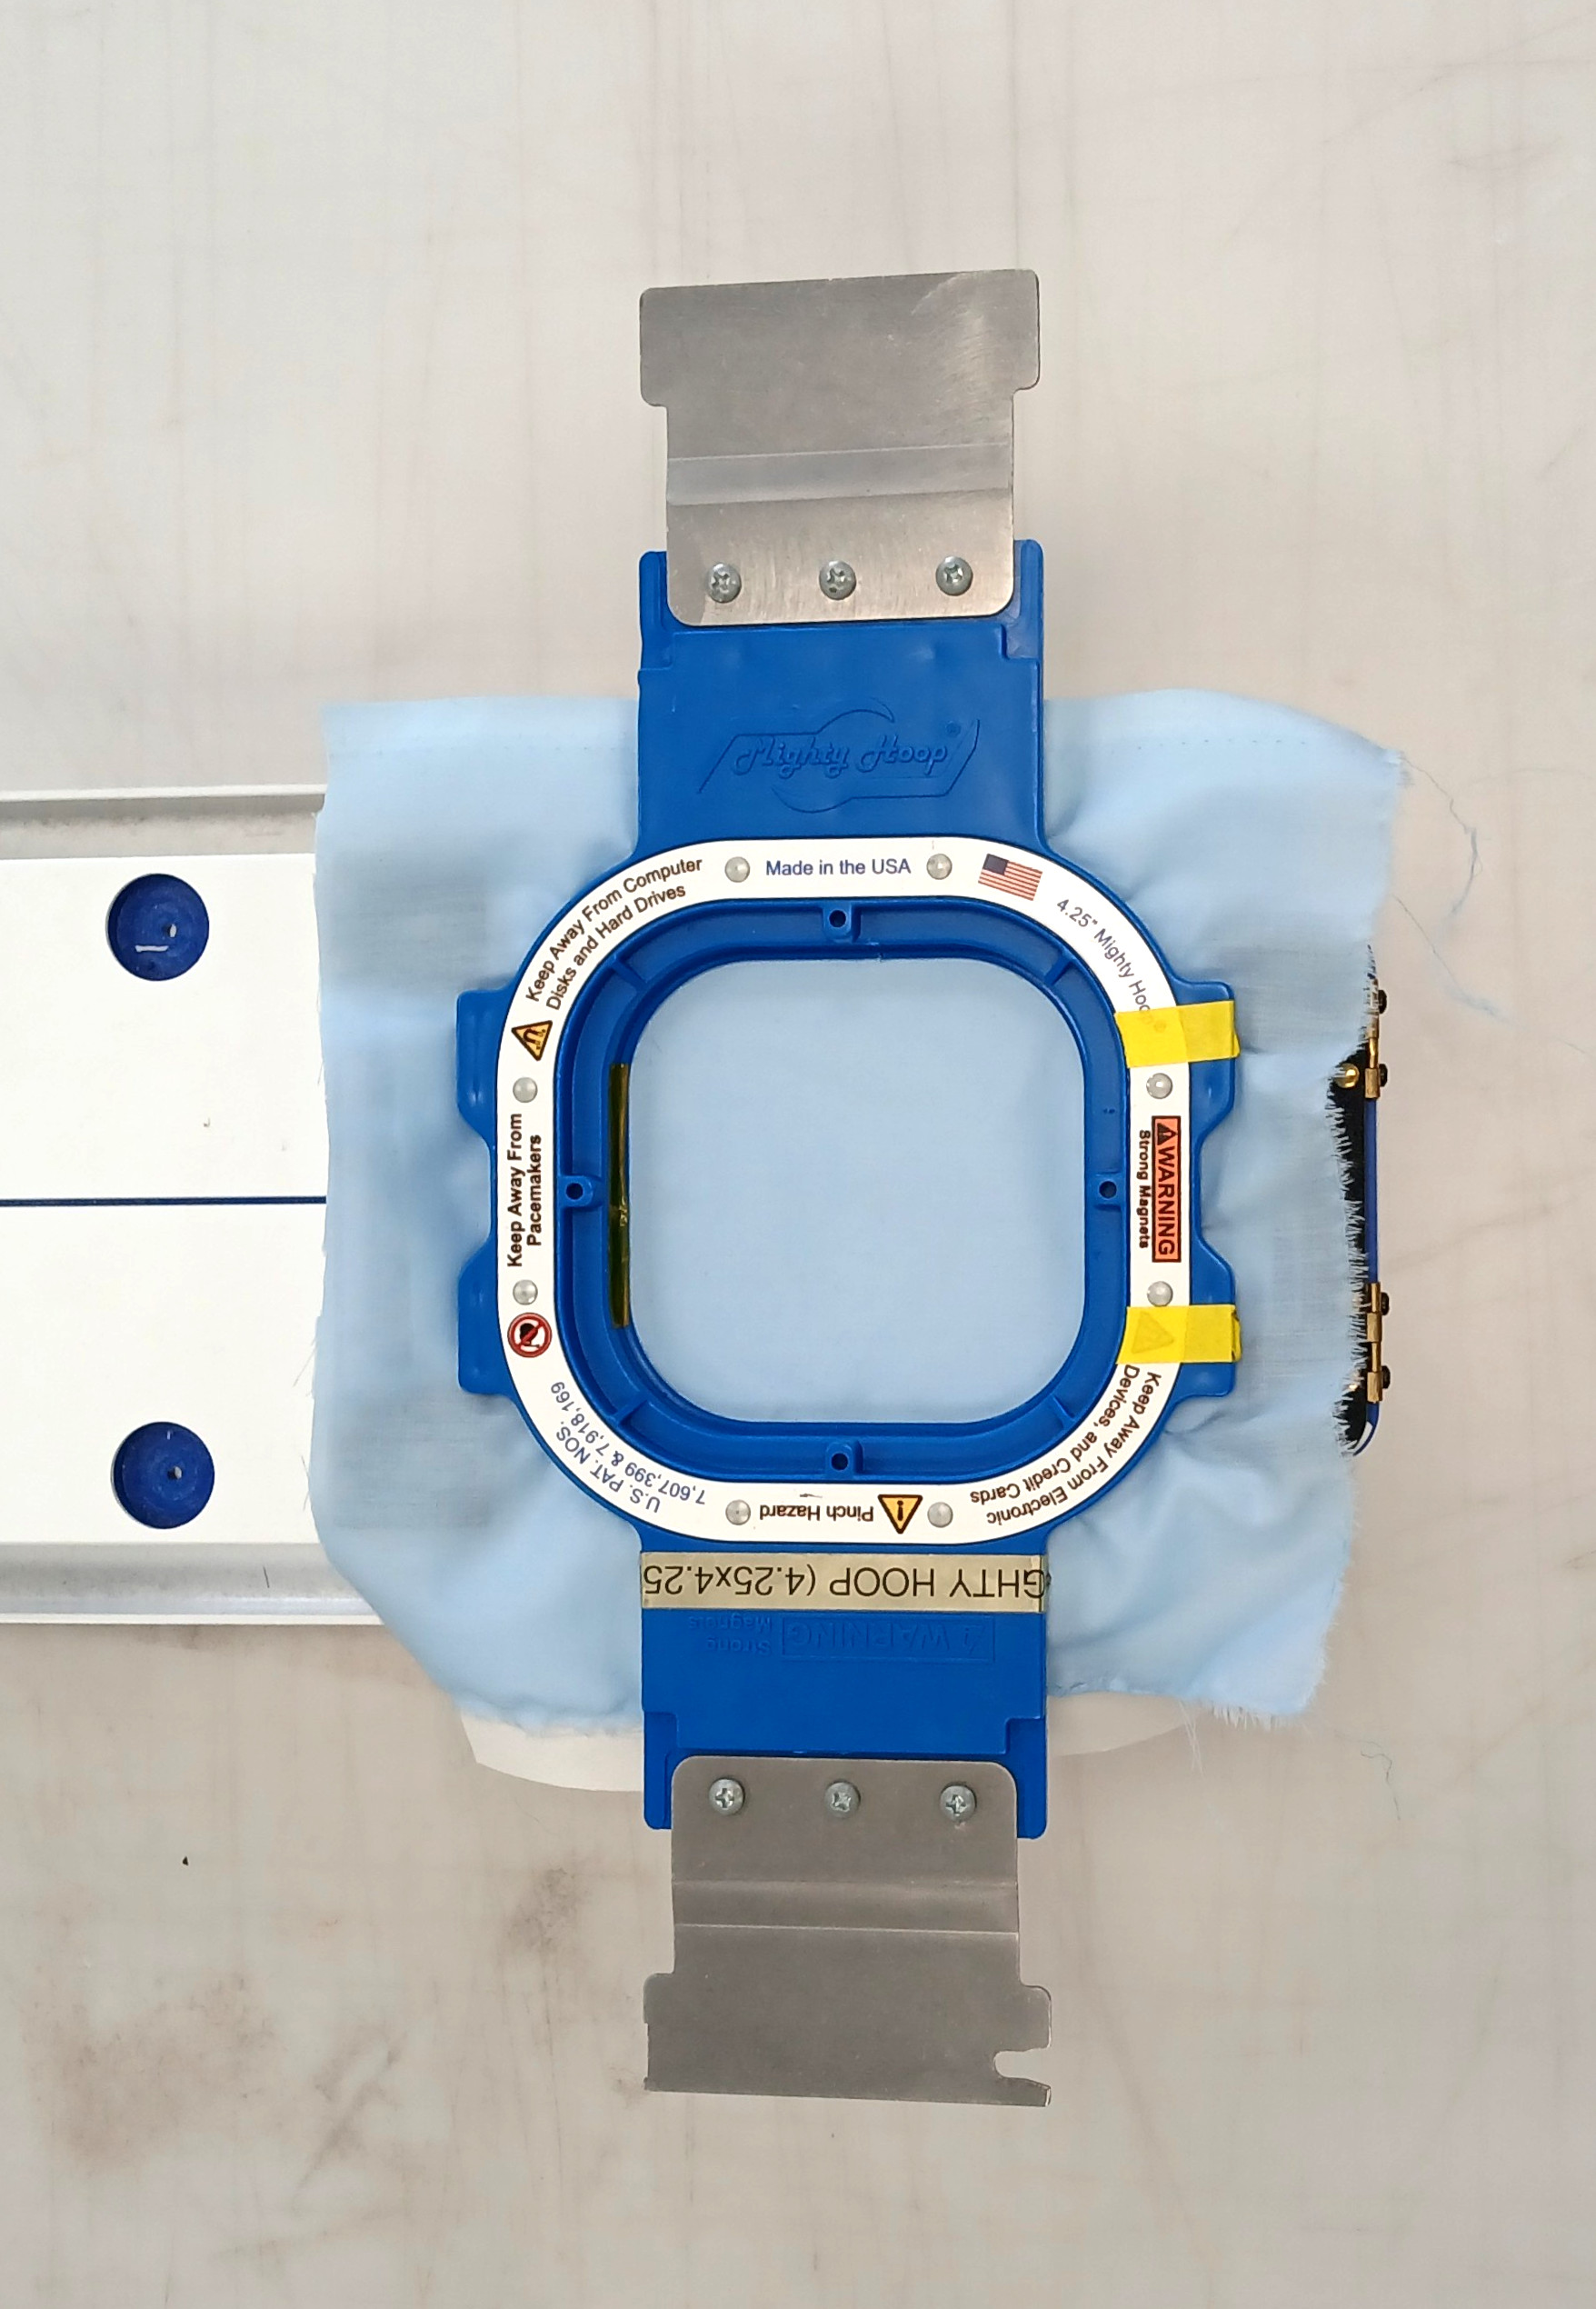
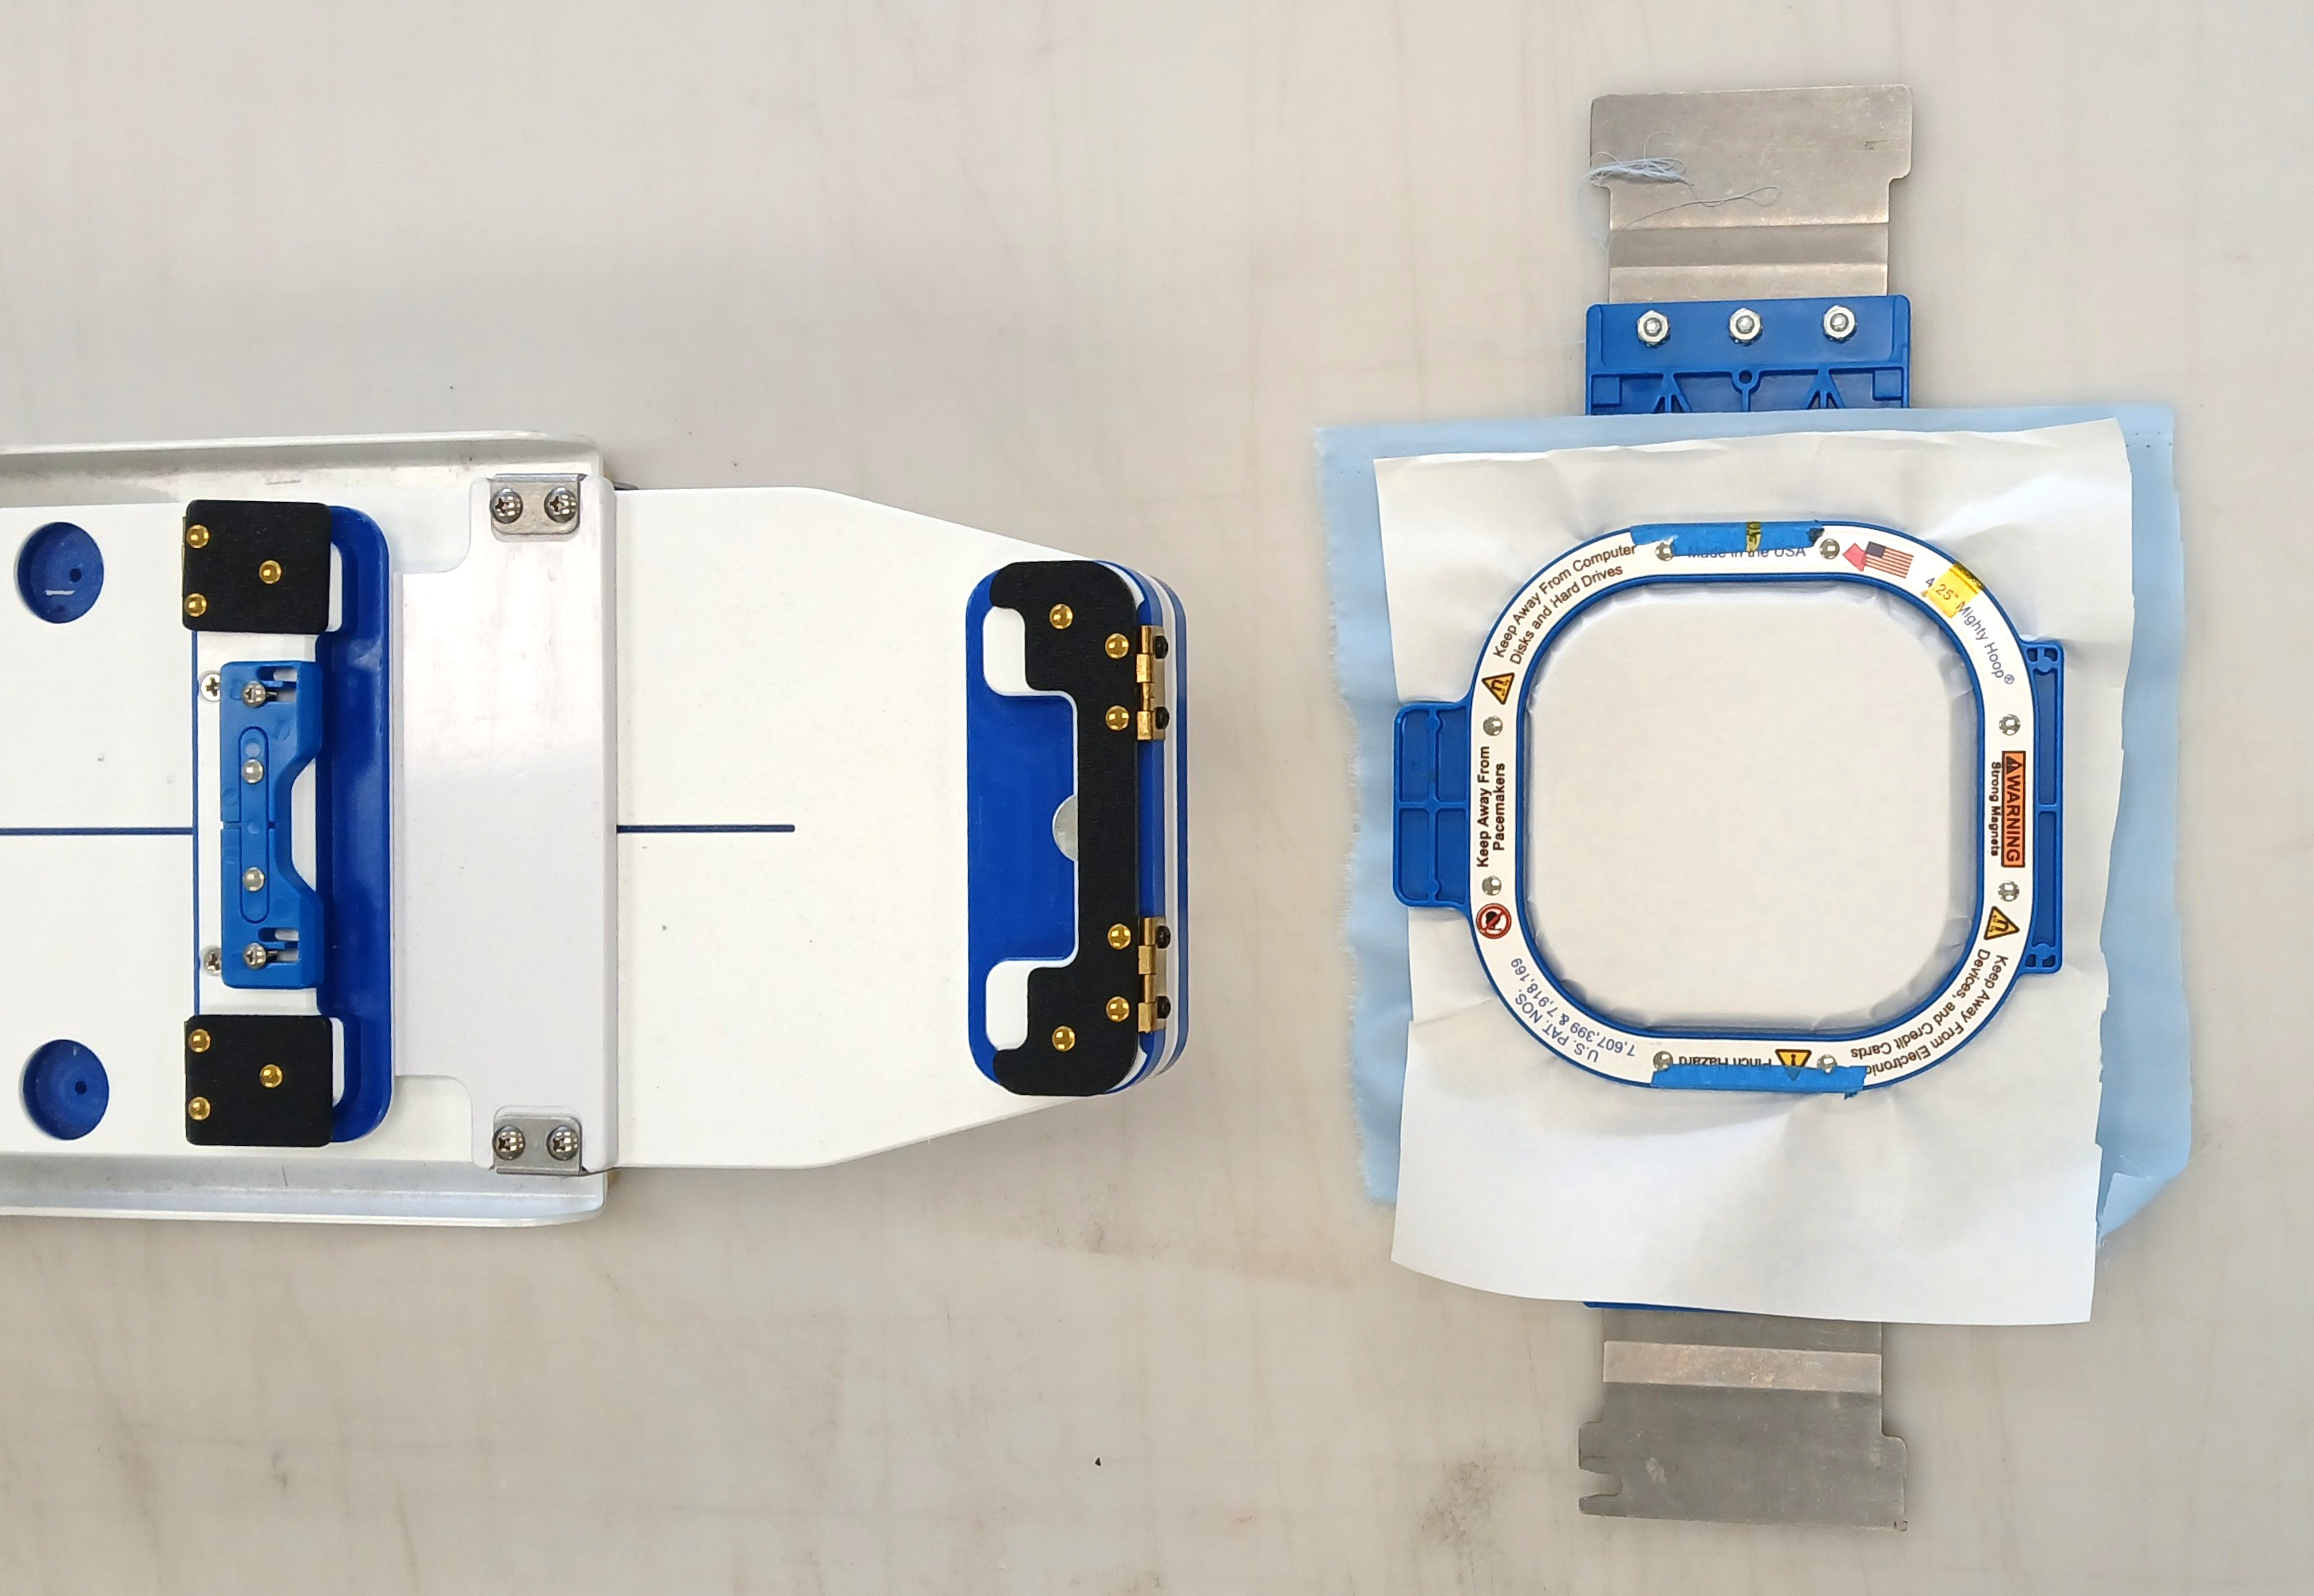
- Check the tension: if there are bubbles between the material and stabilizer or when tapped it does not sound like a drum, pop the top off and try again.
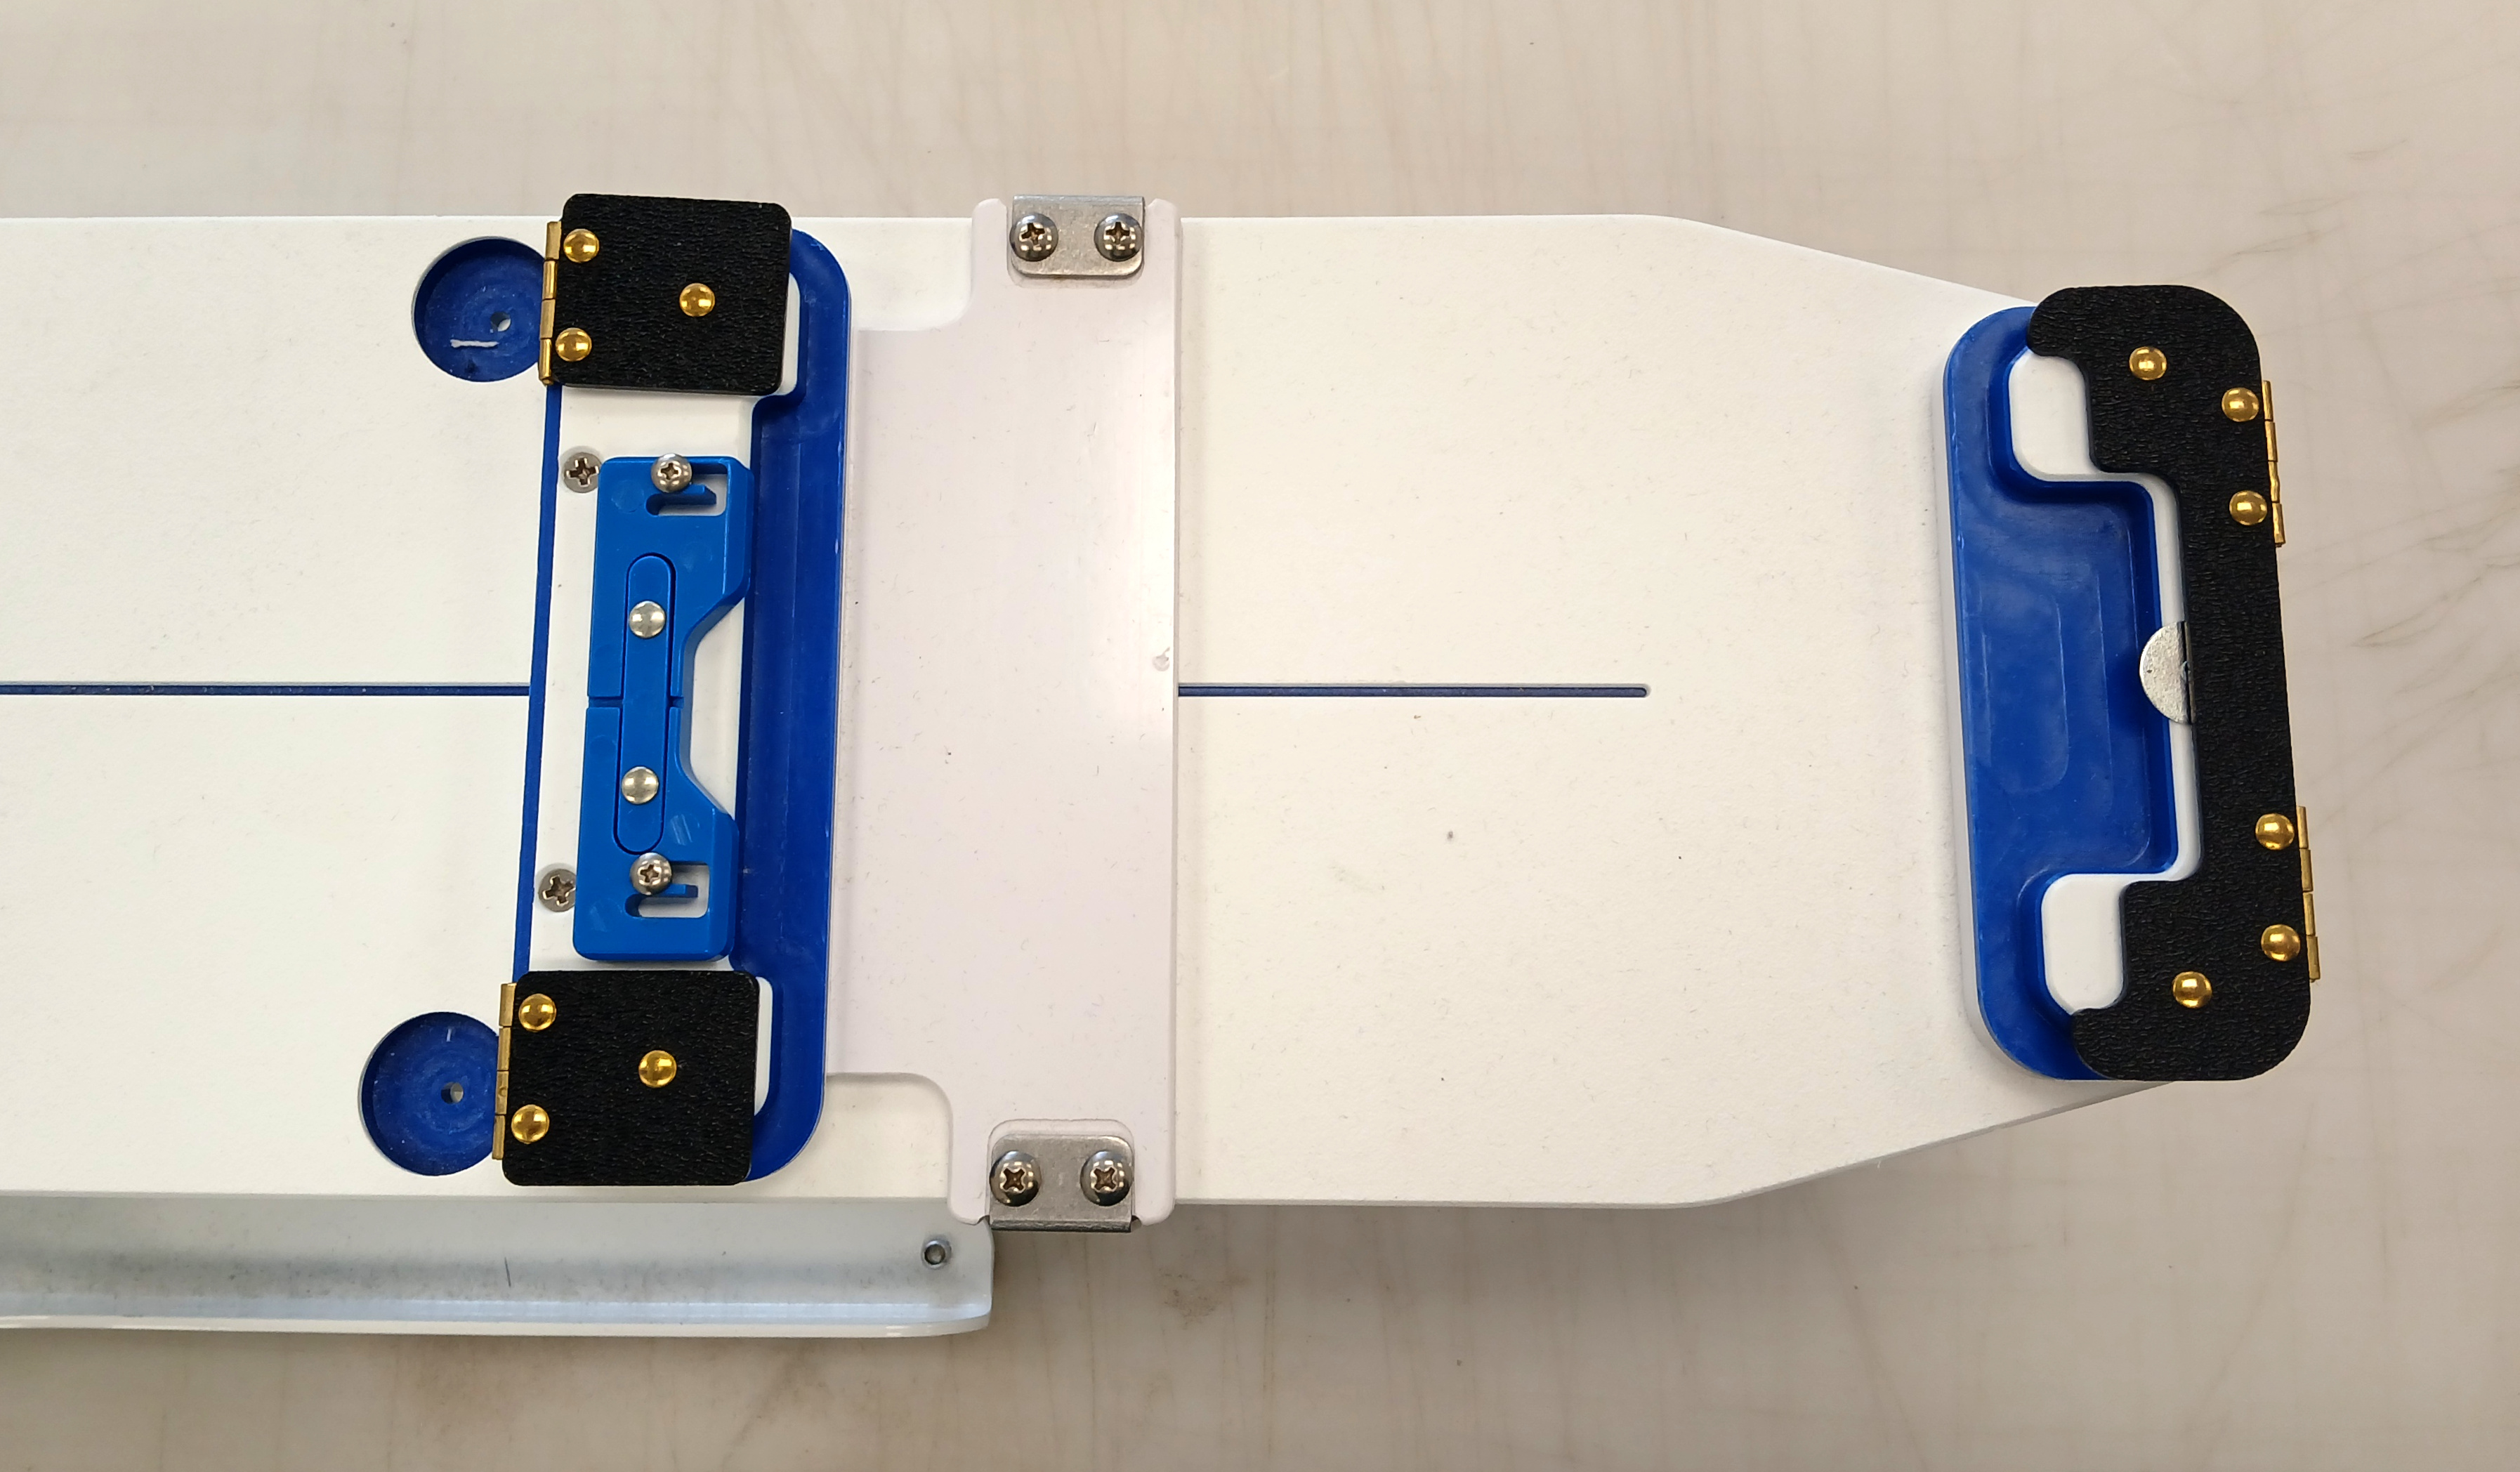
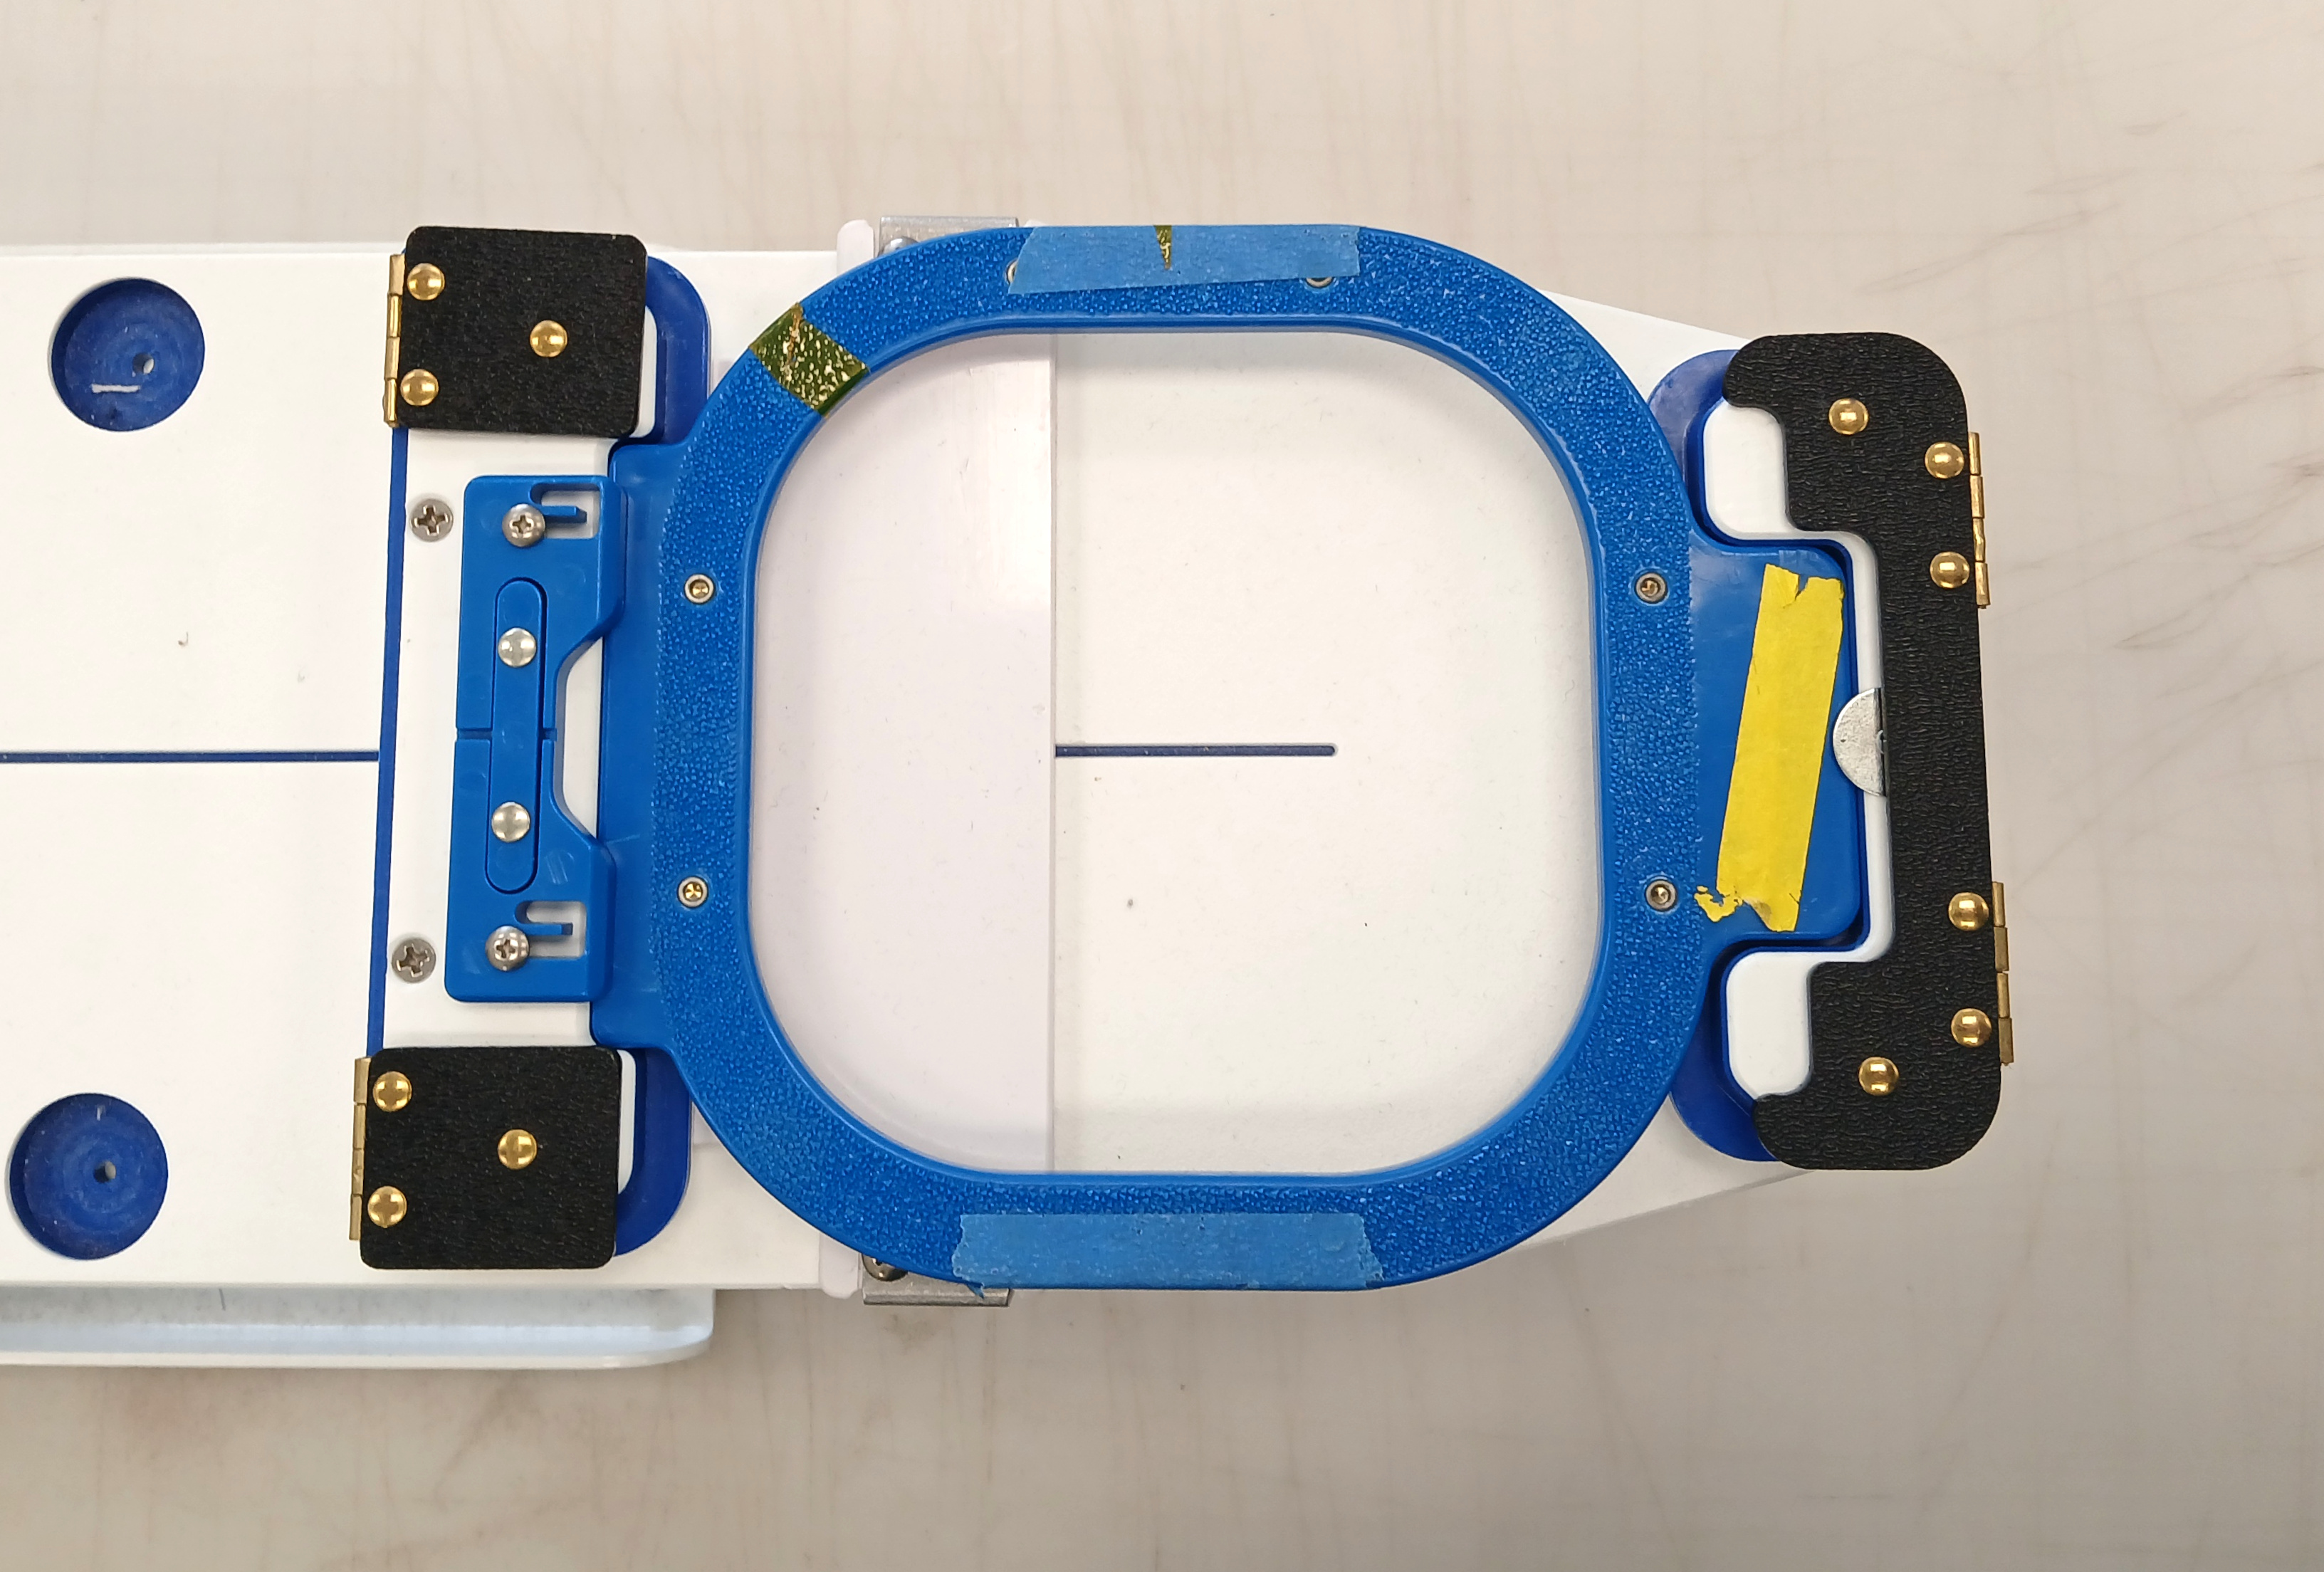
¶ Putting the hoop into the machine
- Make sure the arms are set to the width of the hoop. Adjust using the thumbscrews.
- Slide hoop in between the arms.

- Hear double click (the springs locking the hoop arms into place).
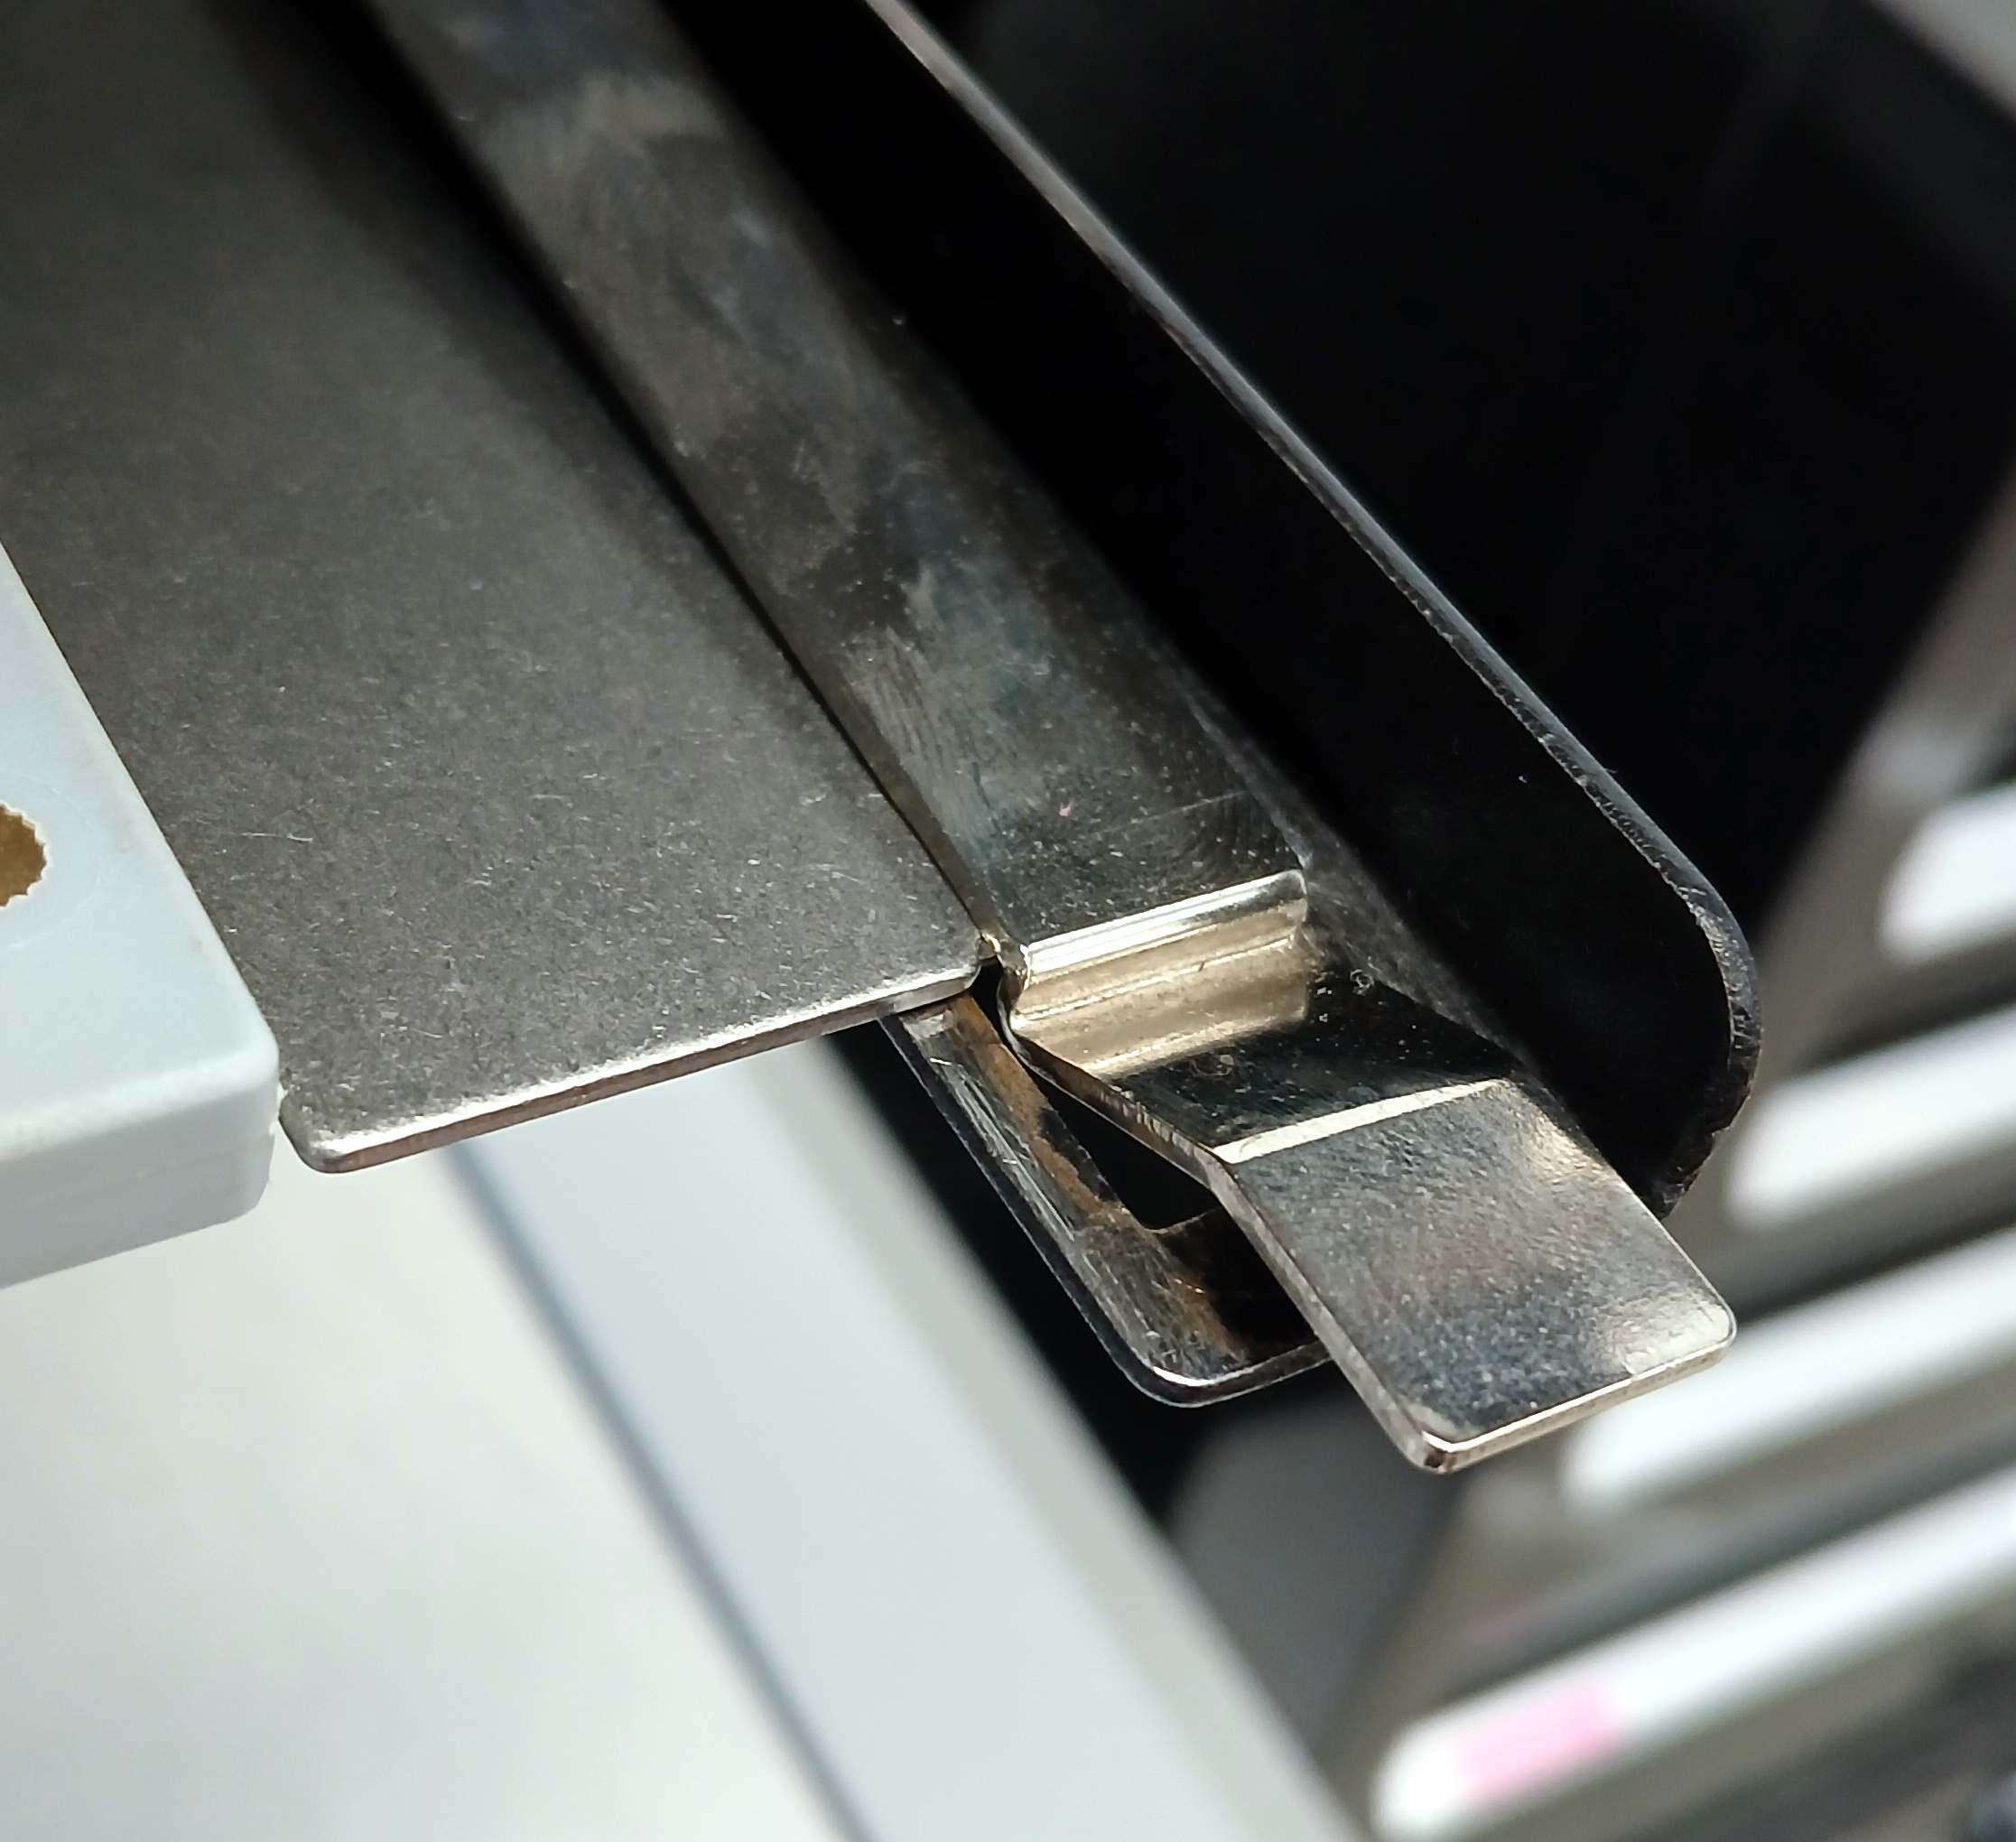
- Make sure the arm thumbscrews are at least finger tight.