¶ Description
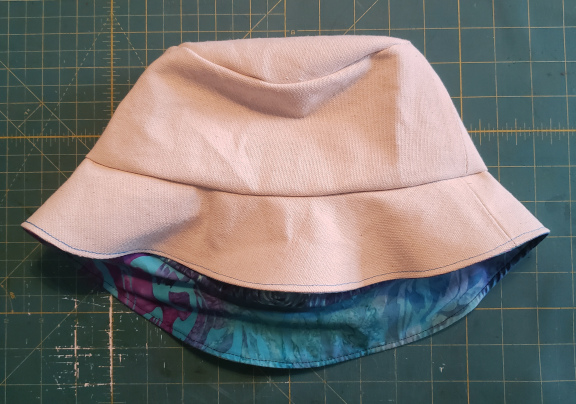
In this project you will use a pattern to sew a bucket hat. The hat has an (optionally) interfaced brim and a lined interior.
Note: This project could take 1-5 hours to complete depending on your starting skill level and confidence. Please plan for at least three hours and make sure to take breaks!
¶ Materials and Tools
- Canvas or other woven fabric for the exterior (about 16” x 40”)
- Fabric (woven) for the lining (about 16” x 40”)
- Fusible interfacing (optional) (two pieces each 16” x 7” )
- Marking chalk/pencil
- Pencil
- Pattern
- Sewing weights
- Pins/sewing clips
- Scissors
- Fabric measuring tape
- Paper to print the pattern on or redraw the pattern on.
¶ Prior Knowledge
Going into this project, you’re expected to know how to operate the sewing machine, follow a seam allowance, and use an iron. If you need more help with those steps check out the Quick Guides.
¶ Getting the Pattern and the Fabric
The pattern is available online and as a printed template. Get the online version from the pattern library on the Open Works Wiki. Look for the printed pattern in the Textiles area or in this packet.
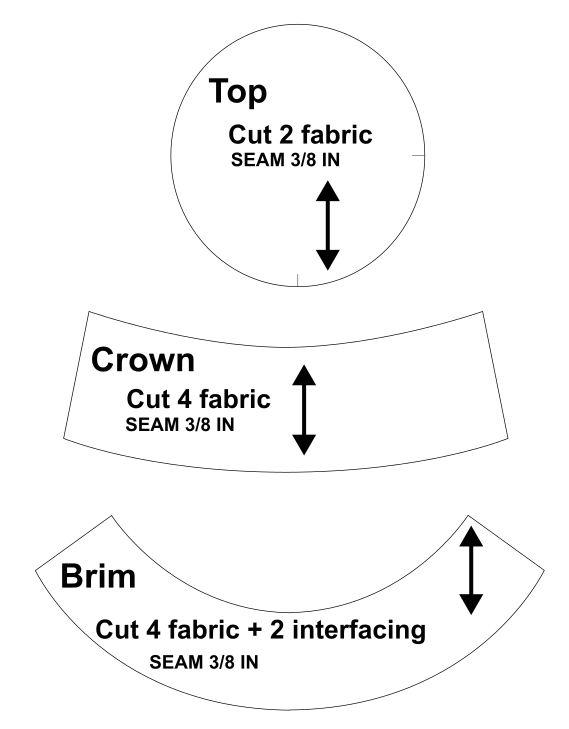
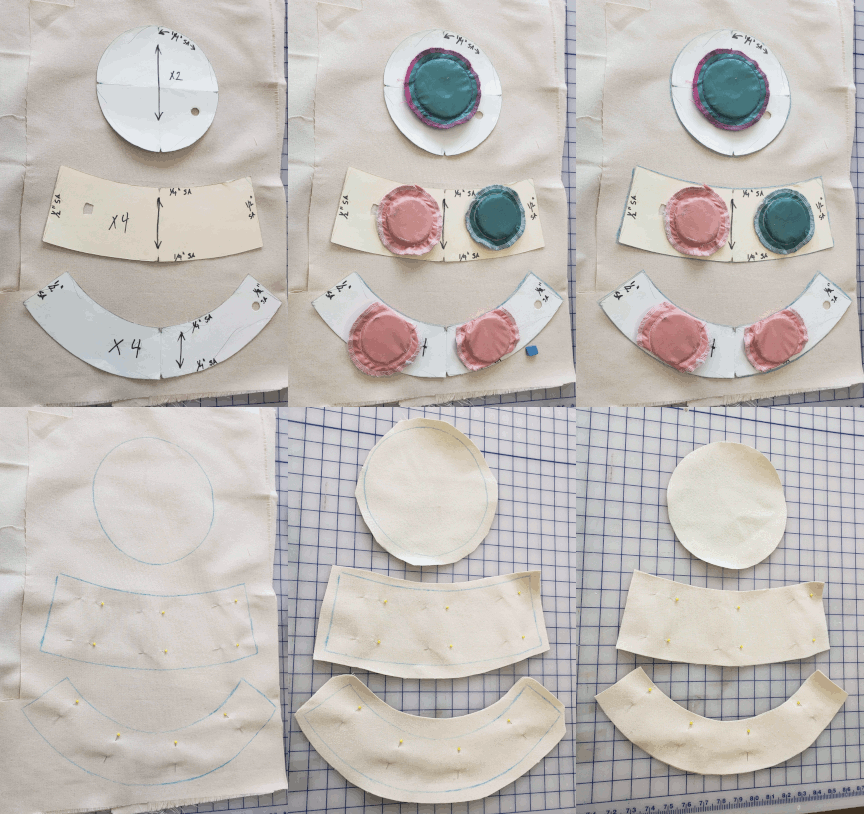
The pattern is composed of three pieces
- The top
- The crown/sides
- The brim
Multiples of each piece will be cut in order to get the amount needed to create the outside and the lining of the hat. The fusible interfacing, if you choose to use it, is applied to the inside of the brim in order to stiffen it. The outside and the lining of the hat will be sewn separately, effectively creating two hats, which will then be sewn together.
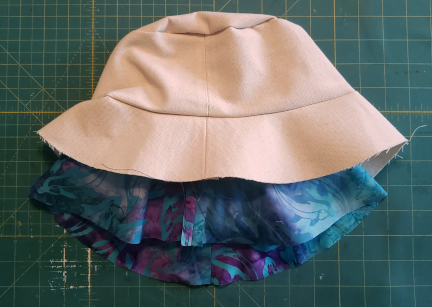
Cut list:
| Outside | Interfacing (optional) | Lining |
| - 1x the top - 2x the sides - 2x the brim |
- 2x the brim | - 1x the top - 2x the sides - 2x the brim |
The seam allowance is the area between the fabric edge and the seam that supports and strengthens the seam. Seam allowances are typically ¼” to ½” depending on the purpose of the finished product.
This pattern has the seam allowances included. This means that you don’t have to add them when tracing or cutting the pattern out. The patterns provided for this project have the seam allowance marked on them. There are several different versions of the pattern, so be sure to check what is written on the pattern before sewing.
¶ Fabric sizing
Fabric typically comes on a bolt, which is a long piece of fabric wrapped around a board for convenient storage. Bolts have several standard widths which are typically marked on the label on the end of the board. If it’s not, you can use a tape measure to find out. Note that the fabric may be folded in half widthwise before being wrapped around the board.
Fabric can also come in folded squares (‘fat quarter’) and in rolls (typically upholstery fabrics and other heavier or utility fabrics).
It is important to get enough fabric to cut all of the pieces of the pattern, and you may need more fabric than suggested if the fabric is less than 40” wide or you are using a patterned fabric and want to line up the pattern on the fabric across pattern pieces.
¶ Preparing the Fabric
Best practice is to wash and dry fabric before using it. This pre-shrinks it and will let it move and drape as it would while in use. The fabric should also be ironed before use in order to remove wrinkles and creases.Wrinkles and creases make the fabric harder to work with and can cause bad fit in garments because the pieces may turn out the wrong size.
Washing: wash and dry the fabric the same way that you intend to wash the finished piece. The fabric may come with washing instructions–use those. If not available, look up washing instructions for the type of fabric that you have.
Ironing: lay the fabric out in one layer over the ironing board. Make sure that it is smooth and without wrinkles. Use the iron to flatten the fabric using long sweeping motions that overlap. When all of the fabric on the ironing board has been ironed, move it so that a new area is on the board and repeat until all of the fabric has been ironed. The fabric may come with recommended ironing settings–use those or look up ironing instructions for the type of fabric that you have.
¶ Determining the right side/wrong side of the fabric
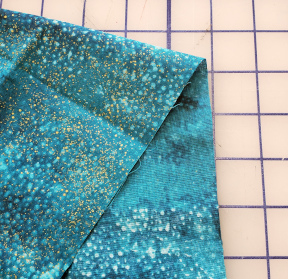
It is important to know which is the right side of the fabric. The right side is the side with the clearest printing, the brightest colors, the texture, the patterning, or any number of other features. The wrong side is, typically, the boring side. On some fabrics that are one color or are undyed, it is not particularly important to determine the right side because both sides are the same. However, it is important to designate a right side so that all of the cut pieces are consistent.
Tip: if the right side isn’t obvious, mark it with chalk or a pin.
Tip: when laying out patterns, this work is often done on the wrong side of the fabric so that any markings made on the fabric become hidden inside the finished product.
¶ Laying out the Pattern on the Fabric
Lay the fabric out on the work surface with the wrong side up. Make sure it is flat and smooth.
Tip: if cutting duplicates, carefully fold the fabric so that the grain of the fabric is parallel in each layer. Typically, fabric is folded right sides together so that the wrong side is on the outside.
Tip: For woven fabrics, the grain of the fabric is the direction that it does not stretch in. Check out the Quick Guides for more information on determining the grain and bias on fabrics.
Notice that there are arrows on the pattern pieces. Those arrows indicate the orientation of the pattern piece relative to the grain of the fabric.
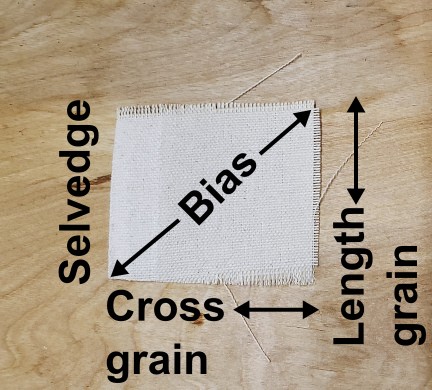
Notice that the pattern pieces also have notches in them. They are there to help you align the fabric pieces later because they’re in the same places on different pattern pieces. You don’t have to cut them, but do mark them when tracing the fabric.
Lay the pattern pieces out on the fabric, making sure to keep the arrows on the pieces aligned with the grain of the fabric.
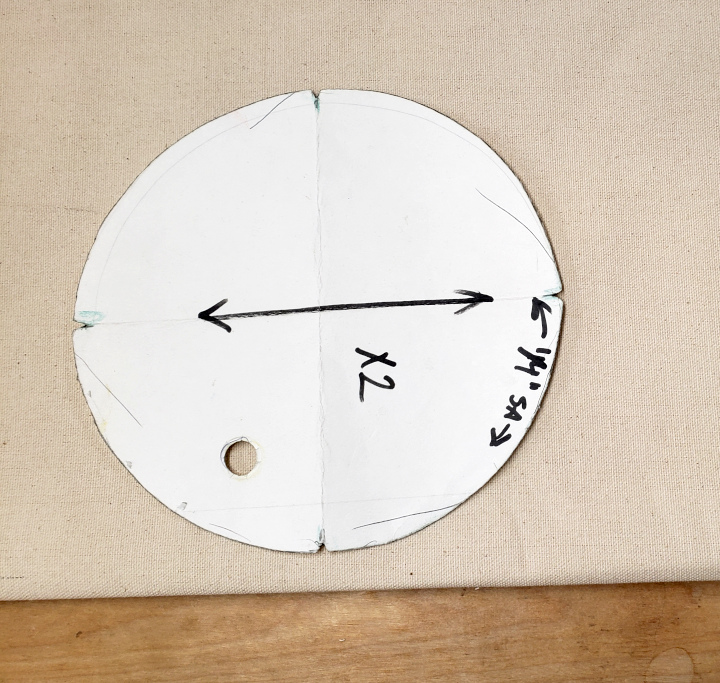
Tip: Give future you room to work when cutting. It is easier to roughly cut pieces out of a large piece of fabric than it is to precisely cut the same pieces. Once the pieces are rough cut, then trim them to the marked lines.
¶ Tracing and Cutting the Fabric (and optional interfacing)
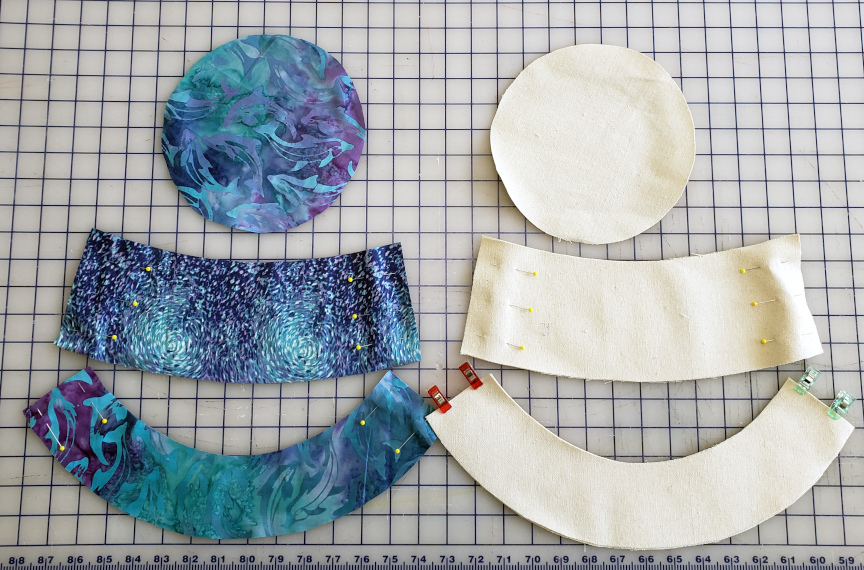
- Use weights to hold the pattern pieces in place while you trace them. This avoids damaging the pattern.
- Use chalk or a marking pencil to trace the outside edge of the pattern onto the fabric. This transfers the shape of the pattern to the fabric. It’s okay to get chalk on the pattern. Be sure to mark the notches.
- Remove the weights and pattern pieces.
- If you have multiple layers of fabric, pin the layers together with a few pins inside each outline. Keep the pins at least a finger’s width away from the edge in order to avoid distorting the fabric and to avoid accidentally trying to cut a pin. Tip: Check out the Quick Guides for more information on pinning fabric!
- Using sharp scissors, roughly cut out the pieces. This makes it easier to cut along the line in the next step. You don’t have to cut the notches out. Preserve the markings or cut the notches in the opposite direction–outward from the edge of the pattern, rather than into the piece so that it creates a spike rather than a notch. Caution: make sure to cut only the fabric you mean to cut! Make sure there’s nothing hiding underneath the piece that you’re cutting.
- Once all of the pieces are free, trim them to the traced line. Be sure to cut along the inside of the line, rather than the outside.This will maintain the seam allowance size.
¶ Applying interfacing
The brim of the hat uses fusible interfacing to provide stiffness. Fusible interfacing is a material with a heat activated glue on one side. It is designed to be ironed into place. The glue side typically has a rough, gritty, shiny, or bumpy texture.
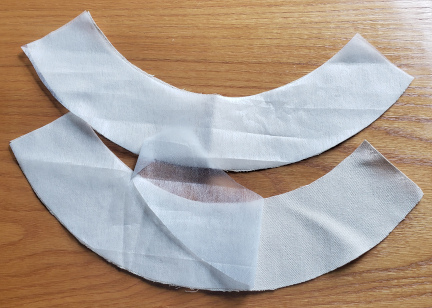
- Place a brim piece for the outside of the hat wrong side up on the ironing board.
- Lay an interfacing piece glue side down on top of the brim piece. Align it with the brim piece. Tip: this makes sure the glue on the interfacing never contacts the iron.
- Turn steam off on the iron.
- Iron the interfacing into place on the brim piece. Let the weight of the iron do the work; place the iron onto the material and when you move it, pick it up and place it again. This avoids stretching or moving the interfacing.
- When it doesn’t peel free from the fabric, it is secure.
- Repeat for the other brim piece for the outside of the hat.
- If any interfacing sticks out beyond the edge of the fabric, trim it off.
Tip: once you have everything cut out, clean up your work area. Throw out scraps and trimmings and put away excess fabric.
Tip: this is a great time to take a break if you’ve been at this for a while.
¶ Sewing instructions
The seam allowance is marked on the patterns. Sticking to the seam allowances is important in order to maintain the fit and shape of the hat.
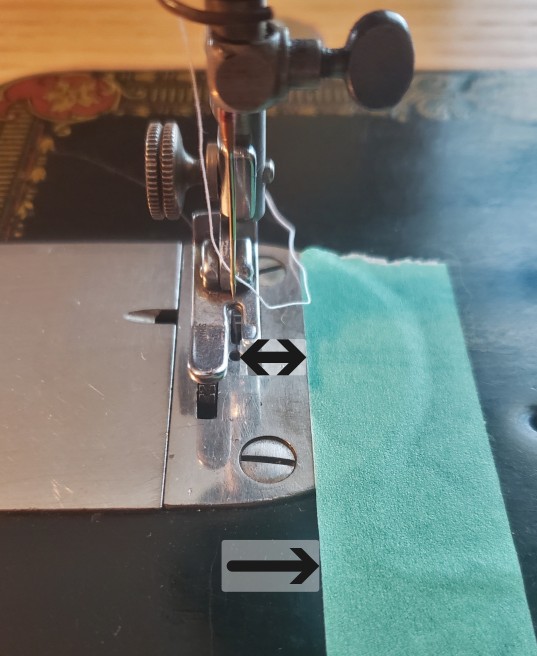
Some sewing machines have seam allowance guidelines marked on the throat plate. The guides may be labeled at the end of the line, or to the right of it. If you’re not sure, measure from the needle to the line!
If the guidelines are hard to see or aren’t there, use a piece of tape to mark the throat plate of the sewing machine with the seam allowance. When you sew, you can use the tape as a guide to help maintain the seam allowance.
¶ An Aside: how to sew over pins
1. Don’t. You can break the needle, which is dangerous for you, ruins the pin, and could harm the machine.
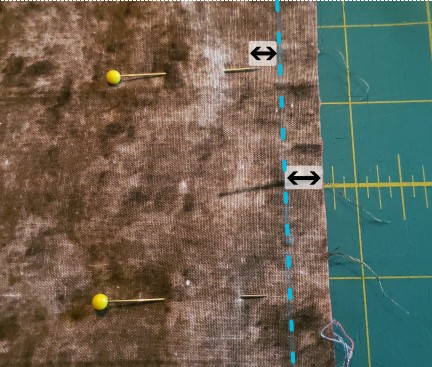
2. Keep the points of the pins out of the seam line.
3. Pull the pins before the presser foot gets there. This requires some fast dexterity and is not appropriate for all seams, materials, or sewists.
4. If available, use the little clips instead.
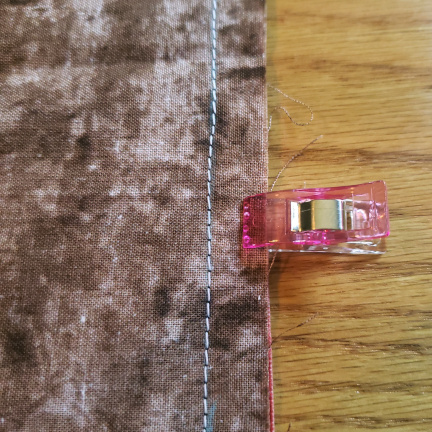
The outside and the lining will be sewn separately and then joined as one of the last steps. The construction for the outside and the lining is the same. We will start by putting the brim pieces together before working up to the top of the hat.
¶ 1. Pin and Sew Brim
- Get the two brim pieces for the outside of the hat.
- Put them right sides together. If using interfacing, the interfaced sides will now be on the outside.
- Pin the pieces together along the short edges.
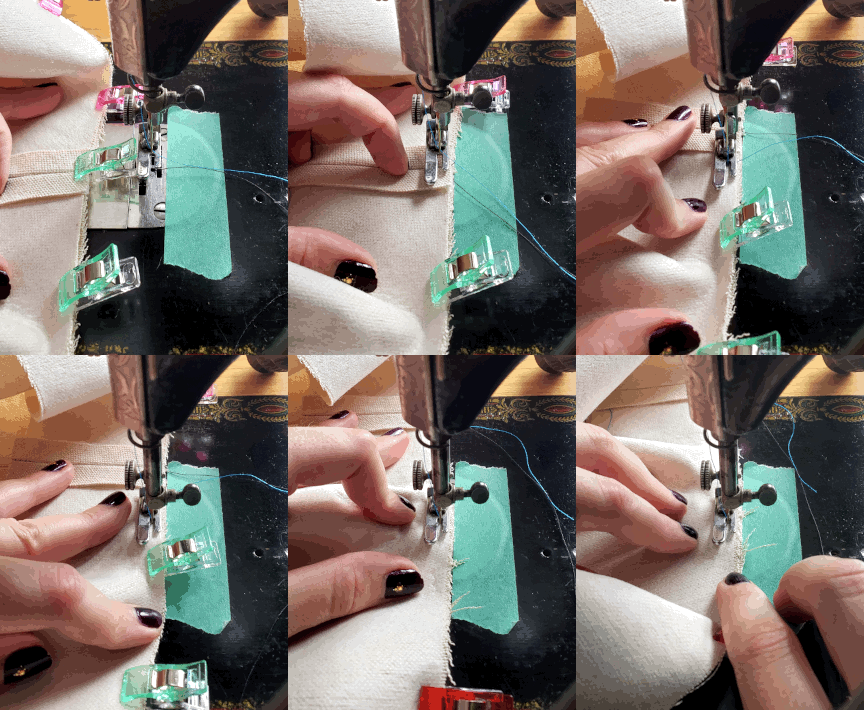
- Sew the short edges together at the seam allowance indicated by the pattern. If you need help getting the seam started, check out the Quick Guides.
- When done, remove the pins. You will now have a circle that doesn’t quite lay flat.
Do the same for the lining brim pieces. You will have two circles now.
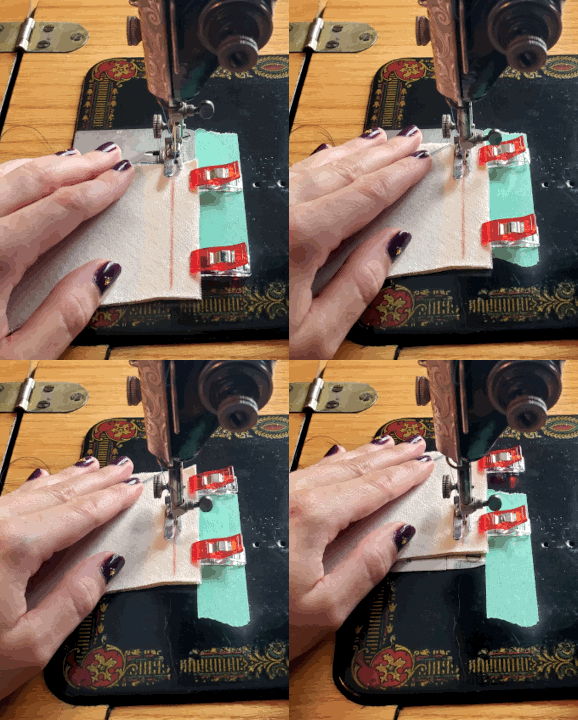
¶ Press the seams open.
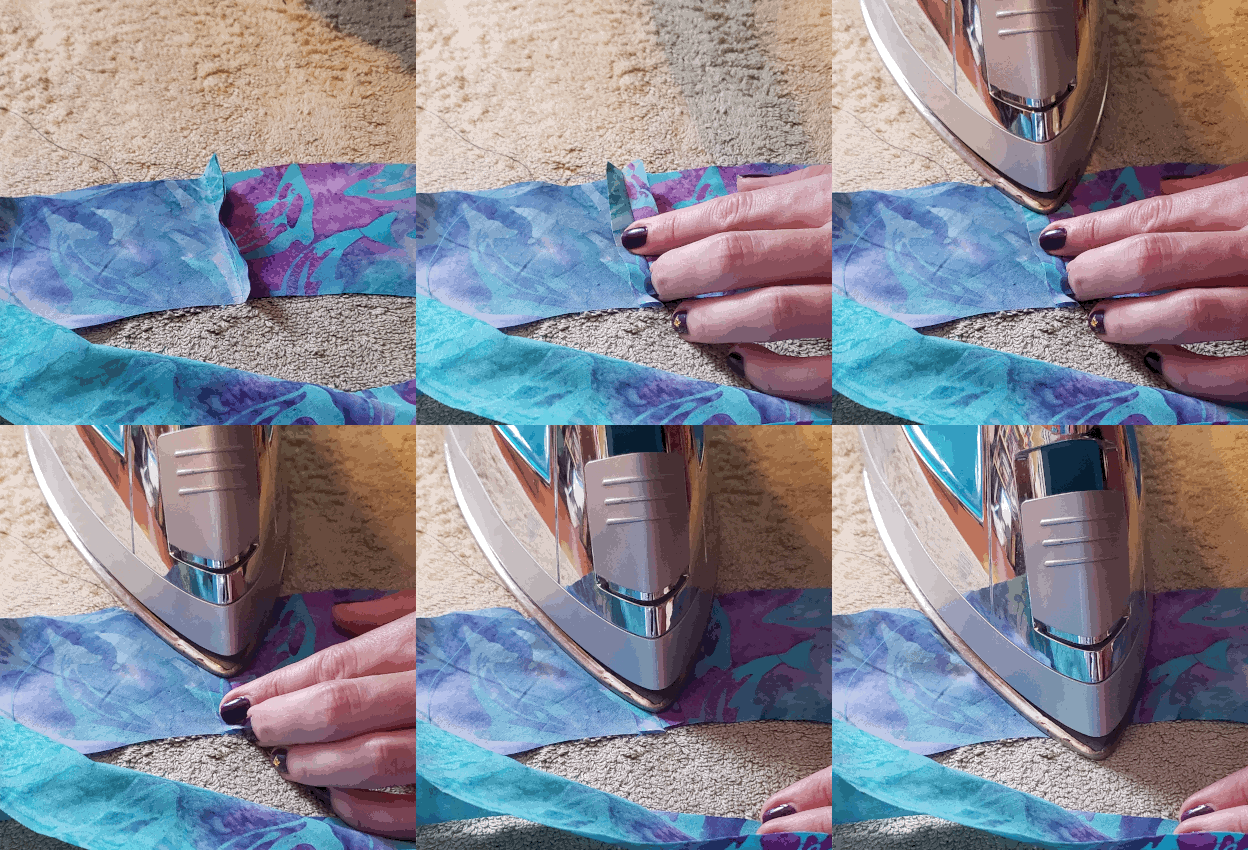
¶ 2. Pin and Sew Crown
The method to sew the crown pieces together is the same as used for the brim pieces. When done with the seams, press the seam allowances open.
The crown loops will be slightly conical in the same way the brim circles are slightly conical.
¶ 3. Pin and Sew Brim to Crown
Now, attach the brim and side pieces.
- Using one brim and one side piece, put them right sides together.
- Make sure that you are connecting the bottom/long/wide edge of the crown to the inside of the brim pieces.
- Make sure that the right sides are together so that the pressed seam allowances from earlier steps are facing away from each other.
- Take your time with this one. The geometry can be hard to understand and it’s worth it to get it right.
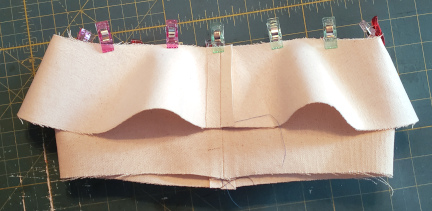
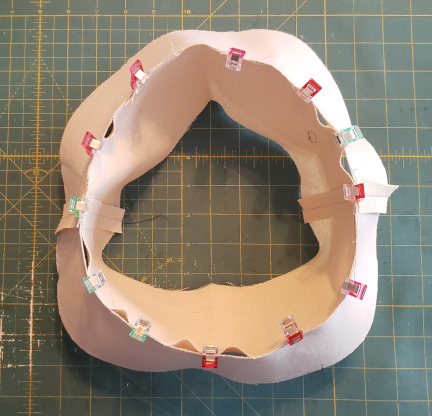
Tip: The process of finding the midpoint and pinning there will distribute any excess fabric across multiple areas of the hat. This will distribute and hide the excess.
- The pieces may not lay perfectly flat against each other. This is okay.
- Sew the brim and crown together at the seam allowance indicated by the pattern. Pull out the pins/remove the clips as you go, and make sure both pieces are being sewn together. This seam can be somewhat awkward to perform as you are sewing around the edge of a cylinder that doesn’t want to lay neatly. Caution: don’t sew the loop/cylinder closed. When the seam is done, the piece needs to open back up into a loop.
- Do the same for the other brim and crown pieces.
You will now have two loops, one that will be the outside of the hat and one that will be the lining.
¶ 4. Pin and Sew Top to Crown
Attaching the top to the crown is very similar to attaching the crown to the brim.
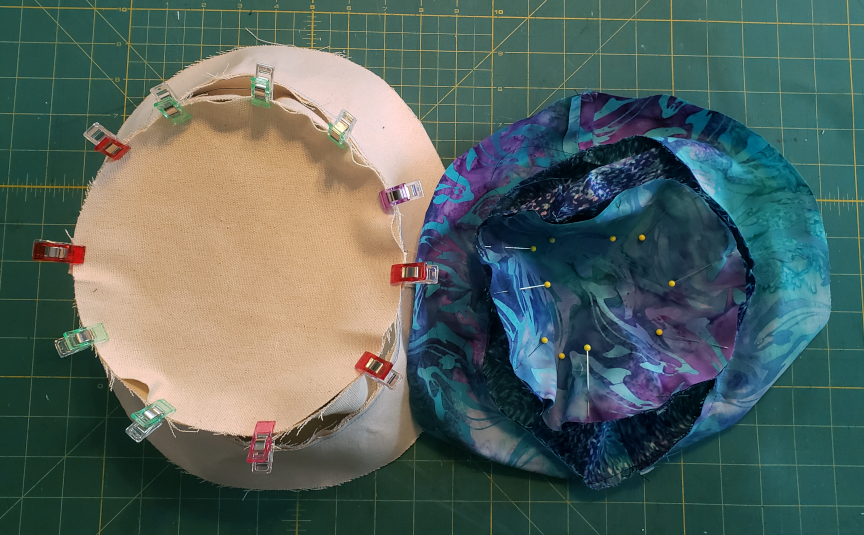
- Pin the top to the crown. It may help to fold the top in half and align the ends of the fold with the seams in the crown. Remember to pin the right sides together so that the seams are on the outside. The pieces may not lie perfectly flat with each other. This is okay.
- Sew the top and the crown together at the seam allowance indicated by the pattern.
- Do the same for the other top and crown pieces.
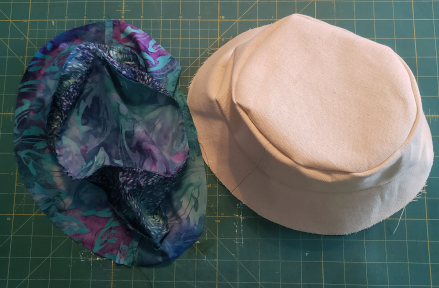
You will now have two hats, one that will be the outside and one that will be the inside.
¶ 5. Attach Lining to Outside
- Now, put the two hats right sides together and pin them. In the next step, you will sew all the way around the brim except for about three inches which will let you turn the hat right side out. For now, mark both ends of that three inch span so that you don’t accidentally sew over it. In the pictures the span has been marked with two clips at each end.
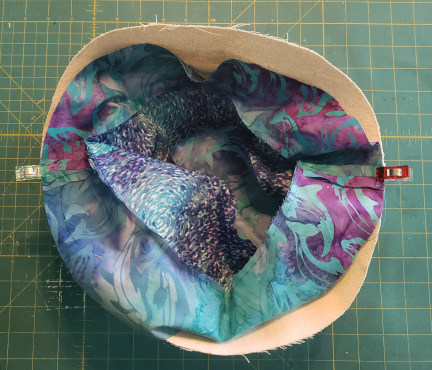
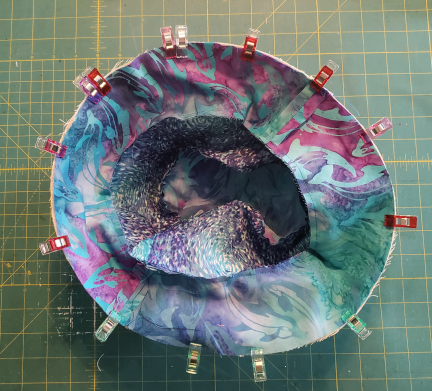
- Sew all the way around except for the three inches that were marked off.
- Remove all pins/clips.
- Locate the hole left in the seam and use it to turn the hat right side out.
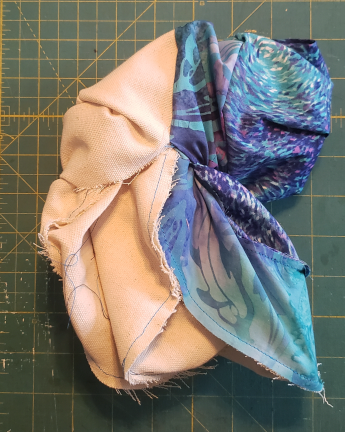
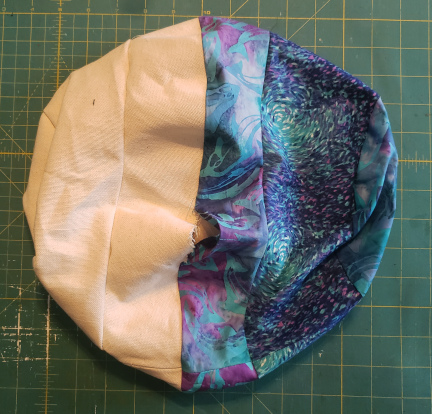
- Settle the lining of the hat into place against the outside of the hat. Align the brim, crown, and tops of both pieces. It should start looking more like a hat now.
- Iron the brim flat.
- Adjust the brims so that the top isn’t visible from underneath and the bottom isn’t visible from the top.
- Use the edge of the iron to press the edge of the brim so that it stays in place.
- Work your way around the hat, adjusting as you go.
- When you reach the opening, fold the raw edges to the inside and iron them too.
- Sew a circle ⅛” in from the edge all the way around the brim. This will help the hat keep its shape and close the hole used to turn the hat.
- Any additional decorative stitching as desired.
- Around the crown, just above where it joins the brim
- Around the top, just inside where it joins the crown.
- Press, if desired.