¶ Description
In this project, you’ll use contrasting colors of cardstock to make a card. One piece will be used to make the card and the other will be used to make the design.
Only do this project in areas where laser-cutting paper is allowed!
¶ Materials and Tools
- Cardstock, contrasting colors
- Adhesive for paper, such as gluestick
¶ Prior Knowledge
Going into this project, you’re expected to know how to add shapes and text to the workspace and manipulate them using the basic tools provided. You’ll also need to know how to change process types and operation order. If you need more help with those steps or want a refresher, review Project 1 or check out the Quick Guides.
¶ Prepare the Designs
You will make two designs. One will cut out the card and the decorative design on the front of the card and the other will cut out the liner piece. We will start with the outline of the card and the decorative design.
Open app.glowforge.com and choose “Create a new design” → “Create a Blank Design”. Set the material to 80 lb cardstock.
¶ First, create the outline of the card.
Use the Add Artwork menu in the upper toolbar to add a square. Click the shape once to add it to the canvas.
Tip: If you don’t want that shape, use any of the following methods to get rid of it: Undo button in the top menu, Ctrl+z on the keyboard, or press Delete on the keyboard.
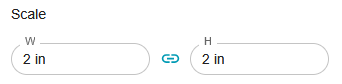
Now, change the size of the shape you’ve added. With the shape selected, use the Reposition and resize selected artwork tool 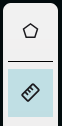 in the right toolbar to set the size of the shape. Press Enter on the keyboard to set the value you typed in.
The link symbol means that the ratio of the width to the height will remain the same when one value is changed. To change one value independently of the other, click the link symbol. The ratio is locked when the symbol is blue and unlocked when the symbol is grey.
Tip: It may help to imagine a simple card laid open and flat–how wide and tall is that shape?
To round the corners of the rectangle, click the Edit Polygon  tool at the top of the right toolbar. Then enter a value into the Round Corners field.
To make the card easier to fold during the assembly process, you may wish to score along where the fold will go. Add a line and position it in the center of the card. Rotate it by click-and-dragging the rotate symbol. Use the snap lines to help get it vertical. Click-and-drag the line left to right to find the center snap line of the outline of the card.
To make the line a score, click on the line’s process tile in the left sidebar. In the new menu, click on the Score tab. The default settings will work, but if you want to make the score shallower or less visible, you may want to change the settings by increasing the speed or decreasing the power.
While you’re here, check on the settings for the outline of the card. Make sure that it is set to cut.
You may wish to change the speed and power settings. Set material to 80 lb card stock. Then go to the process settings and set:
- Cut: 320/18. This cuts it at the same power but at a slightly faster speed.
- Score: 360/8. This cuts it at the same speed but a slightly lower power, resulting in a shallower score.
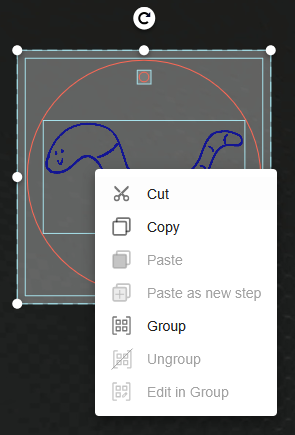
Group the outline and the score line by selecting both of them and then using Ctrl+g, left click and the Group option, or the Group tool in the right sidebar. This will keep them from moving relative to each other.
¶ Next you’ll create a decorative design for the front of the card.
There are four ways of making the design:
- Use the Add Artwork button to search the library for pre-made designs that you want.
- Use the Add Artwork button to add shapes and designs, then use the Outline, Join, and Align tools to create your own design.
- Hand draw your design and scan it in.
- Use a vector art program such as Inkscape or Adobe Illustrator to create your own art, then import the .svg file to app.glowforge.com
There are two ways of applying the design:
- Cut the outer piece to reveal the inner piece. This is best done with a large, solid shape so that there aren’t any loose pieces that require careful alignment.
- Cut a piece from the second color and apply it to the outer piece. This is better for complicated line drawings where every part of the drawing is connected.
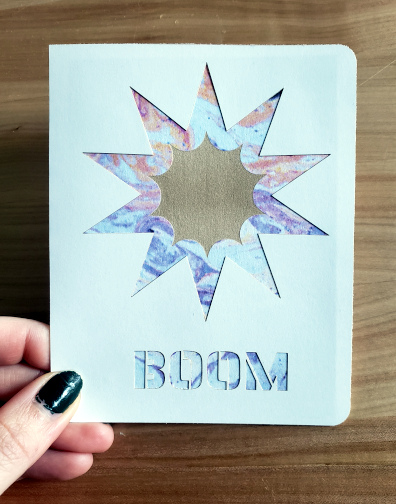
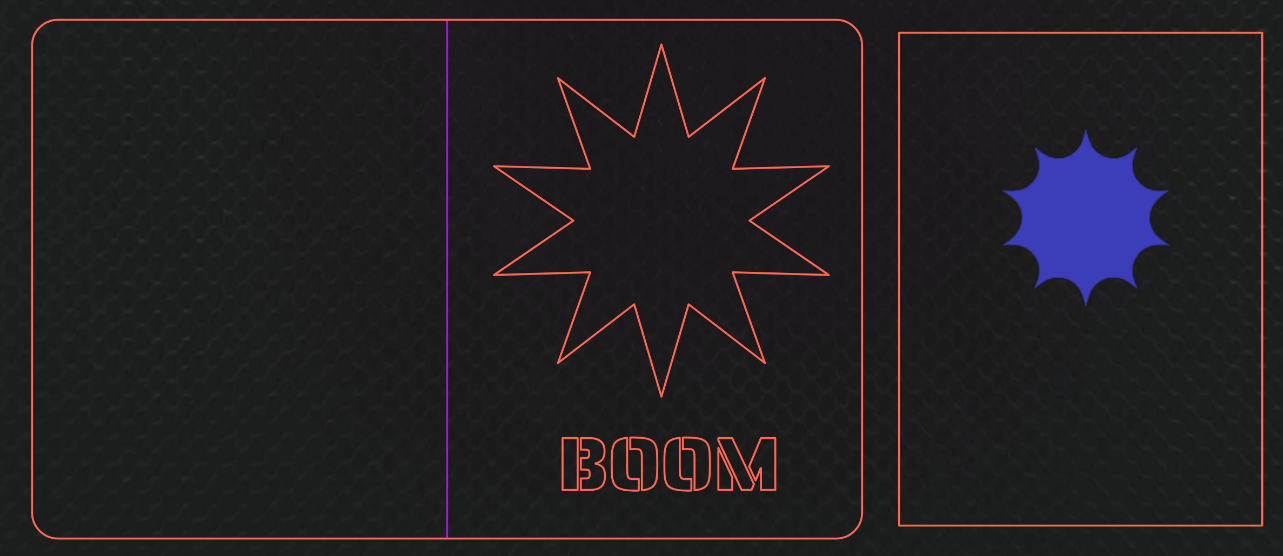
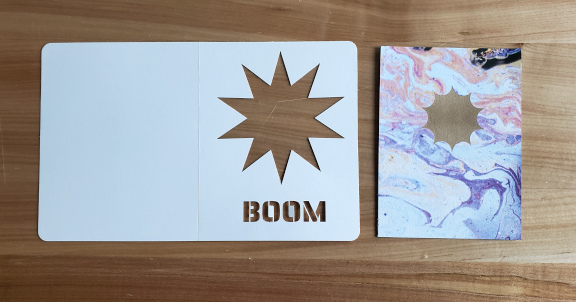
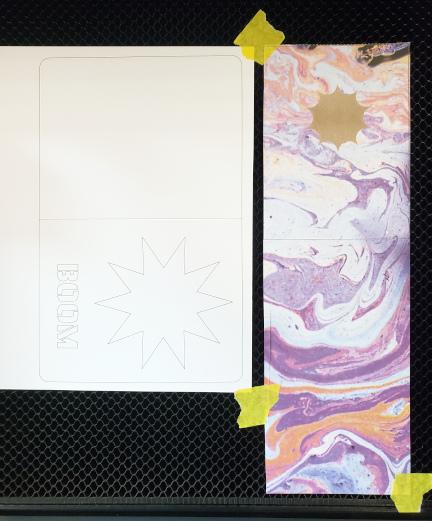
For an example of the first application method, this starburst shape and lettering was created using the glowforge artwork library and text tool. It is designed to reveal the second color of cardstock through an opening cut into the cover of the card. Notice how the lettering uses tabs to hold the insides of the letters in place.
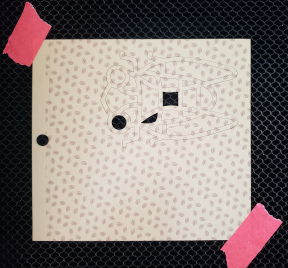
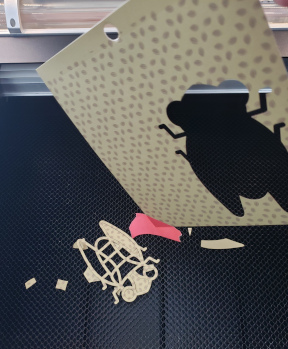
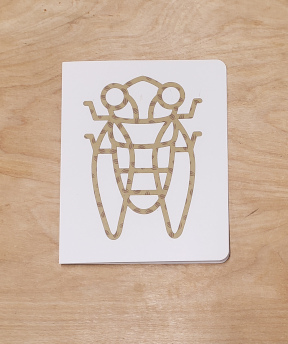
For example of the second application method, this cicada shape is part of the glowforge shapes library. It is designed to be one piece after it is cut out so that it can be applied to another surface. Notice that some of the scrap pieces got blown away during the cutting process and that when the design was picked up, the rest of the pieces fell out.
¶ Load and Identify Material
Make sure that the Glowforge is connected to the computer by checking the upper right corner of app.glowforge.com. It will say Ready next to the Print button if the Glowforge is ready to go.
Glowforge does not sell Proofgrade cardstock but does provide some presets for cardstock.
Depending on how you’ve laid out the parts, lay the material out on the bed. Be sure to tape down the corners of the cardstock so that it does not move during the cutting process.
¶ Set Process Types and Order of Operations
The process type, or operation type, is what the machine does to the workpiece as it moves. If you were drawing a line, the process type would be if you were using a pen or pencil or marker or some other tool to create the line.
Check the process tiles in the left sidebar to ensure each type for each part of the design is correct:
- Outline of the card = Cut
- Fold in the card = Score
- Other shapes as appropriate
If the process type is not correct, click on the process tile and select the process that you want used.
Then set the order of operations. The recommended order of operations is:
- Engrave and score operations first
- Inner cut operations
- Outer cut operations
Use the two lines at the bottom of each process tile to click+drag each tile into the correct order.
¶ Cut the Design
Make sure the filter box ventilation system is running before starting the job.
- Click “Print” button in app.glowforge.com .
- Once the button on Glowforge is flashing, press it to start the job.
- Allow Glowforge to perform all operations.
Tip: stay with it to monitor for problems!
- Allow 1 minute of cool down/exhaust time before opening the lid and removing the pieces.
- Remove your design.
Wait 10 minutes before turning off the filter box to allow adequate time for fume extraction.
¶ Assembly
Fold the card along the score.
Glue the design into place on the inside or outside as appropriate.
Tip: when gluing multiple pieces, use tweezers to avoid getting glue on your fingers. This will prevent ash and soot from the edges of the pieces from getting into the glue or smearing on the other pieces.
¶ Before you go
The Glowforge is a shared tool in a shared space. It is important to clean up in order to keep the space and tools functioning their best and to make sure everyone gets the best results possible.
Remove everything from the Glowforge, including scrap pieces.
Empty the crumb tray and replace it in the machine.
Clean up your workspace on the table. Put tools back where they came from. Wipe up any spills.
If you’ll want to make it again (or just keep the design for later!), save the design to a personal USB drive or cloud storage account.
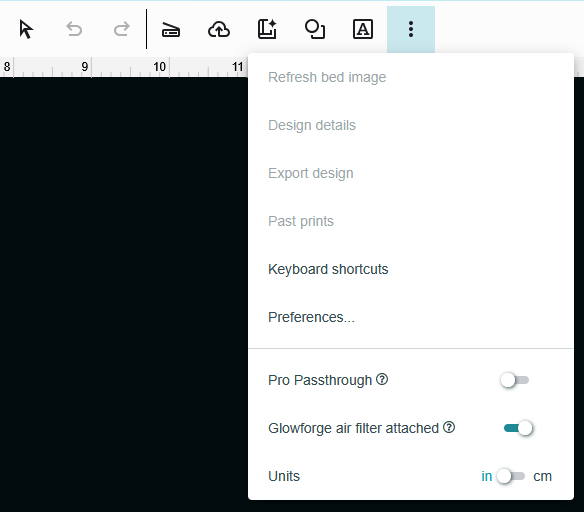
- Go to the center toolbar
- Click the three dots at the end
- Click export design
- The computer will download the design or it will ask you where to save it to.
- Open Works computers are frequently refreshed, meaning that files are deleted from them, and so they are not a good place to store files. Move the downloaded file to a USB key or to a cloud storage account such as Google Drive.