The toolbar on the left will provide most of the tools you will need to get started.
- Select and Transform Objects (S)
- Edit Paths by Nodes (N)
- Create Shapes (Rectangle, Circle, Polygons, Cube, Spiral)
- Drawing tools (Bezier, Freehand, Calligraphy, and Text)
When you select a tool, the toolbar at the top of the window will provide additional options for that tool.

¶ Bezier Tool basics
Use the Bezier tool to draw a path:
- Click icon
- Click on canvas (This sets the starting location of the path)
- Move mouse
- Click on canvas (This places a node on the path)
- Press enter on keyboard (This tells Inkscape that you are done placing nodes on the path. Steps 3 and 4 can be repeated as many times as you want.)
If you have a box that looks like this (no visible line), you will need to set the Stroke property.
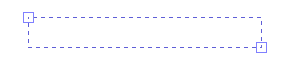
Check the lower left corner of the window to see what properties are set for the selected object.

Right click on any of the color boxes. Select “Set Stroke”.

The line should now look like this (perhaps in another color, thickness, or style).
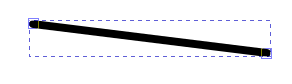
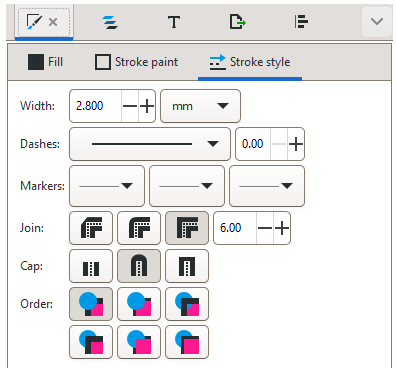
If you don’t like the thickness, color, etc, of the line, there are more options in the Fill and Stroke menu. Right click on the line and select “Fill and Stroke”. This will open a toolbar on the right. Here you can set the Fill, Stroke paint, and Stroke style.
¶ Bending a Bezier Path
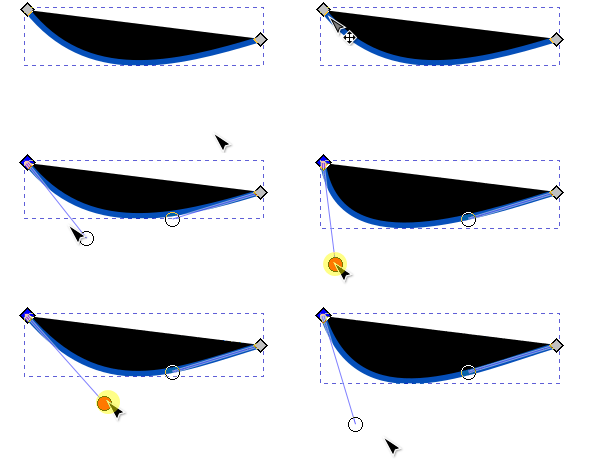
Use the Edit Paths by Nodes tool. Click on the path.

Hover over the selected path. Click and drag it. If it fills with a color as you drag it, the Fill property is set. Check the lower left corner to see what properties are set. Right click on the Fill box and select “Unset Fill”.
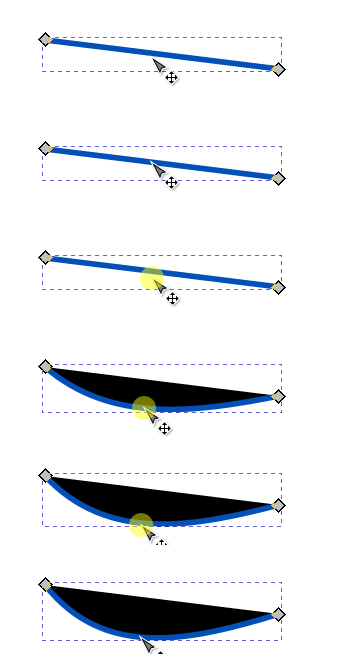
Click on one of the end points of the path to activate the node handles. Click and drag a handle to adjust the amount of curvature.
¶ Adding a Notch to a Path
Creating a slot or notch in a path is a common technique for connecting two laser cut pieces with or without glue. In order for the pieces to connect well, the size of the slot must closely match the size of the tab. This guide assumes that you already know the dimensions of the tab (thickness of the material and width you’ve chosen).
In Inkscape, use the rectangle shape tool to draw a rectangle that is the width you just determined above and ¼ inch deep. Draw the rectangle to any size, then use the toolbar at the top to precisely set the width, height, and amount of corner rounding.

Use the Select and Transform Objects tool to select the rectangle you just created. The selection box will have arrows pointing outwards; if it has curved arrows you’re in rotation mode. Click again to get back to move mode.
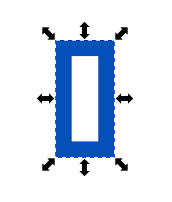
Move the rectangle to where you want to place the slot in the design. In order for the Difference tool to work, the path of the rectangle must align perfectly with the path of the design.
- If there is a stroke applied to the path, the path is in the center of the stroke. Aligning the edges of the strokes will not work. If the stroke is giving you problems, set the stroke width to 1 px. Zooming in on the problem area may help.
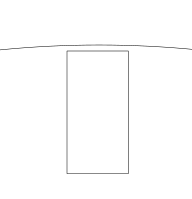
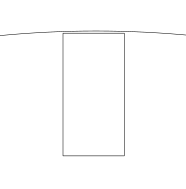
- If the design is curved, the rectangle needs to overlap the curve.
 |
 |
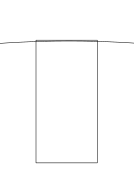 |
| No, slot does not intersect outline. | No, slot does not intersect outline. | Yes, slot overlaps outline. |
Select the design and the rectangle.
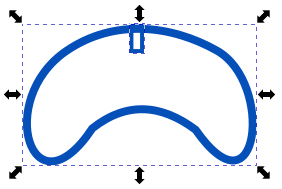
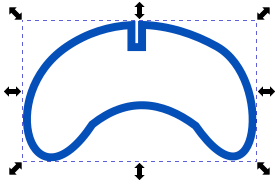
Go to the top toolbar and open the Path menu. Select Difference. This will create the slot.
Tip: after this point resizing the design in Inkscape or app.glowforge.com will also resize the slots. This will make them not fit. If you make the design smaller, you can repeat the above process with correctly sized boxes to recreate the slots. If you make the design larger, you’ll have to manually edit the nodes to remove the slots, then repeat the process to add the slots.